


BIG A-5 Vigilante build

 04-12-2018, 07:45 PM
#478

Thread Starter
Join Date: Mar 2009
Location: willow springs , IL
Posts: 1,219
Likes: 0
Received 25 Likes
on
14 Posts
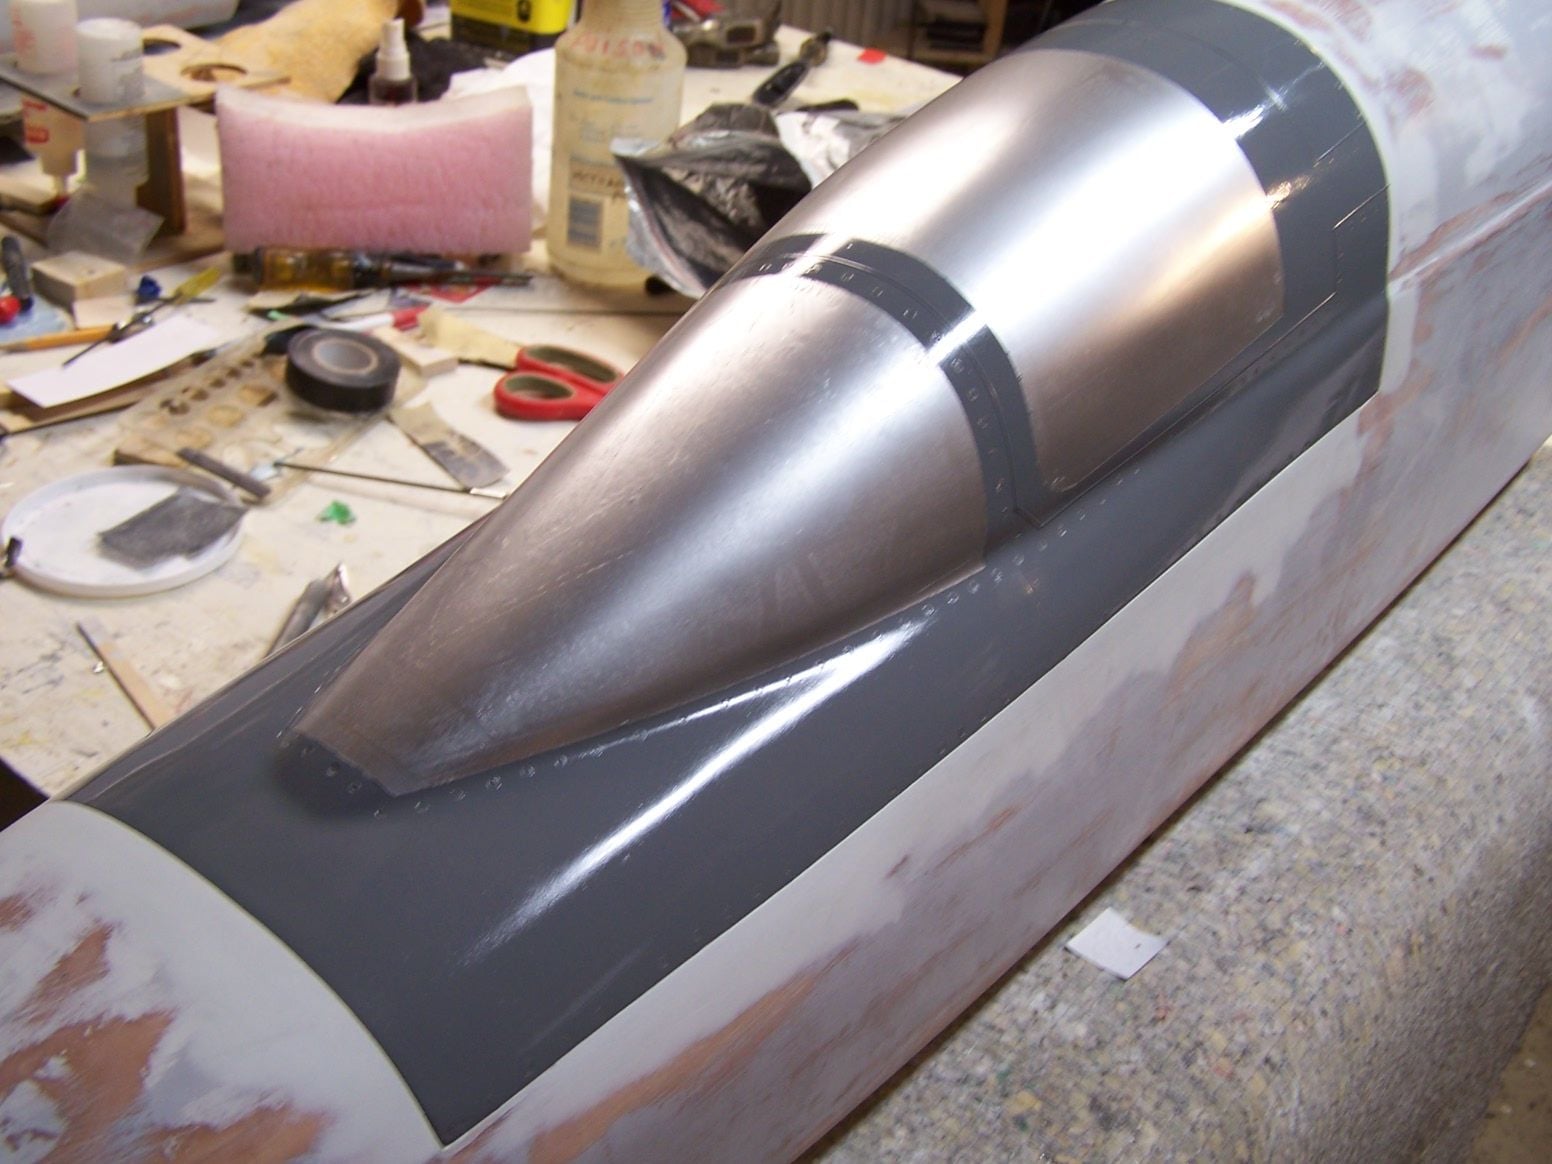
The silver canopy came out ok. The tape lifted some of the silver. I test burned some rivets on the recon canoe. They came out good. That saves painting the plane twice to burn the rivets into a first coat of paint.

 04-18-2018, 05:40 AM
#480
Thread Starter
Join Date: Mar 2009
Location: willow springs , IL
Posts: 1,219
Likes: 0
Received 25 Likes
on
14 Posts
Thank you Lt. Cmdr. Moreland.......... The weather is still awful here but I managed to go outside and paint the recon. canoe. It looks pretty good. (very white)

 05-06-2018, 04:10 PM
#483
Thread Starter
Join Date: Mar 2009
Location: willow springs , IL
Posts: 1,219
Likes: 0
Received 25 Likes
on
14 Posts
some panel lines and rivets
white bottom and white trim you
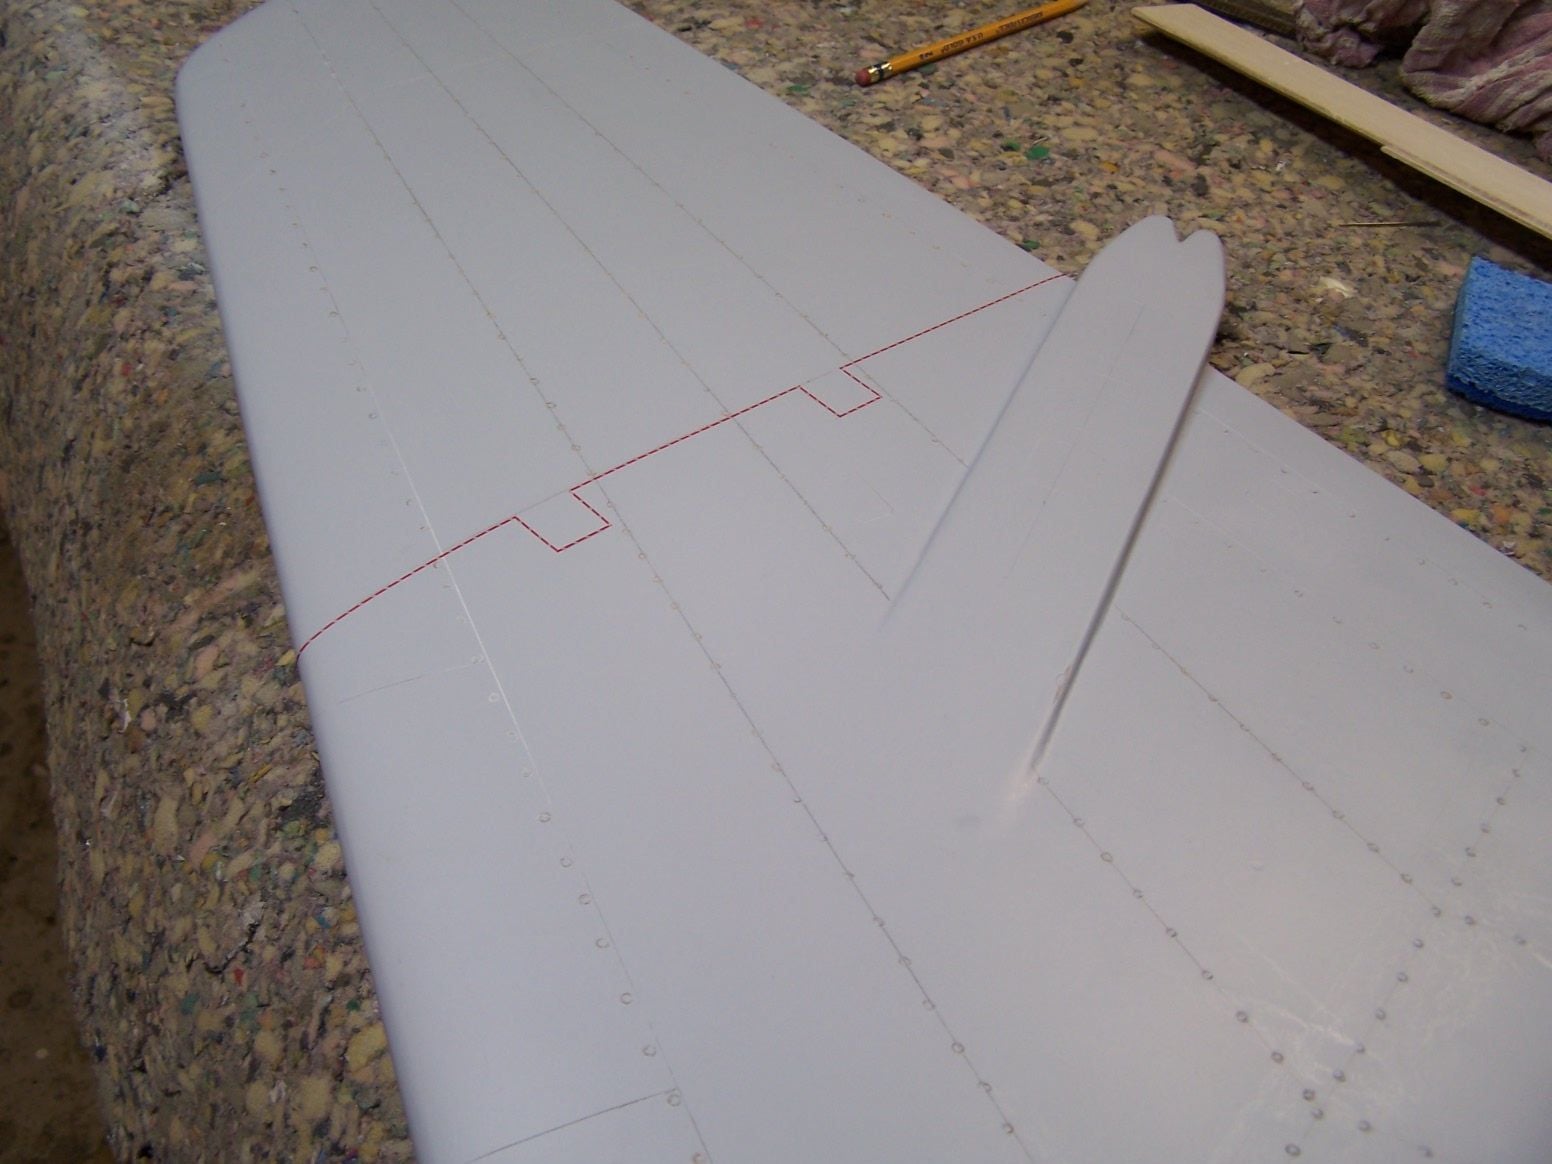
rudder with panel lines and rivets and chart tape where rudder hinges over
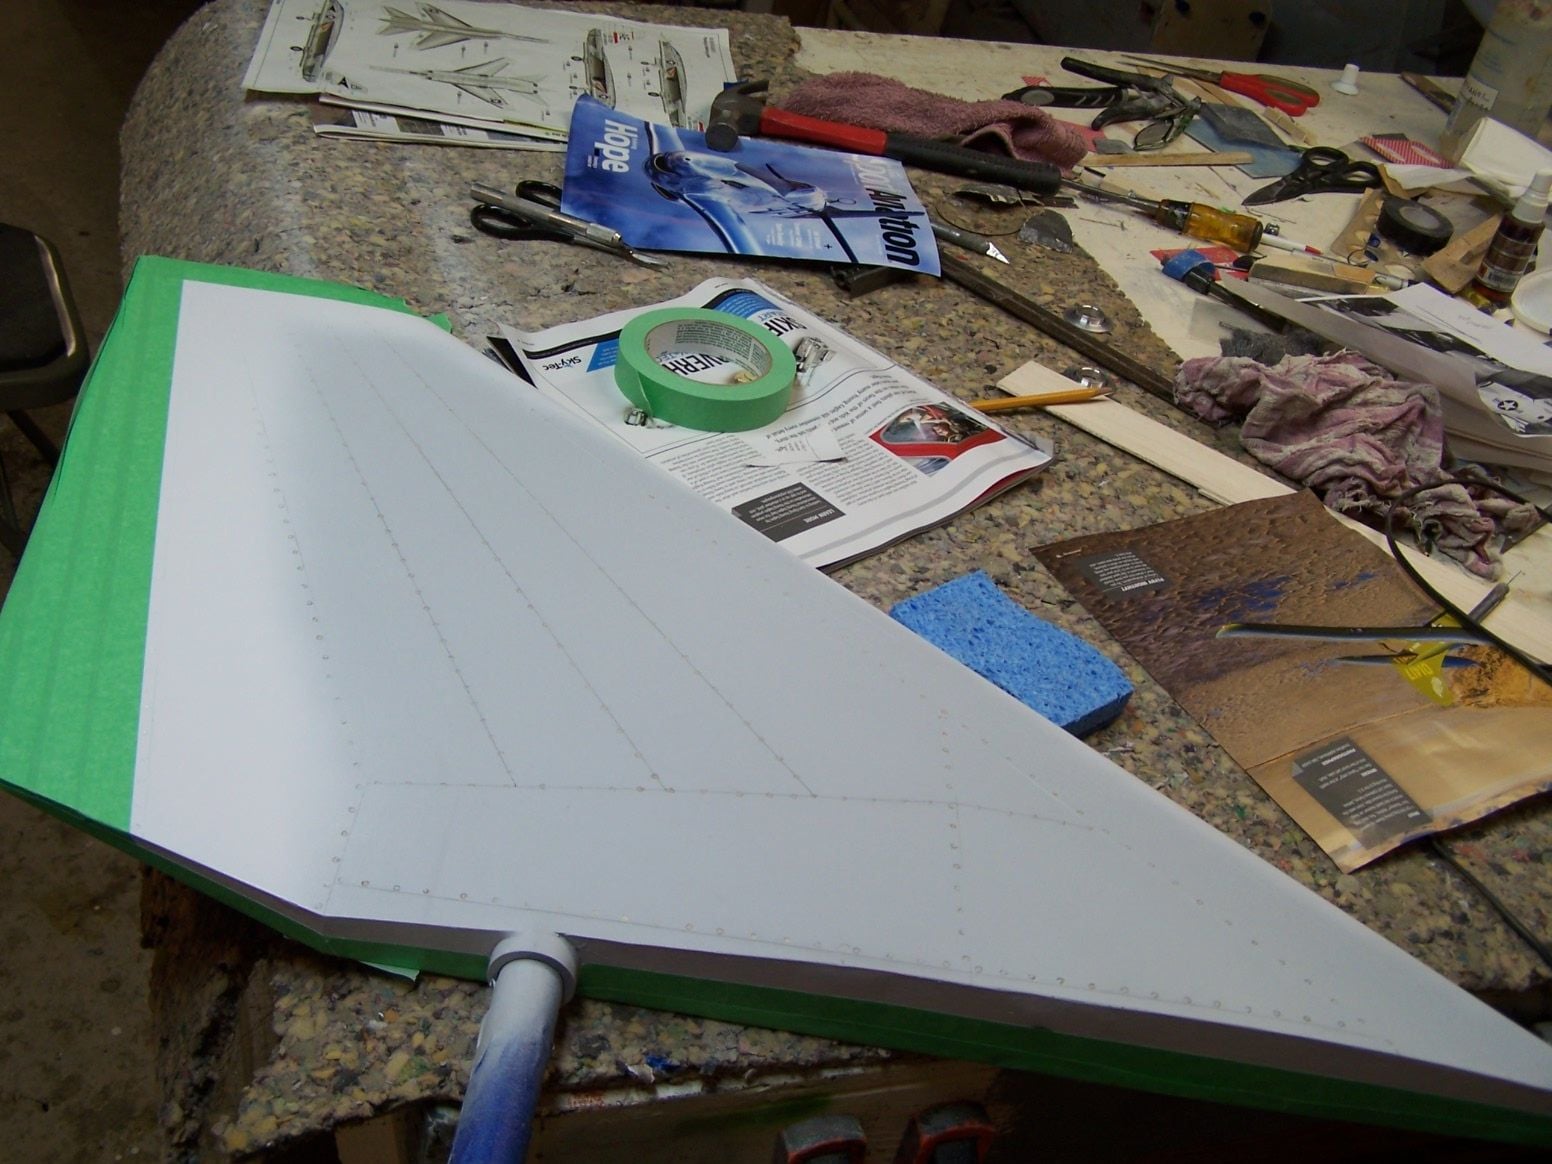
tape off for the gray top
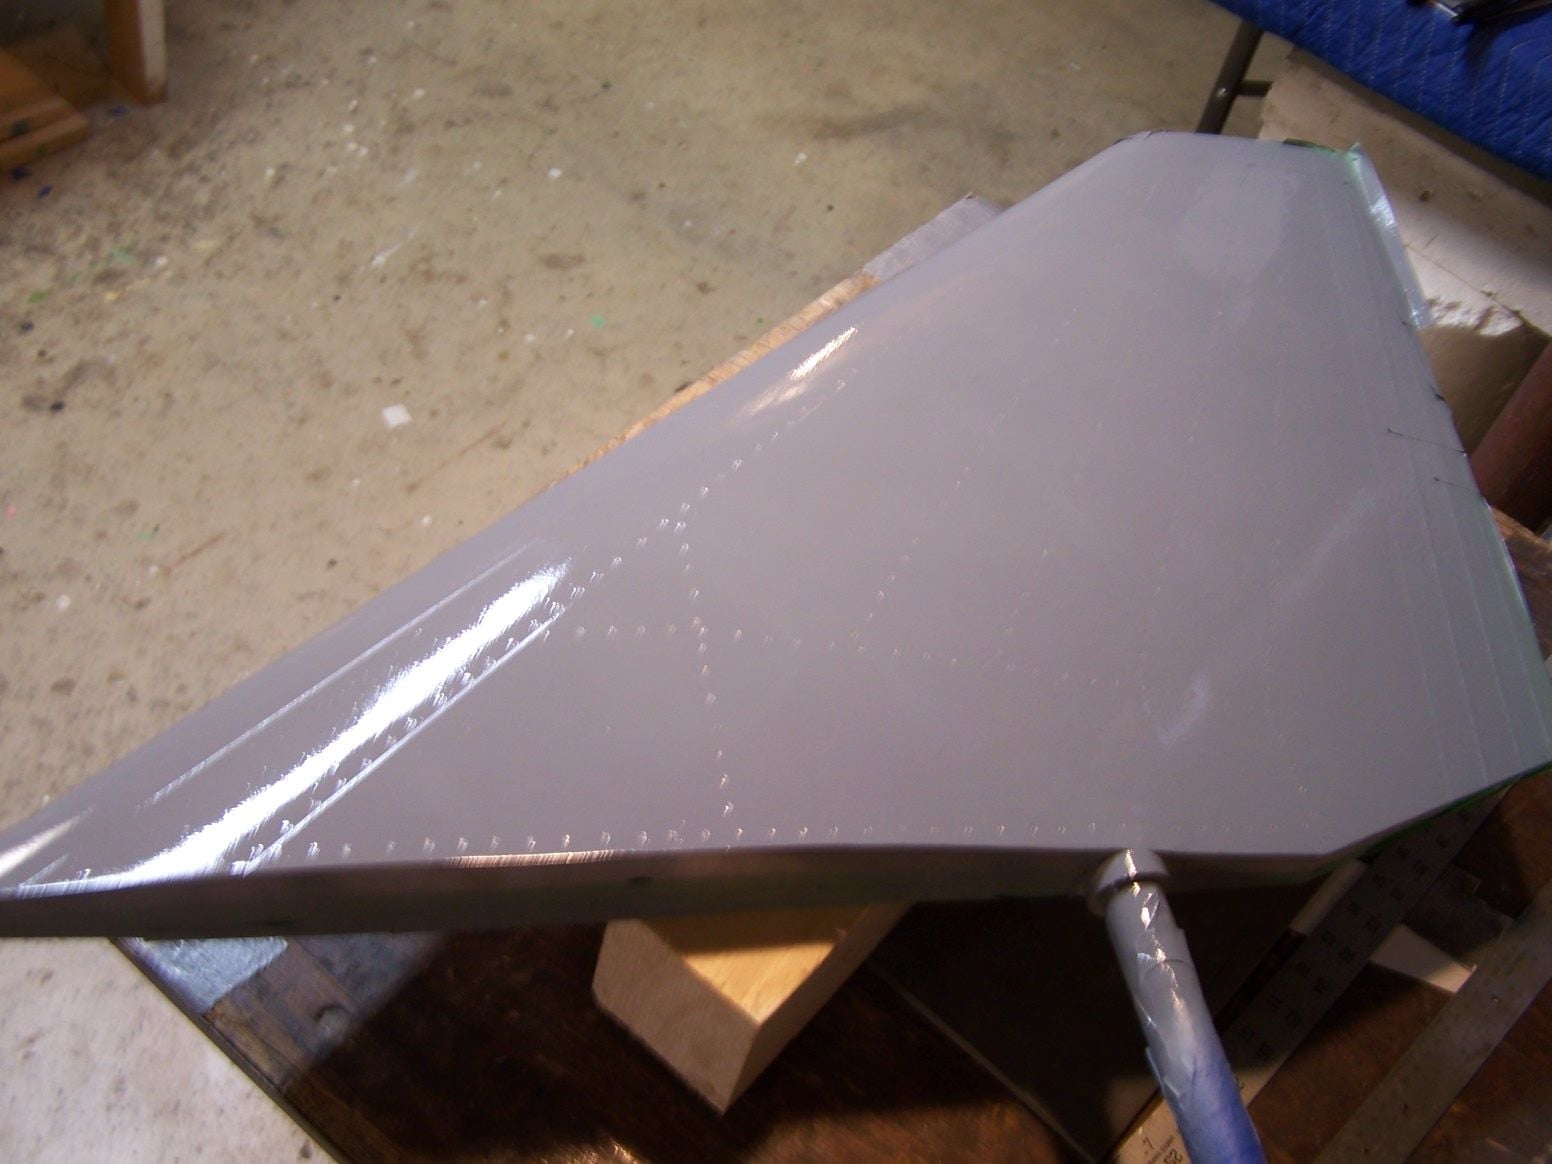
gray sprayed
tape removed

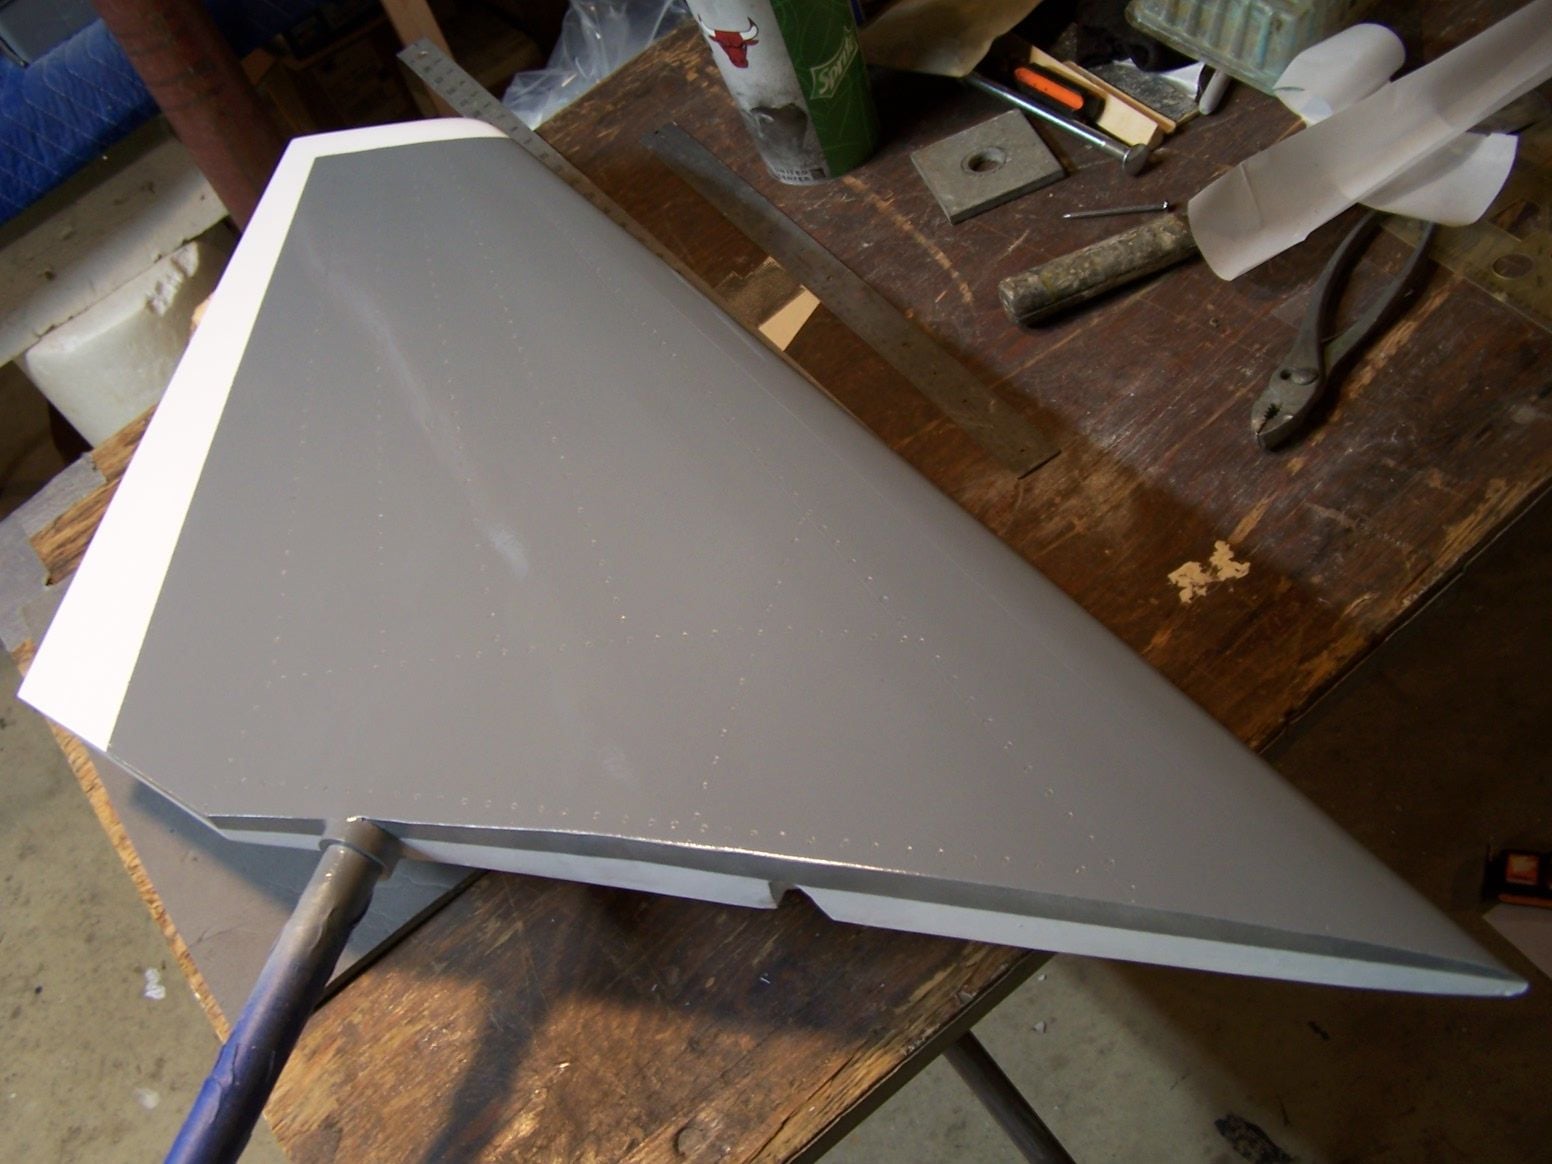
elevons and rudder done

 05-20-2018, 07:54 PM
#490
Thread Starter
Join Date: Mar 2009
Location: willow springs , IL
Posts: 1,219
Likes: 0
Received 25 Likes
on
14 Posts
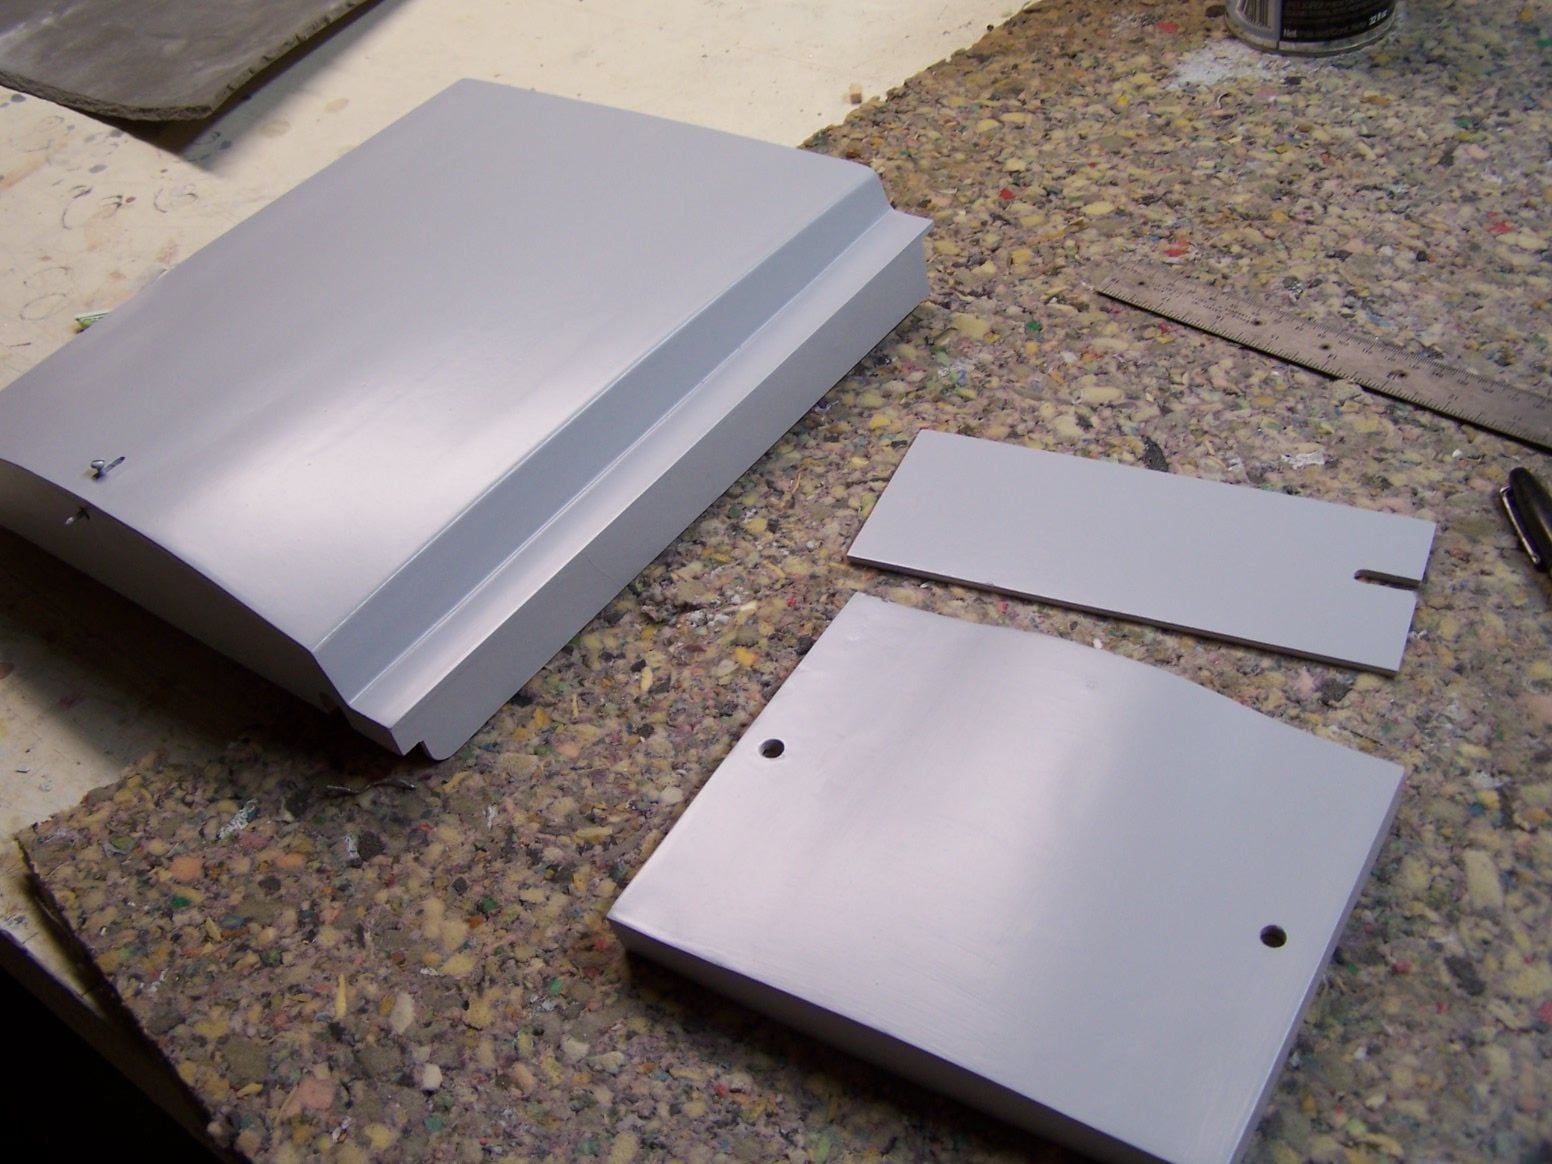
Mid 50s for a temp today and a chance of rain but I squeezed in priming the hatches and fuse.shot them outside then brought them inside to dry........ I put nick i the pic because he keeps telling me he is almost as tall as me.
 05-28-2018, 07:03 PM
#492
Thread Starter
Join Date: Mar 2009
Location: willow springs , IL
Posts: 1,219
Likes: 0
Received 25 Likes
on
14 Posts
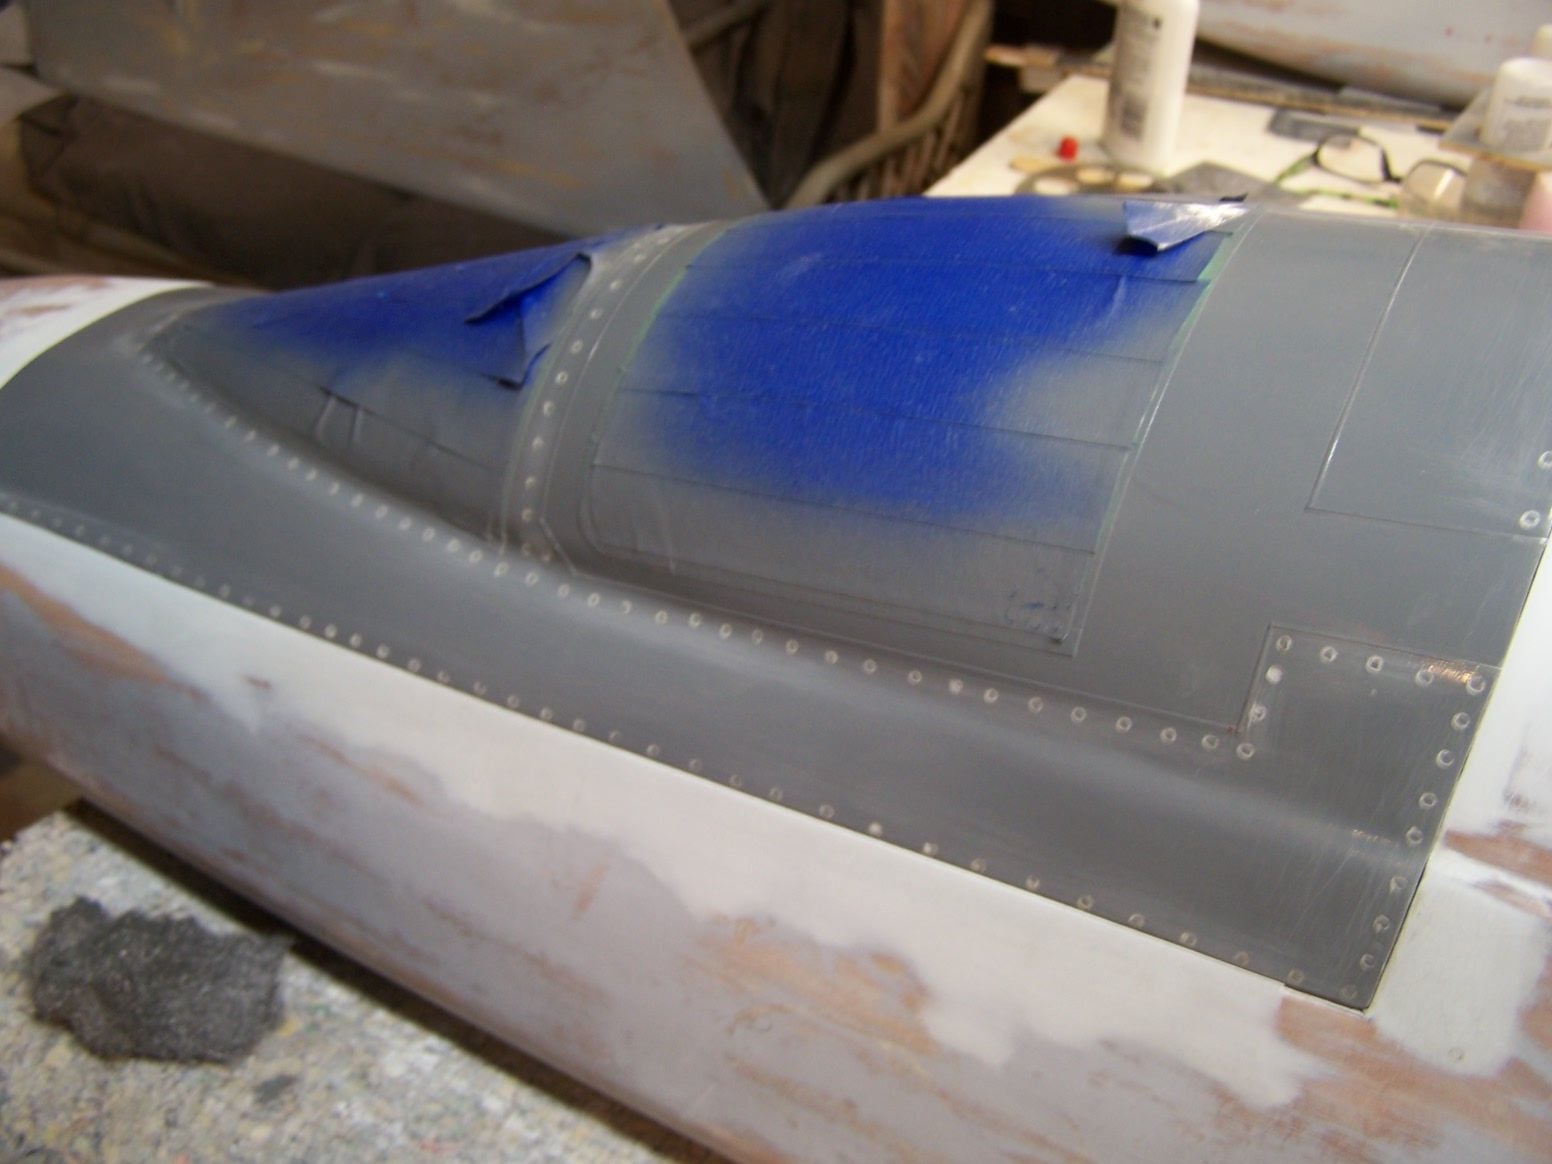
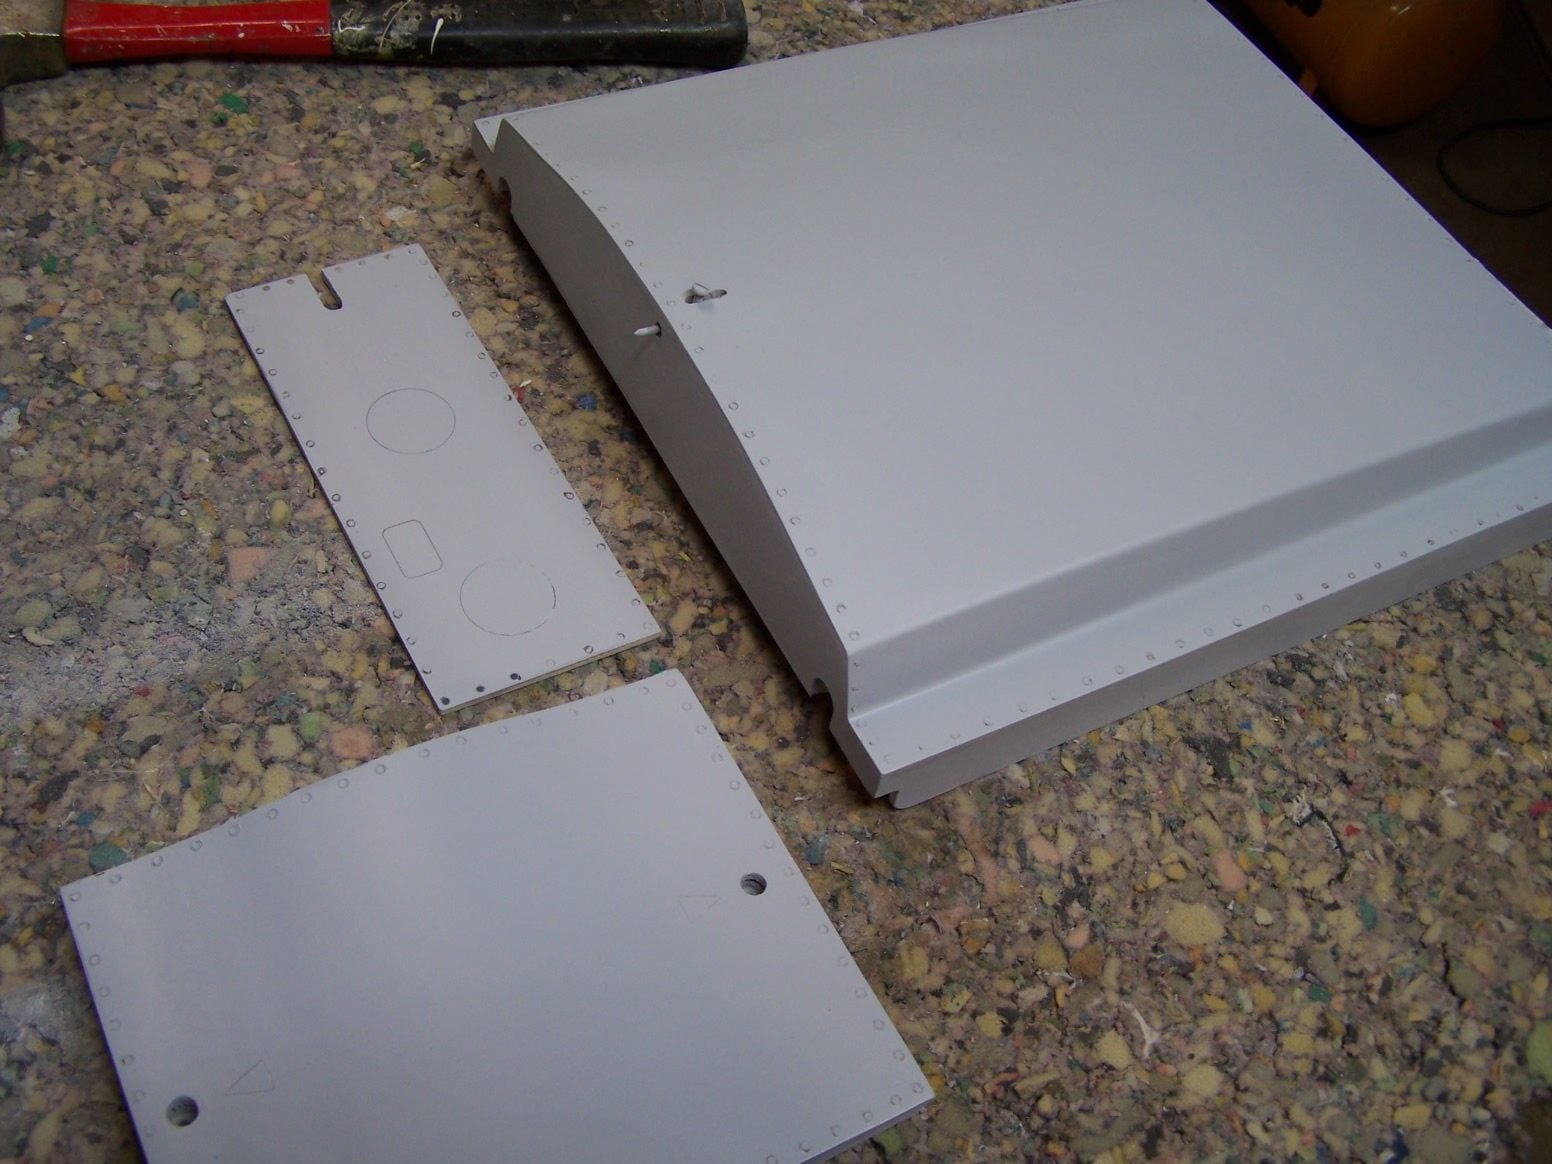
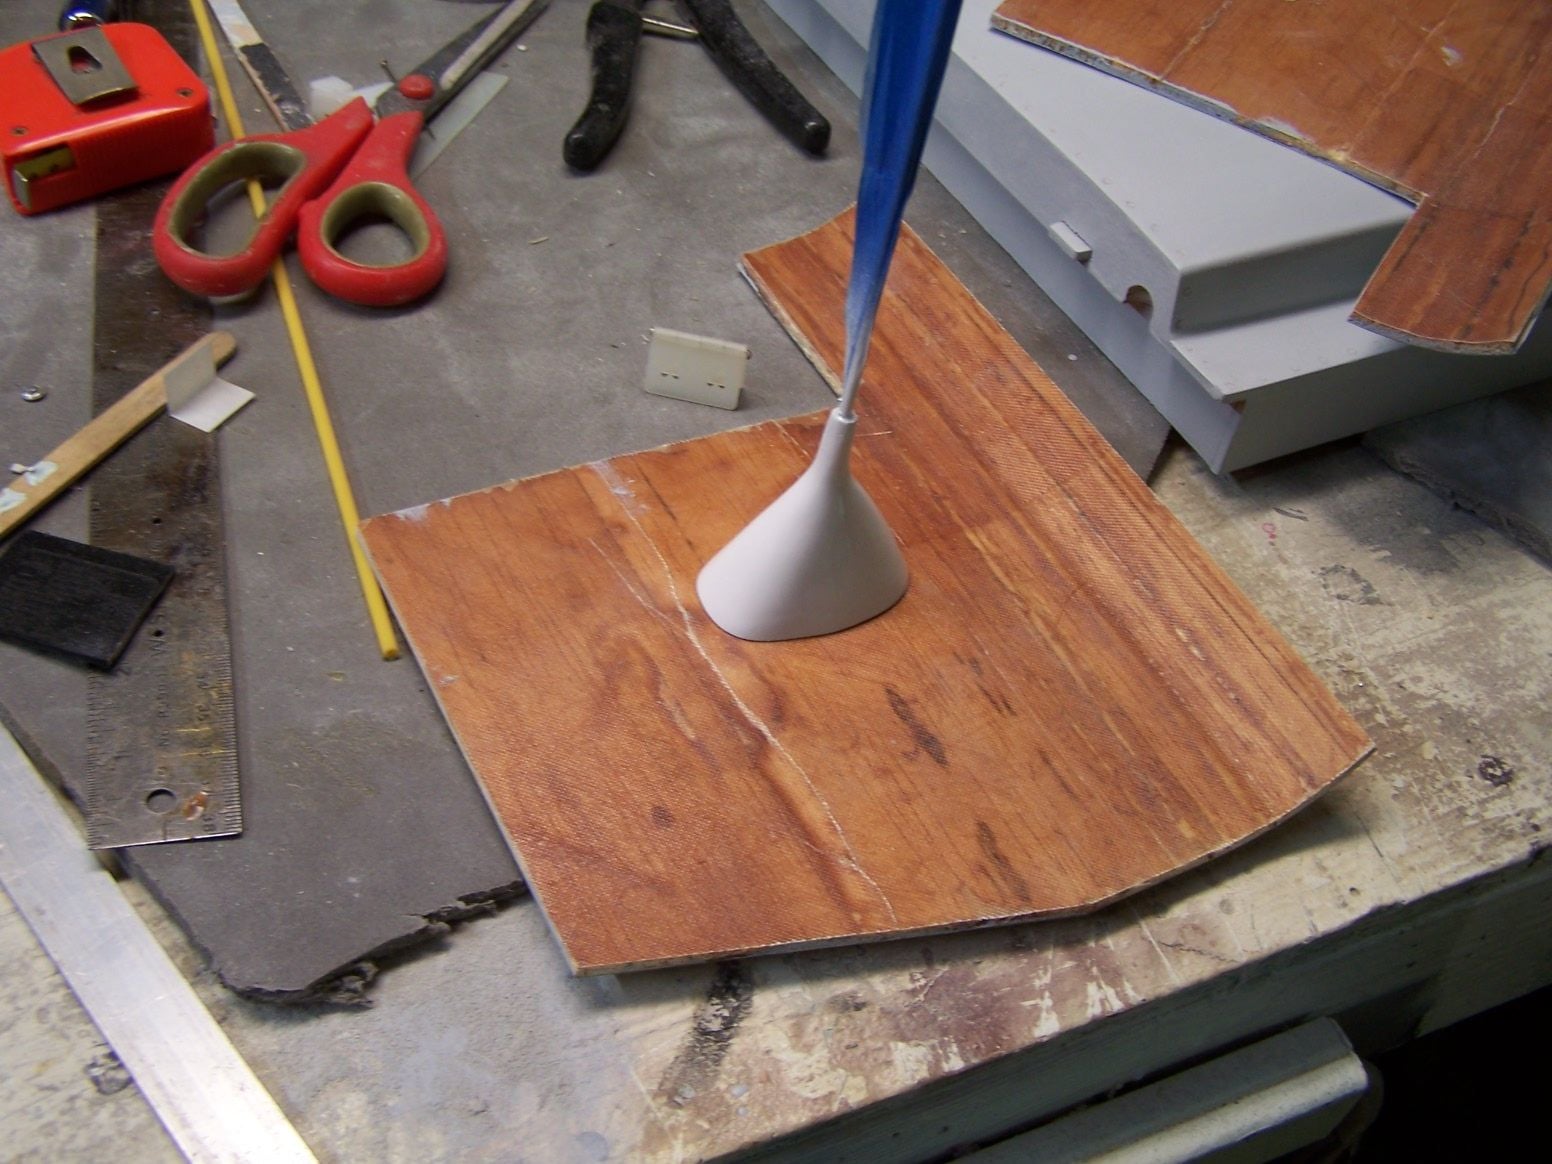
this was the best way to draw the line where the white and gray paint meet
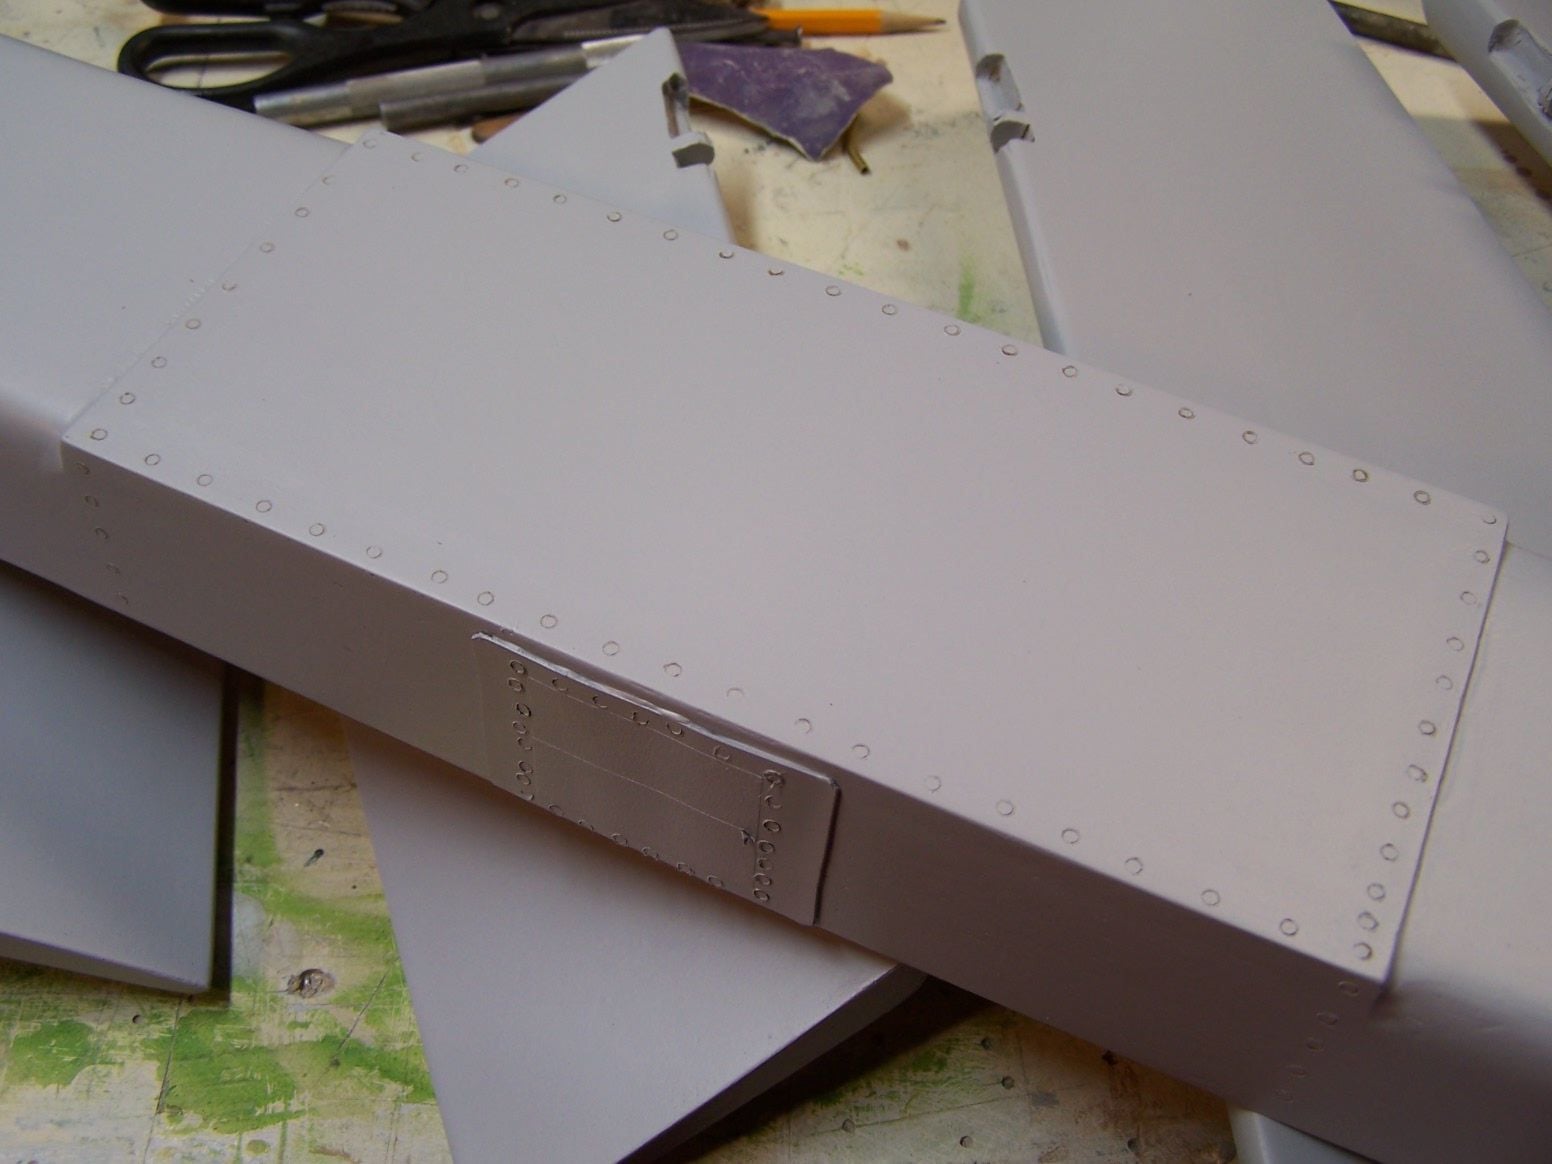
some rivets and panel lines on the top front of the fuse
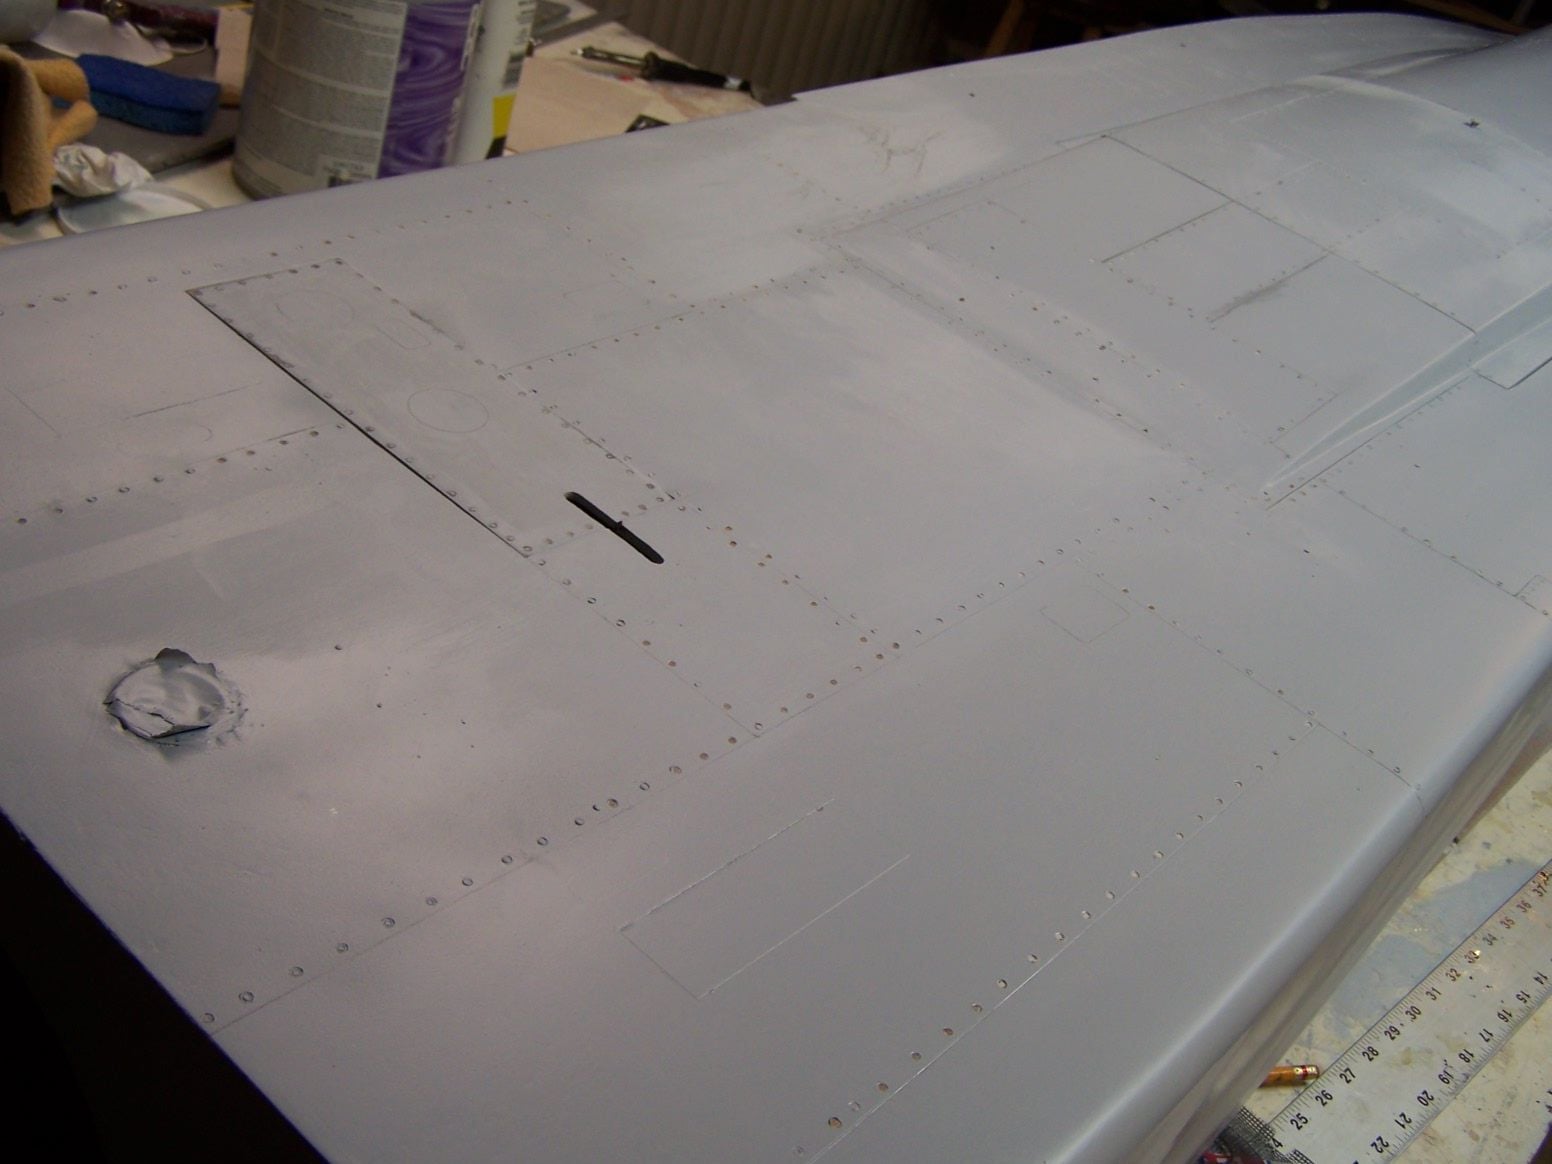
some rivets and panel lines on the top rear of the fuse. they will all need to be subdued with some steel wool of light sanding
07-24-2018, 05:40 PM
#493
Thread Starter
Join Date: Mar 2009
Location: willow springs , IL
Posts: 1,219
Likes: 0
Received 25 Likes
on
14 Posts
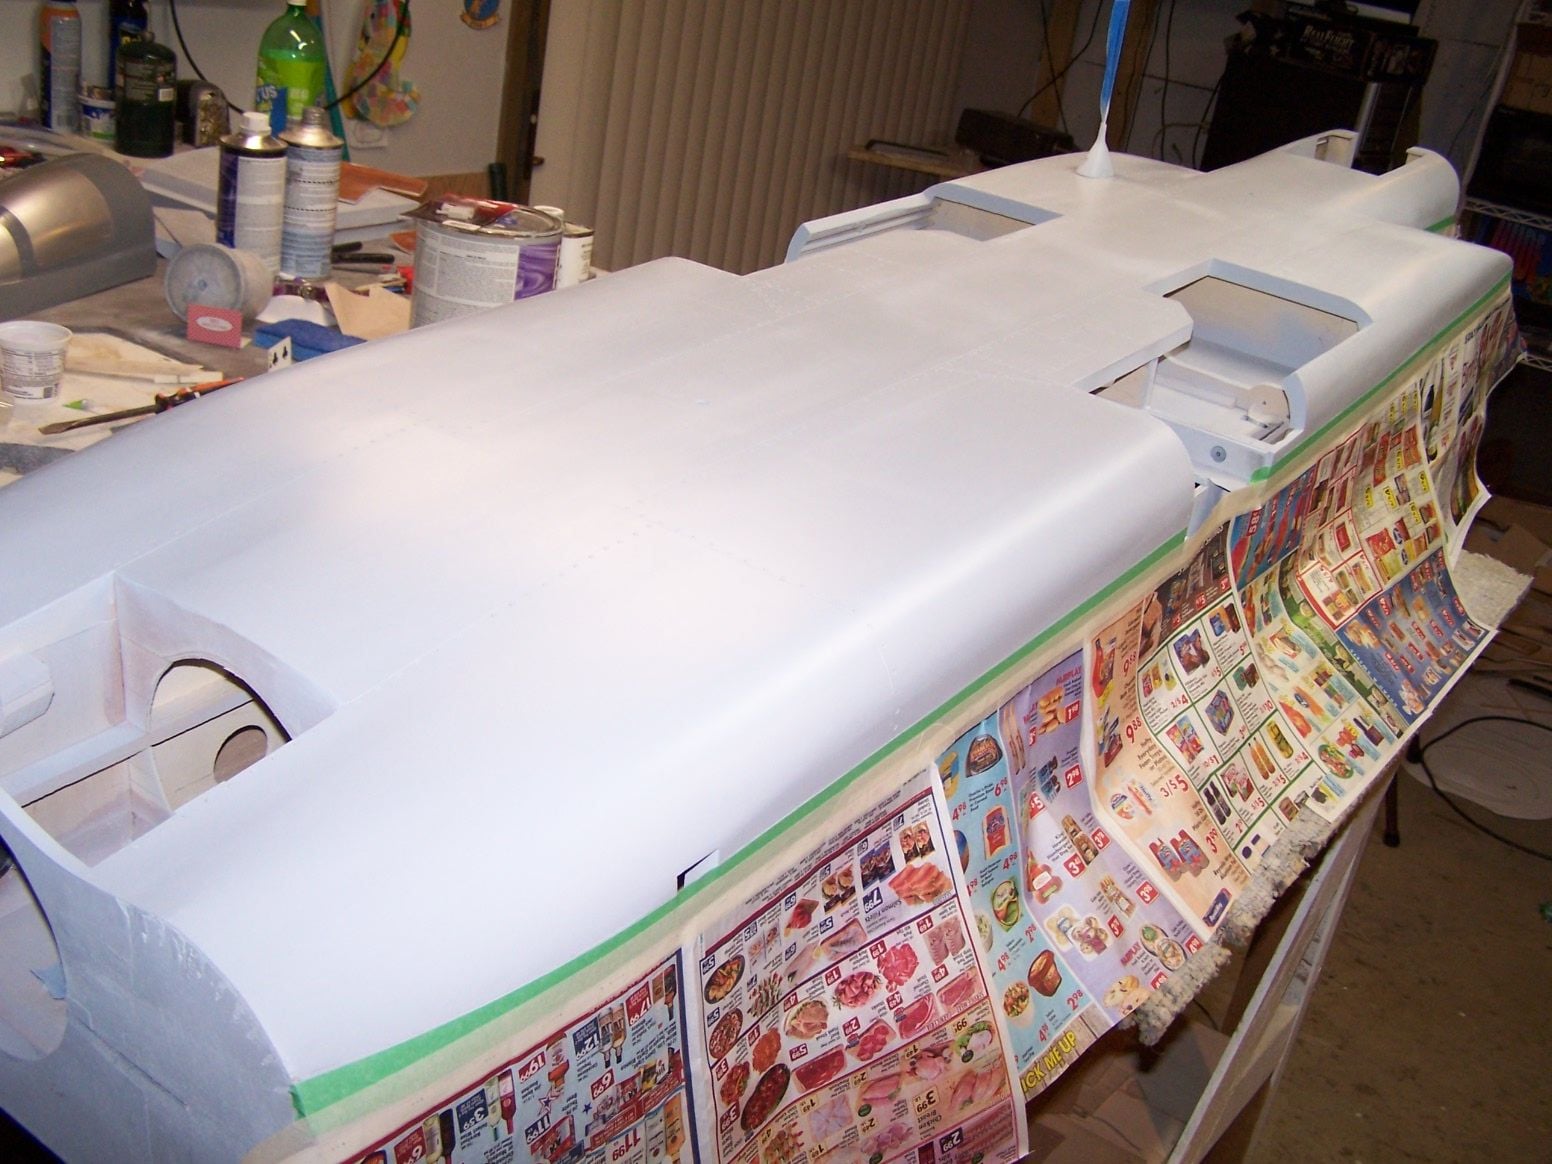


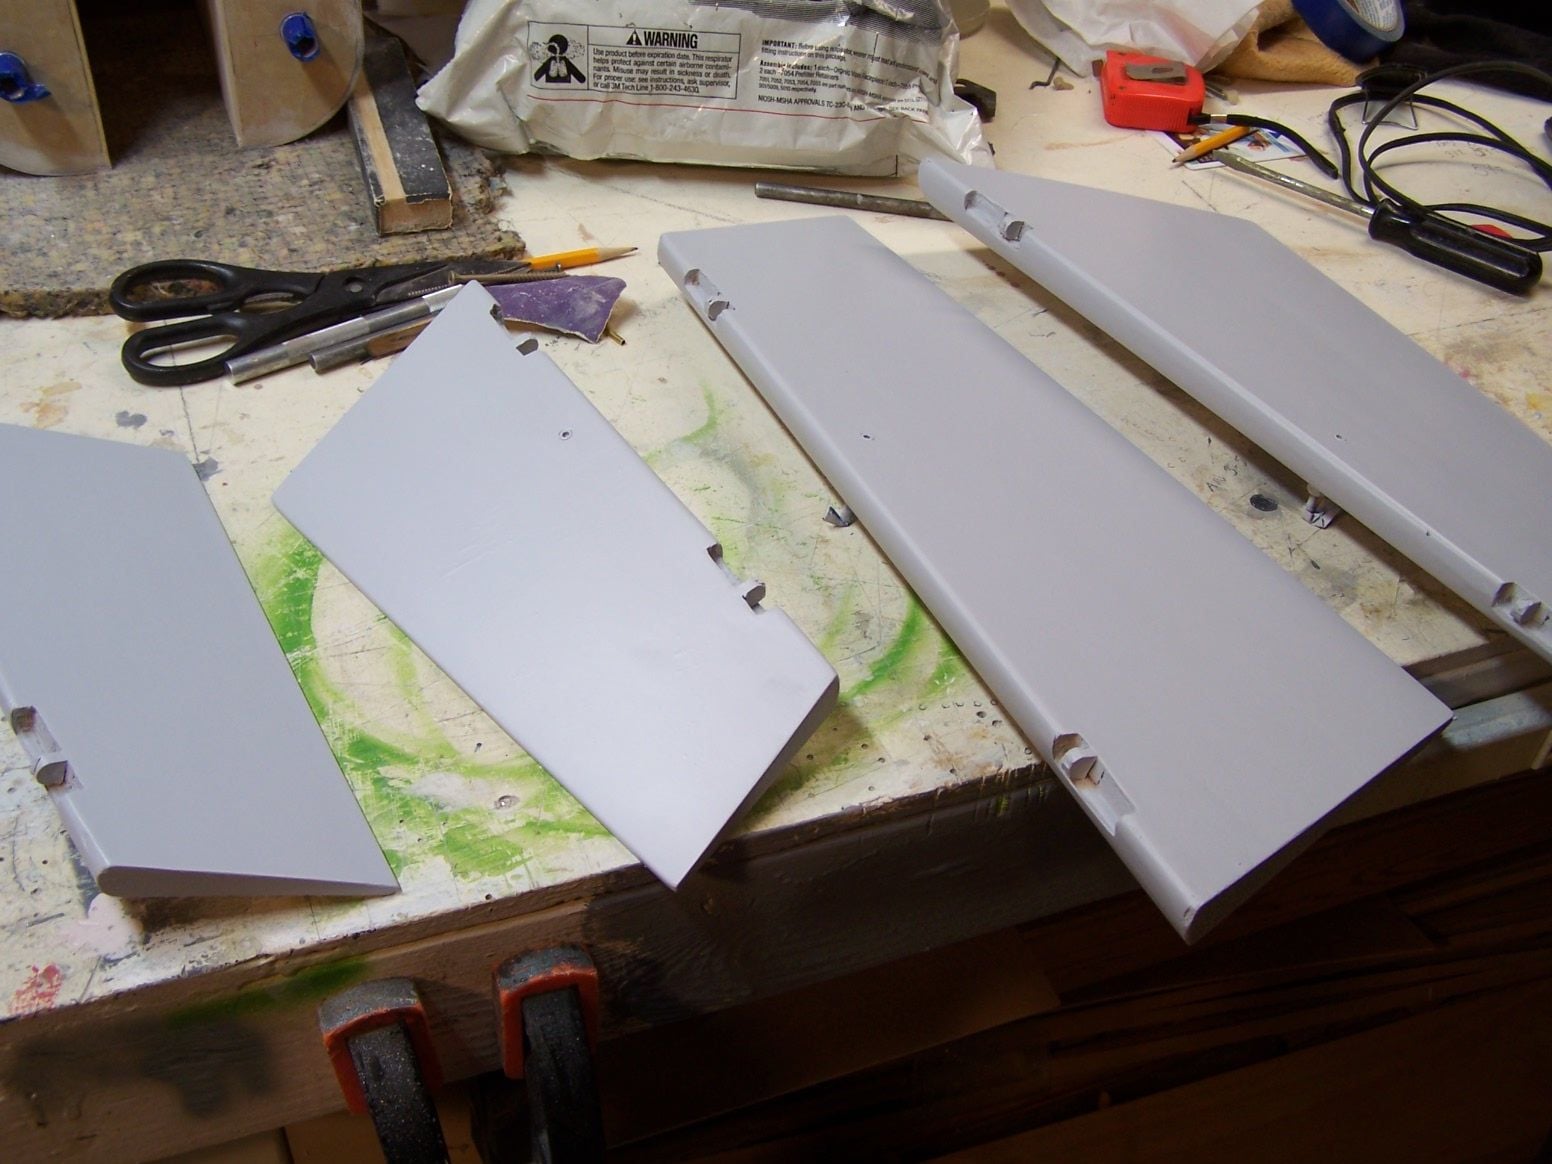
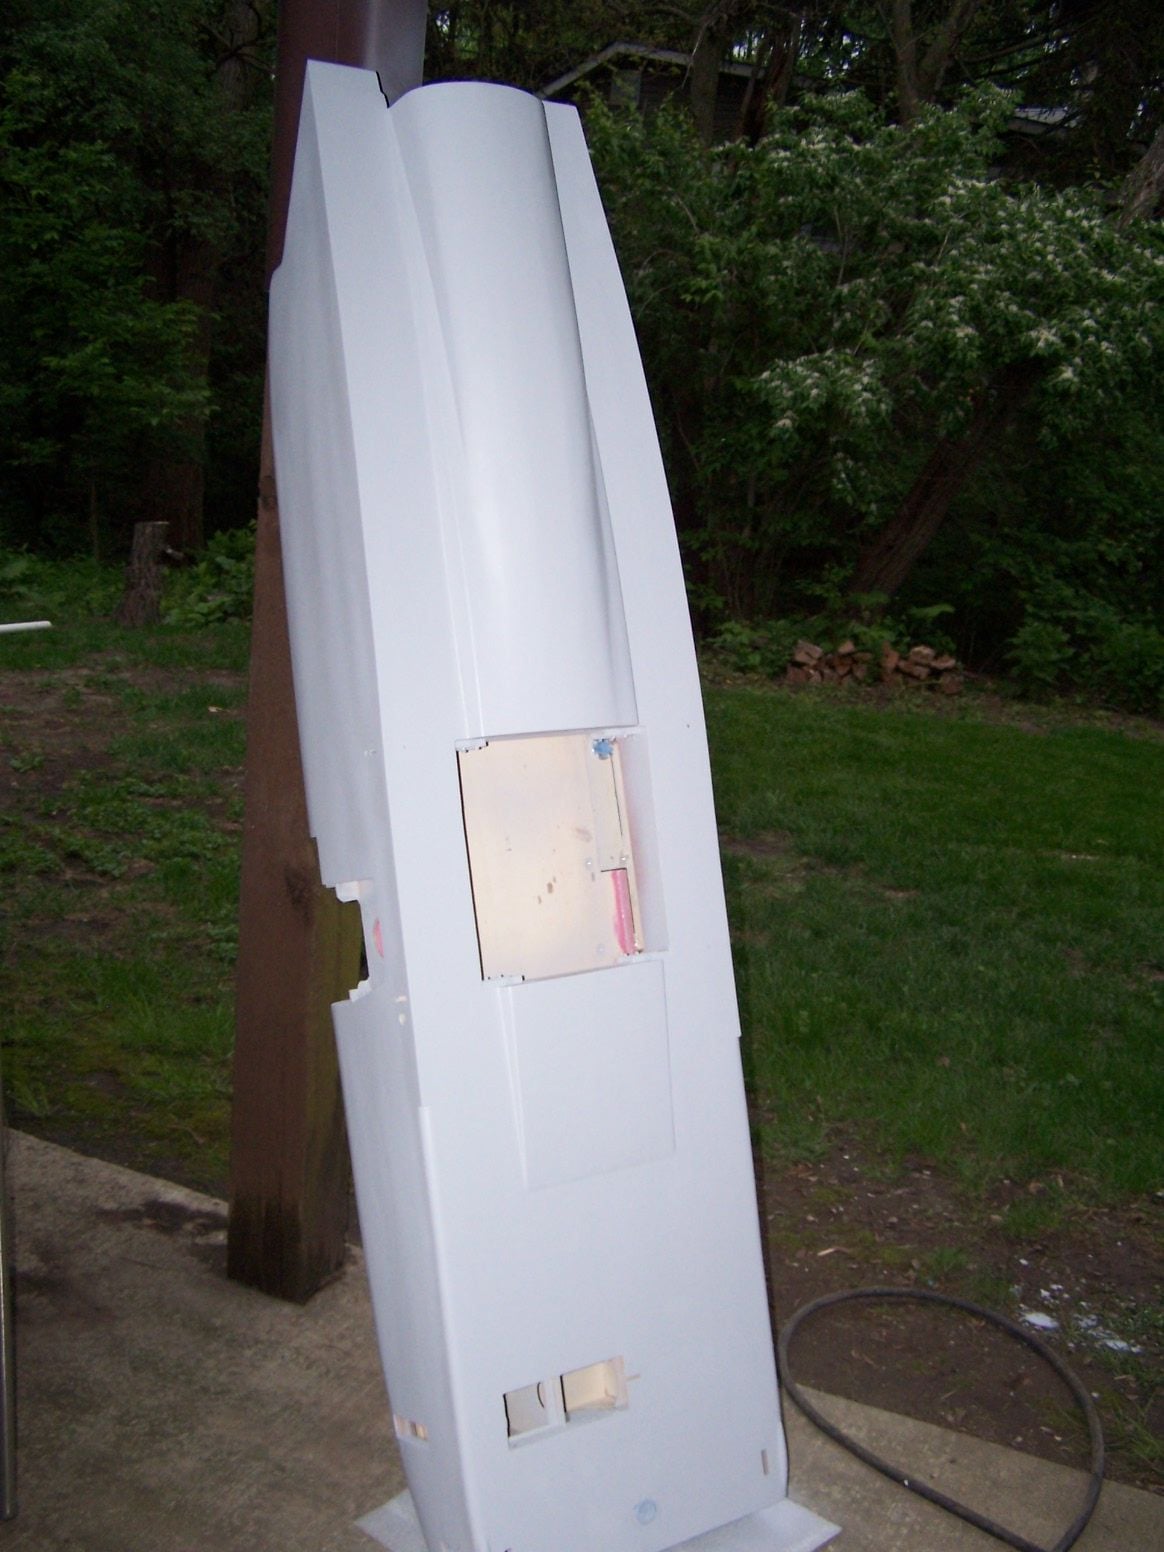
Let there be white.......I painted the bottom of the fuse white the top is still primer. I taped things off so I wouldn't have to cover the white overspray with the gray. When it dries I will flip it over and put the gray on.
 07-31-2018, 04:46 PM
#496
Thread Starter
Join Date: Mar 2009
Location: willow springs , IL
Posts: 1,219
Likes: 0
Received 25 Likes
on
14 Posts
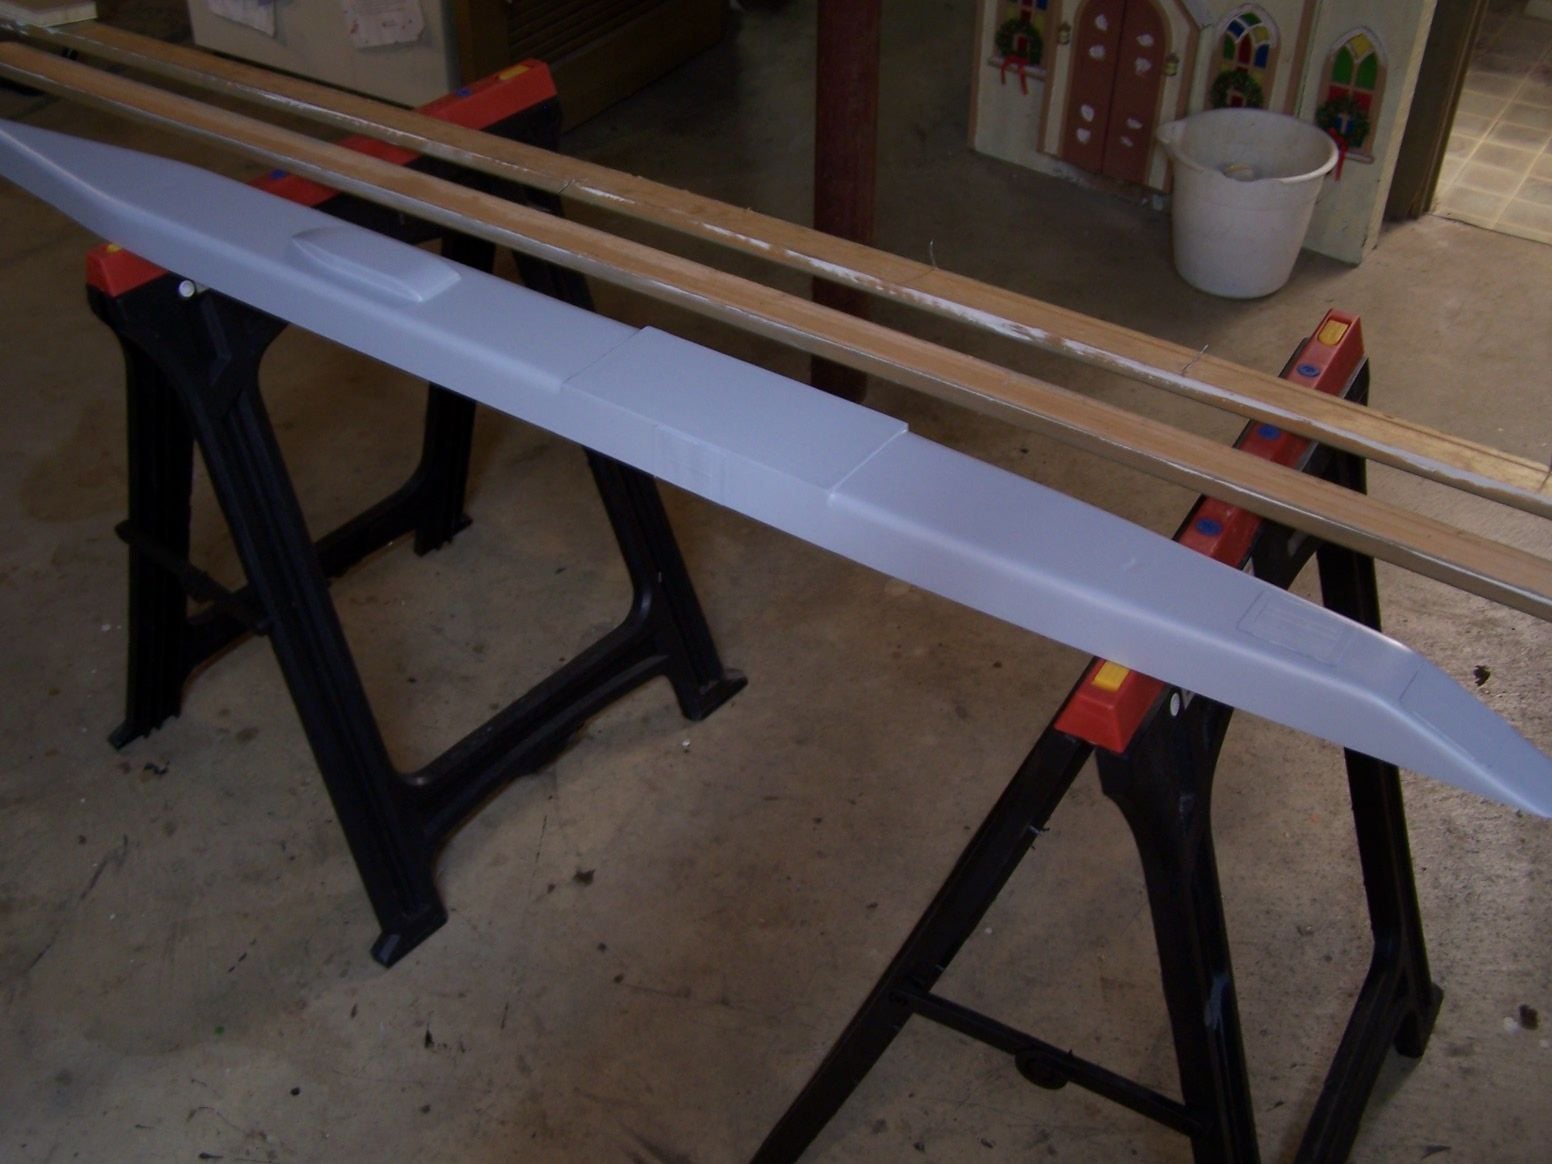
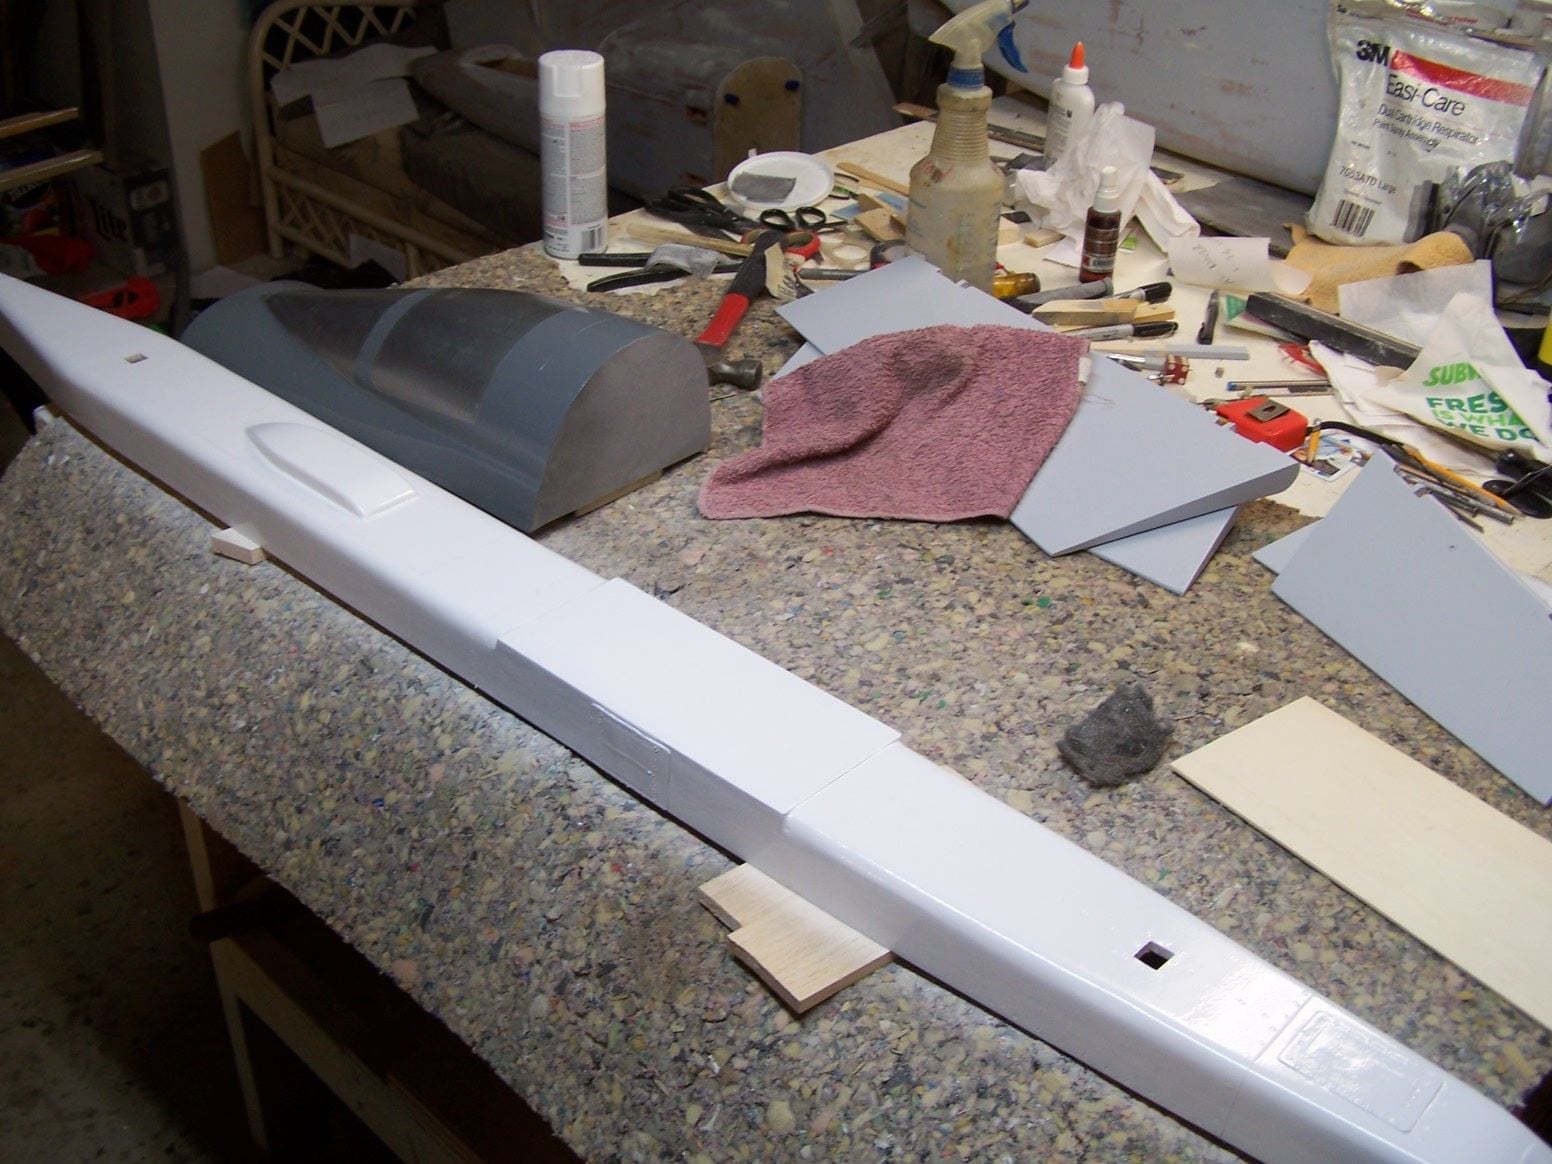
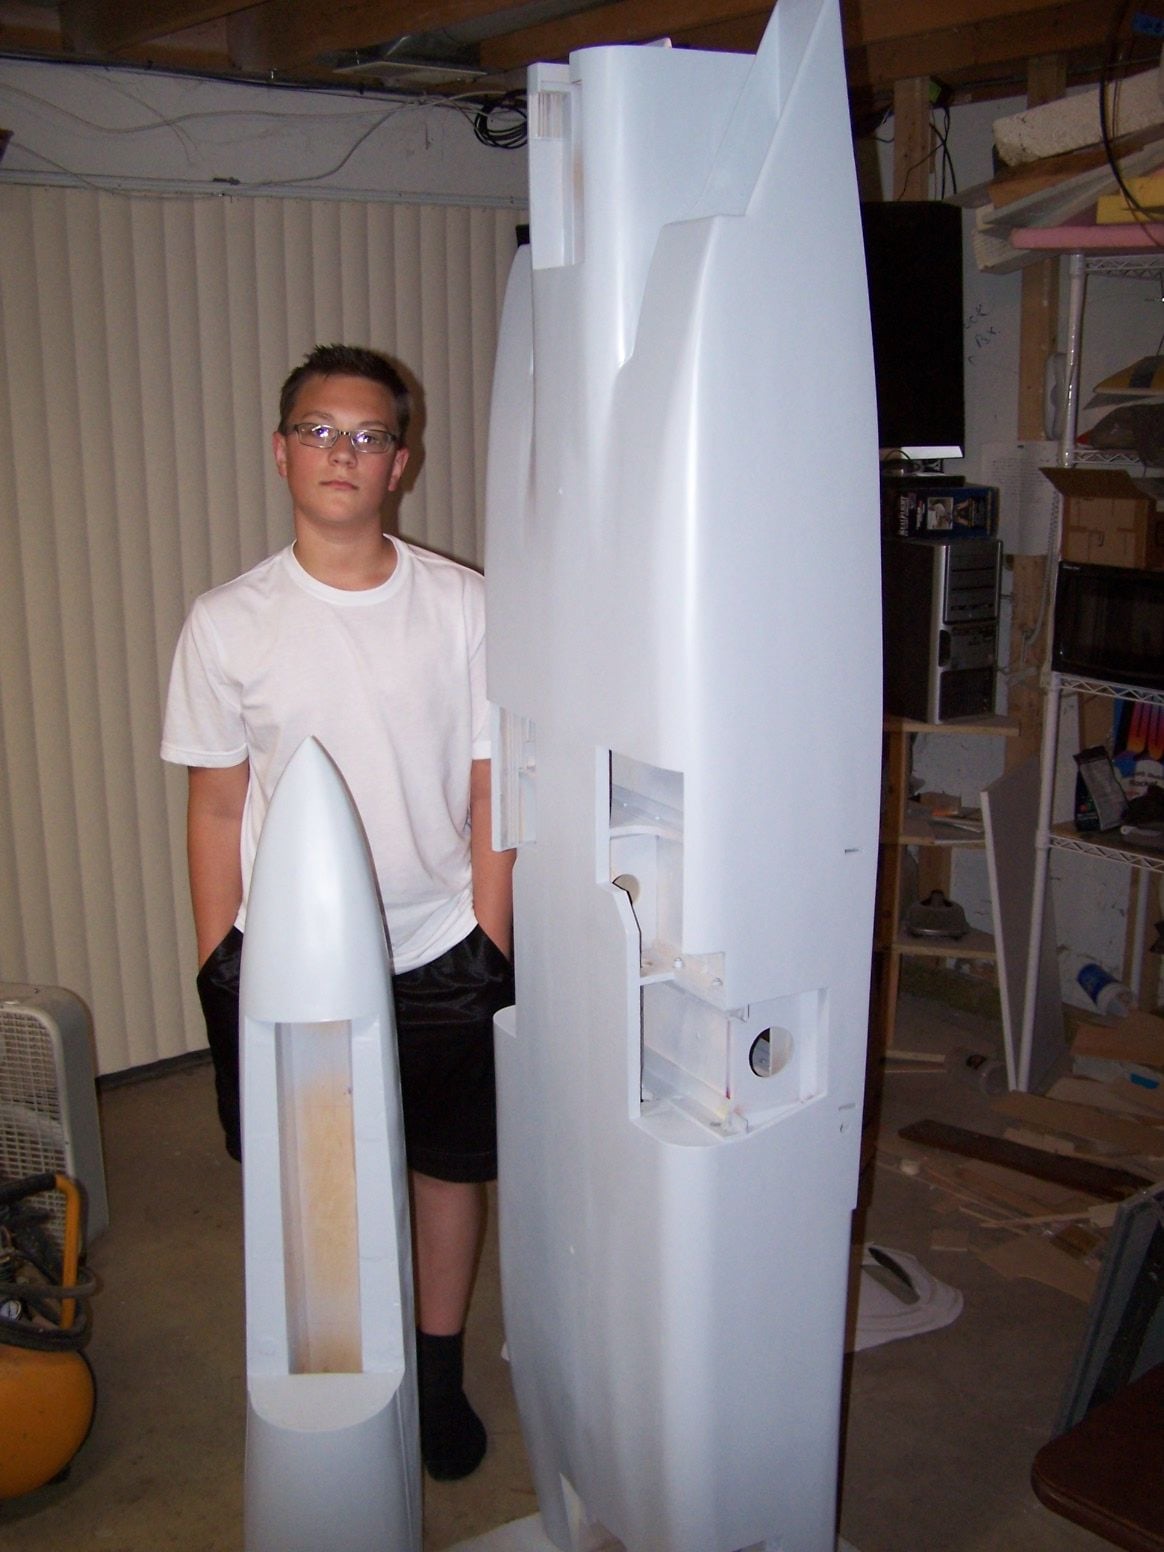
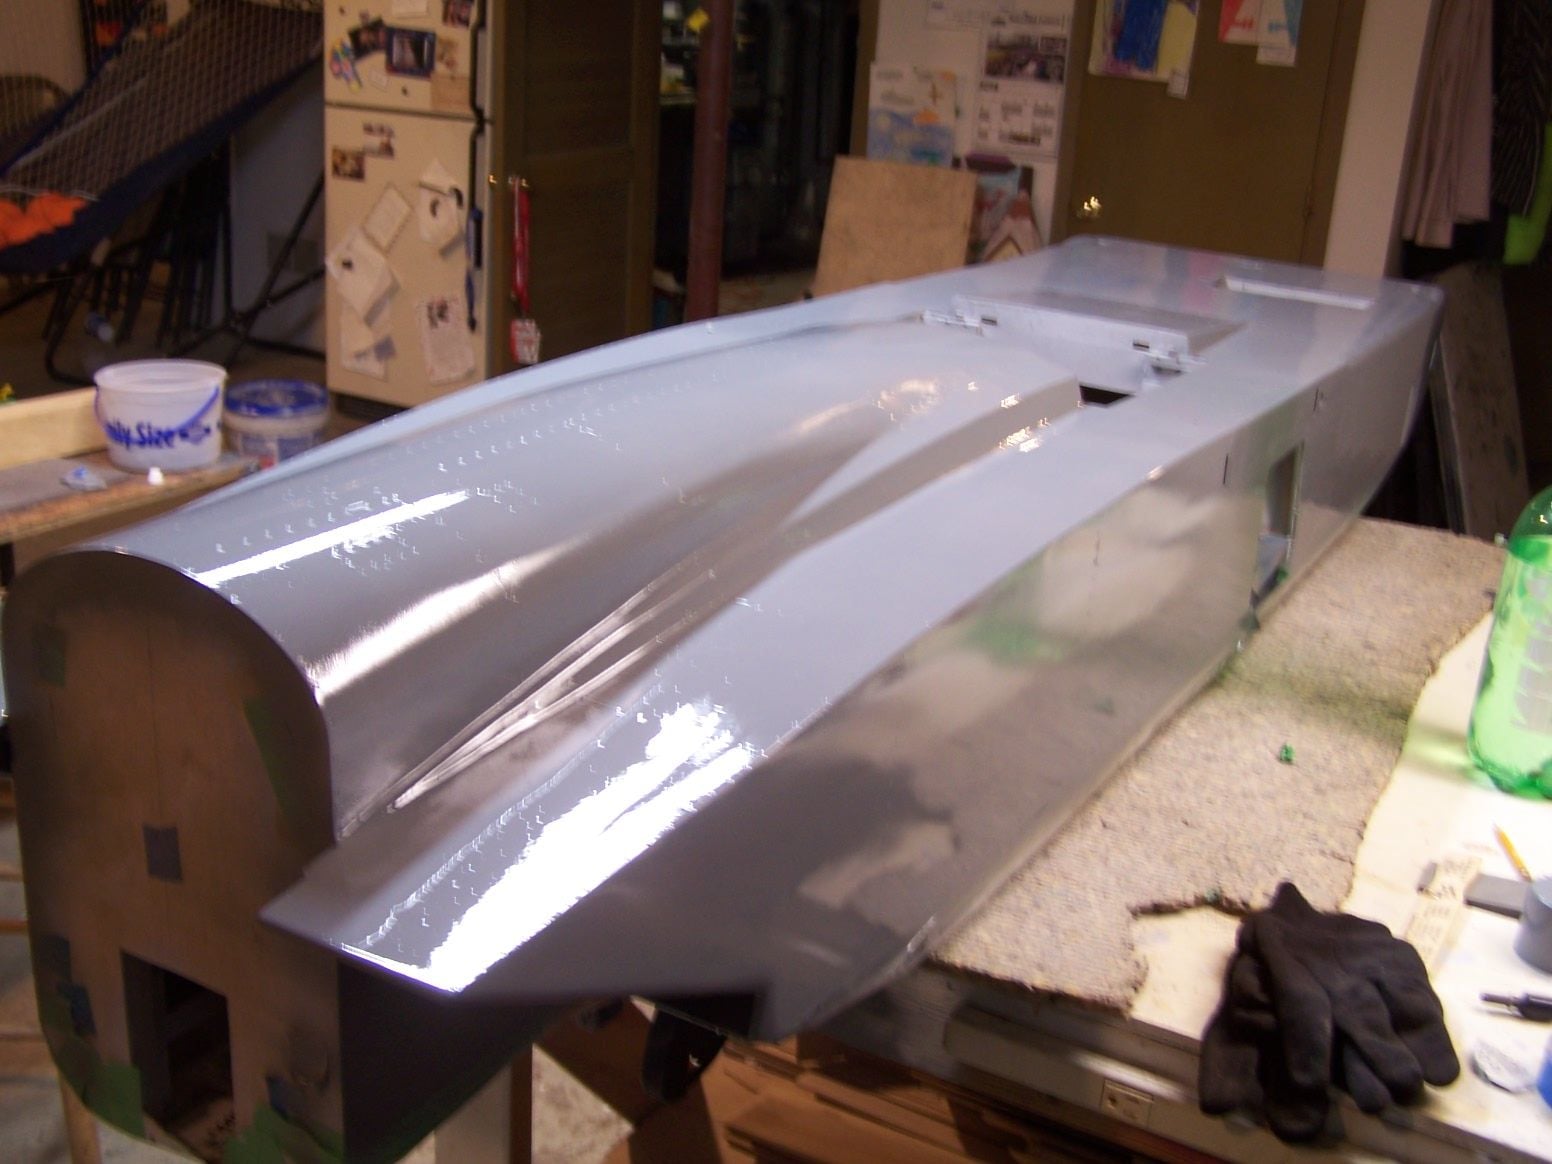
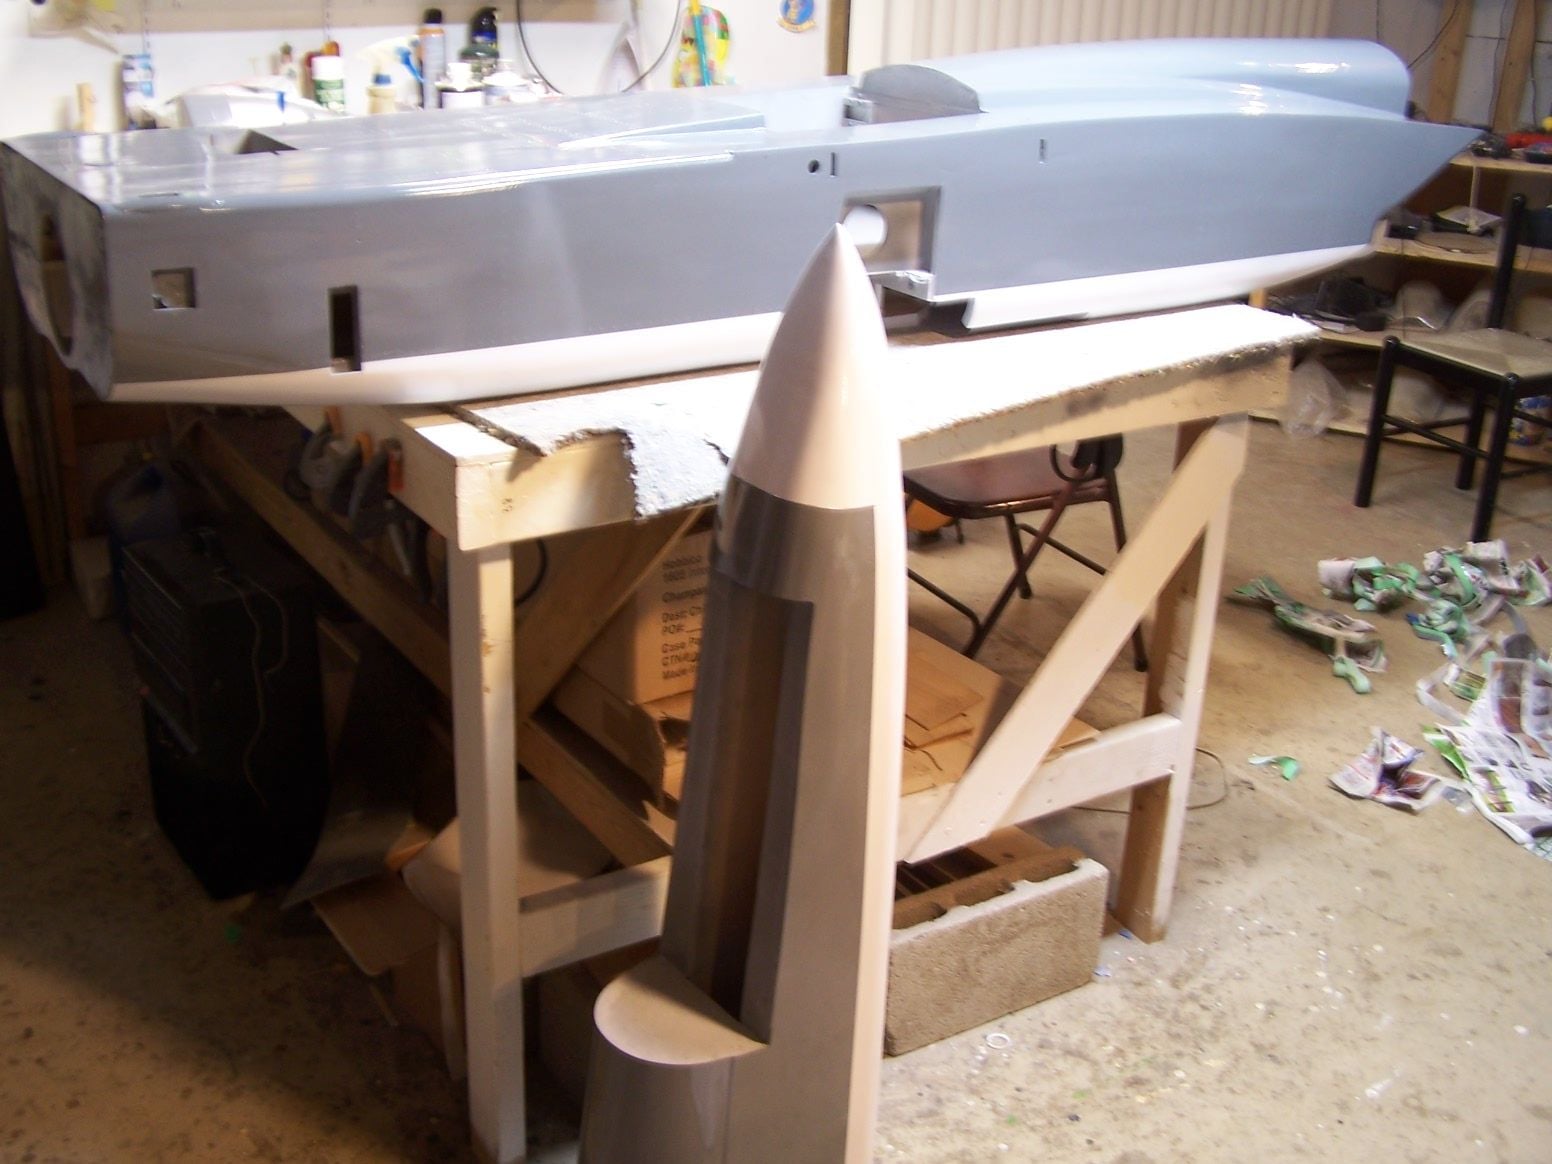
The gray on the nose and the gray on the fuse are the exact same color. You wouldn't think so in that last picture. It's just a matter of how the light is hitting it.
08-12-2018, 05:24 PM
#497
Thread Starter
Join Date: Mar 2009
Location: willow springs , IL
Posts: 1,219
Likes: 0
Received 25 Likes
on
14 Posts
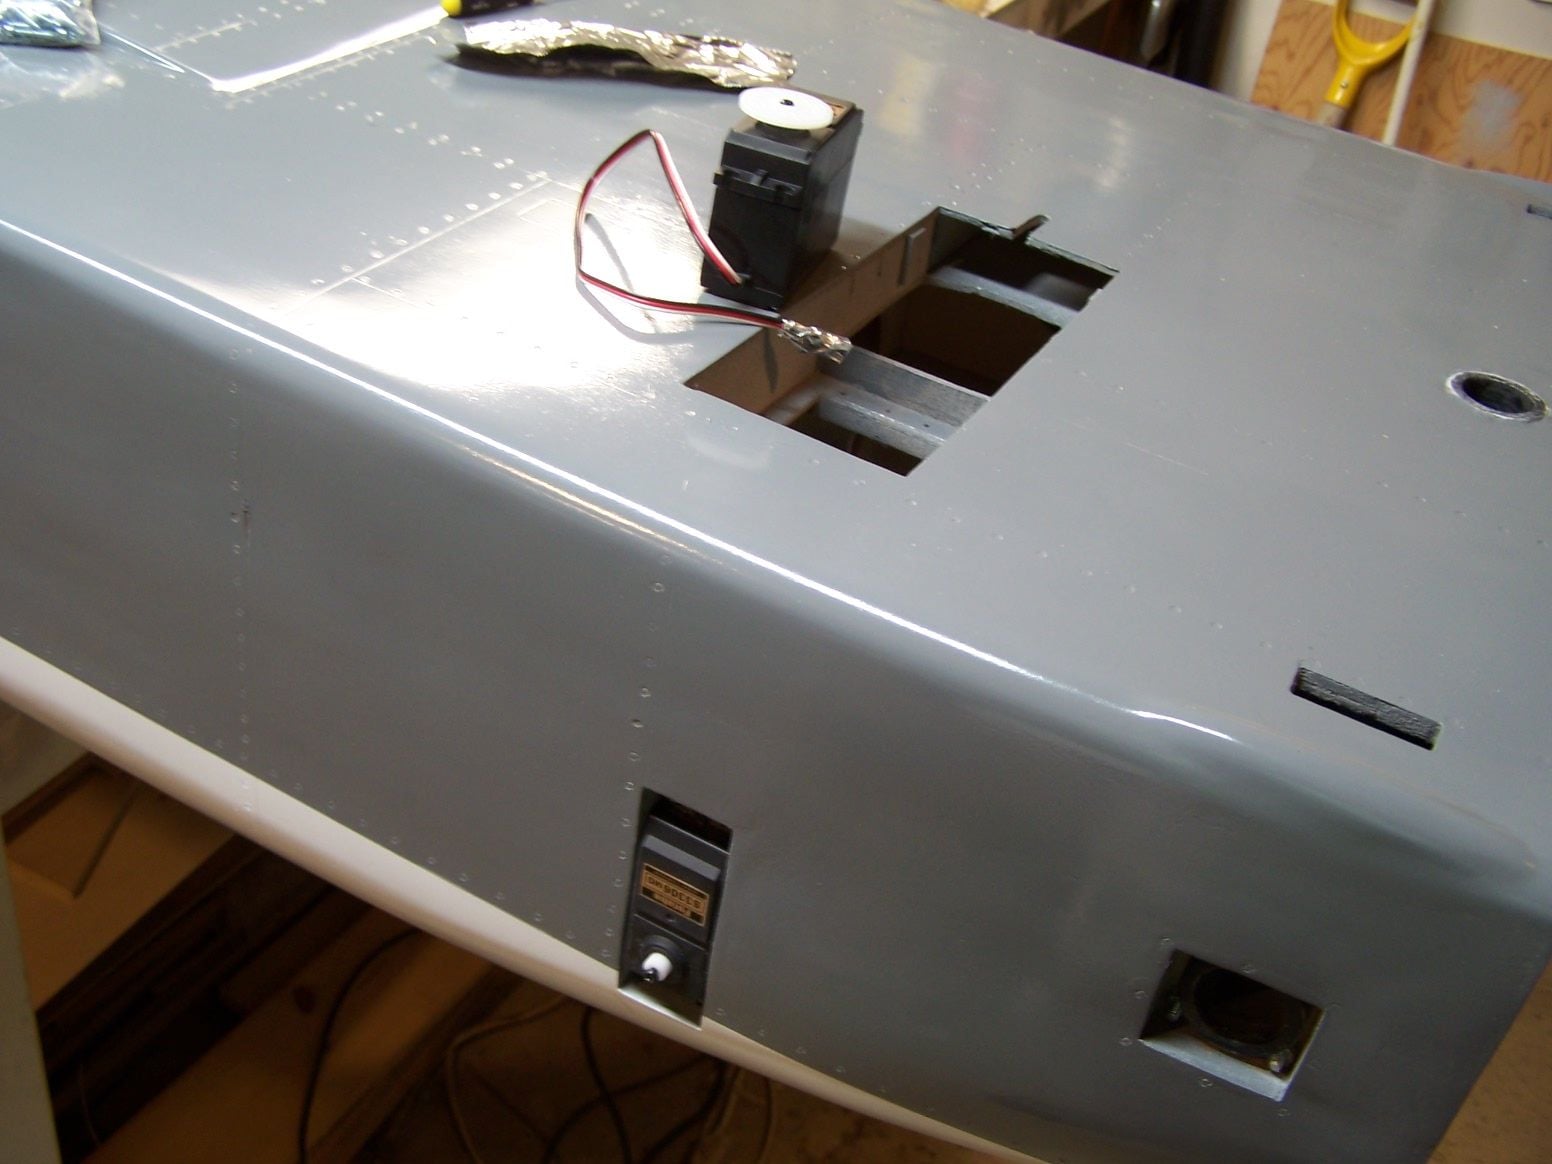
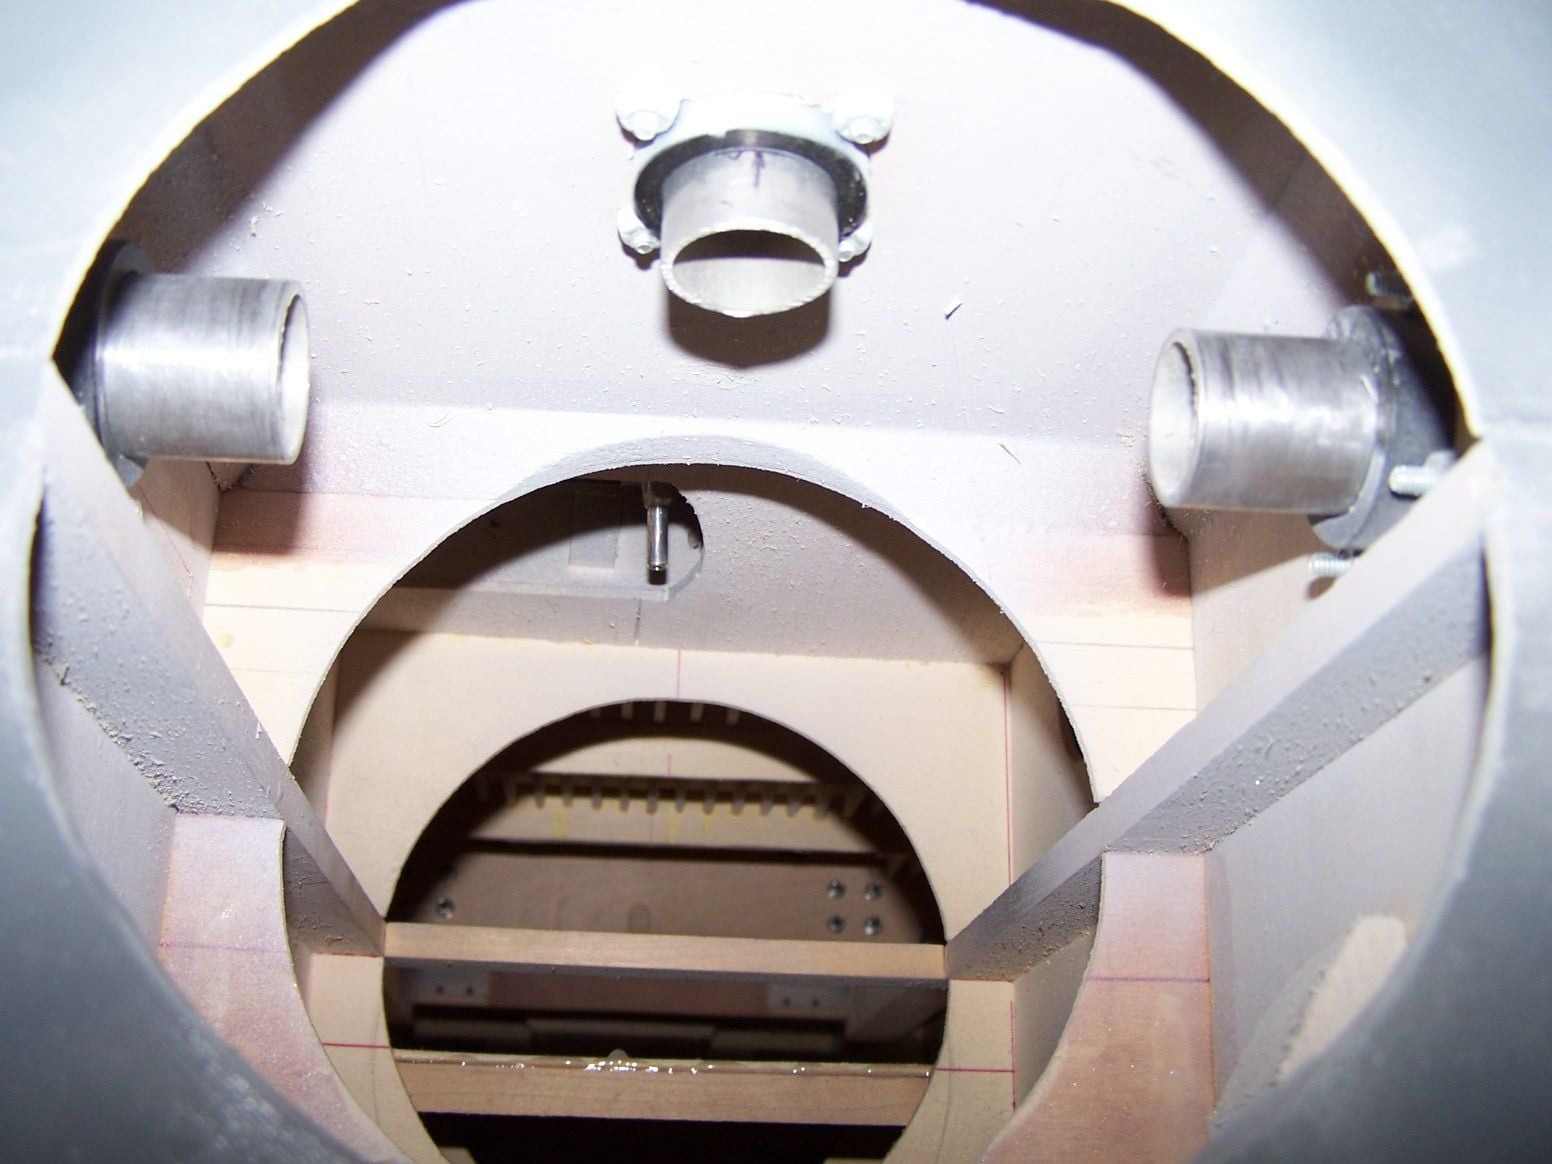
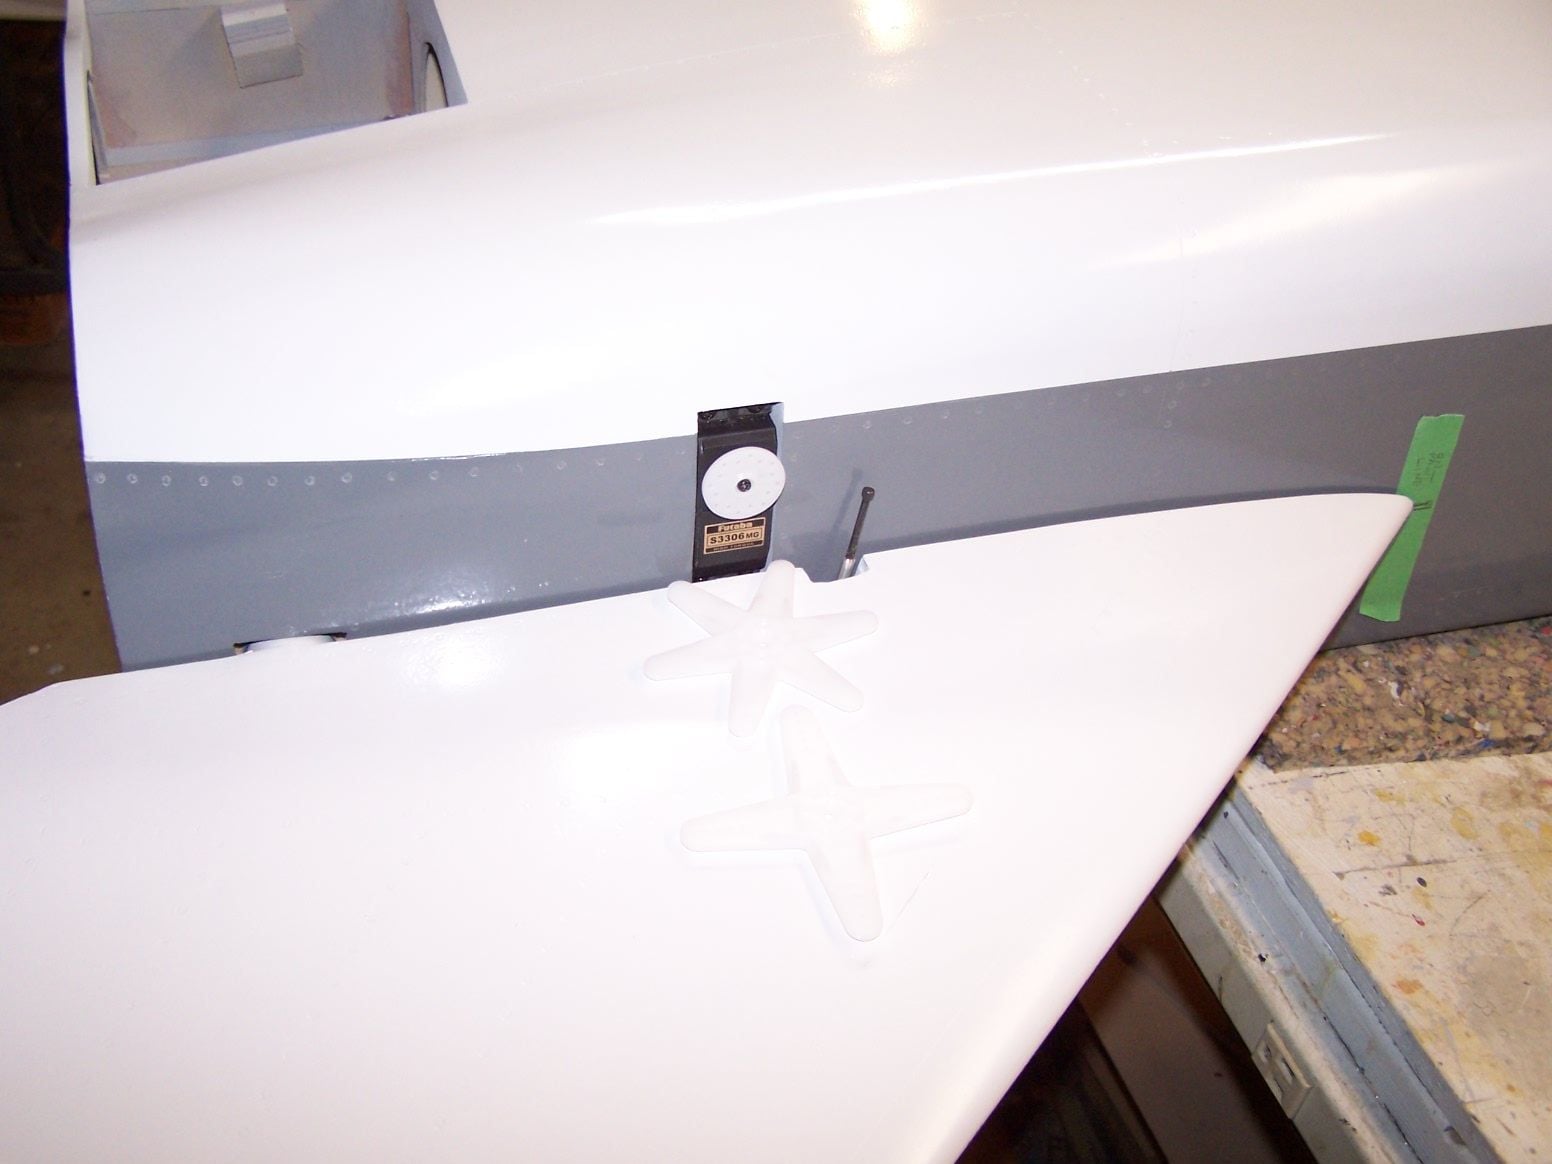
the servos for the elevons and rudder went in

some of the nice linkages Vladimir machined for the plane

I had center marked in the primer then I painted over it. I had to remind it.
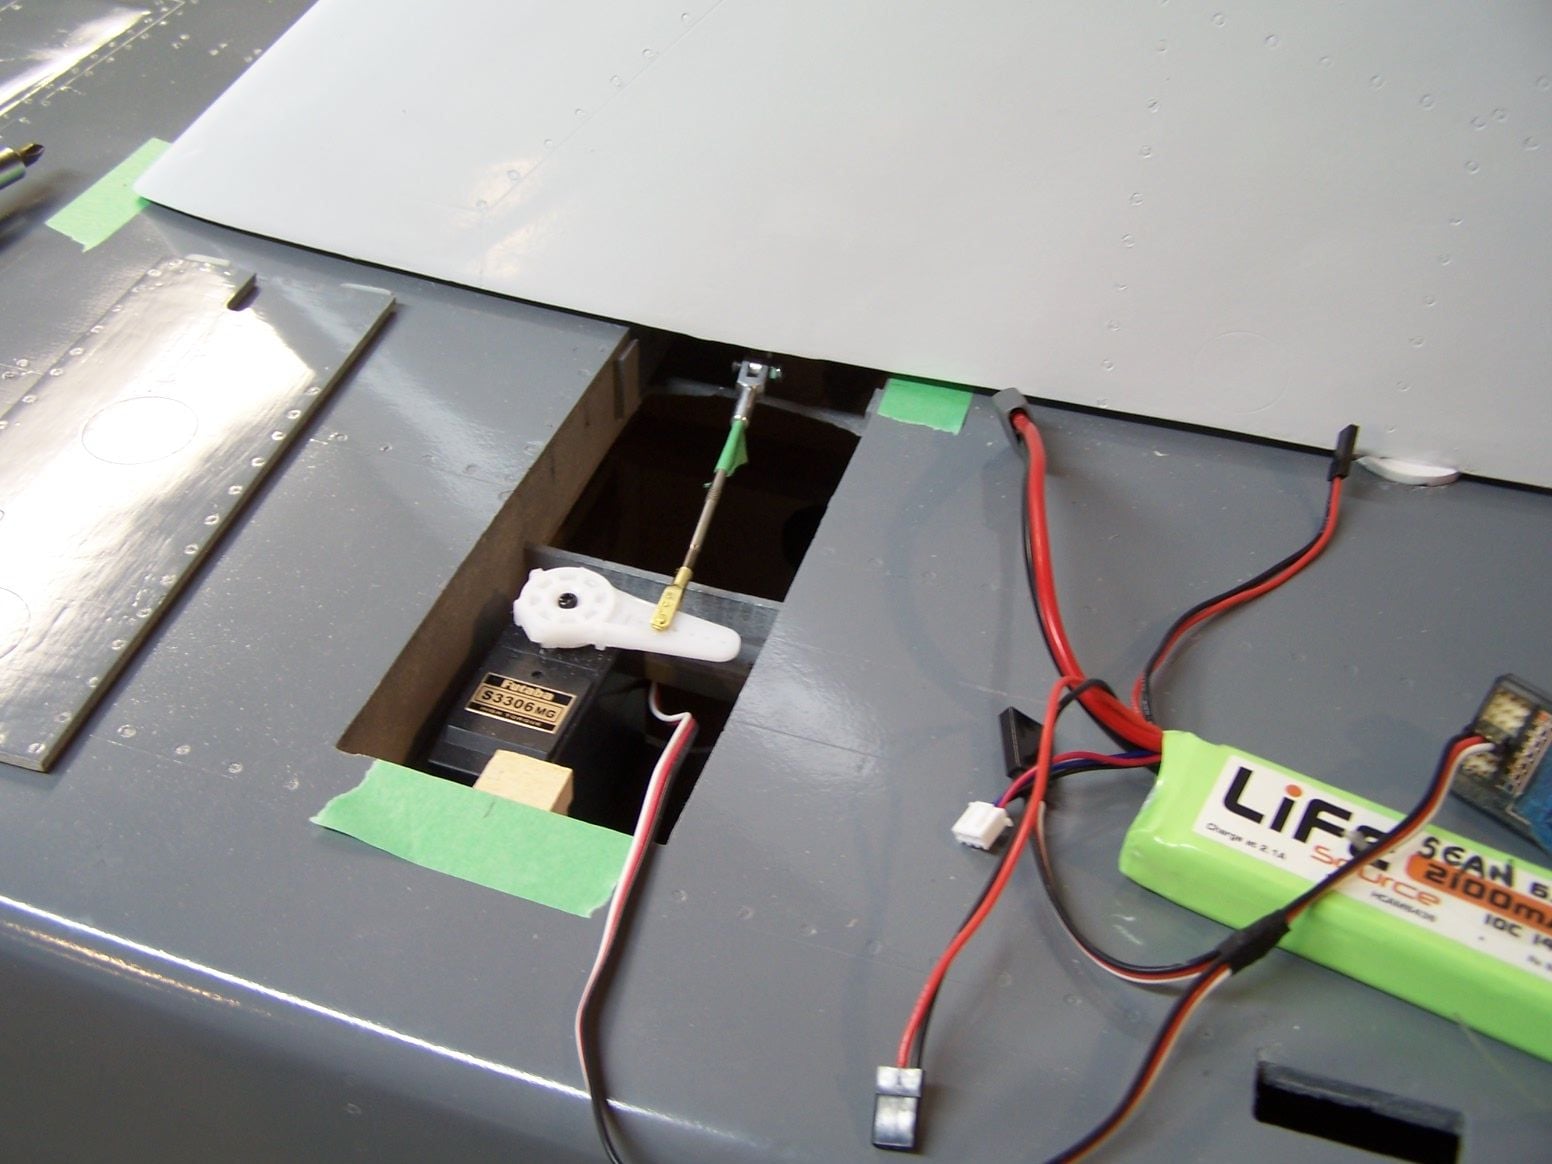
The arm for the rudder servo wit some temp. linkage
08-12-2018, 05:33 PM
#498
Thread Starter
Join Date: Mar 2009
Location: willow springs , IL
Posts: 1,219
Likes: 0
Received 25 Likes
on
14 Posts
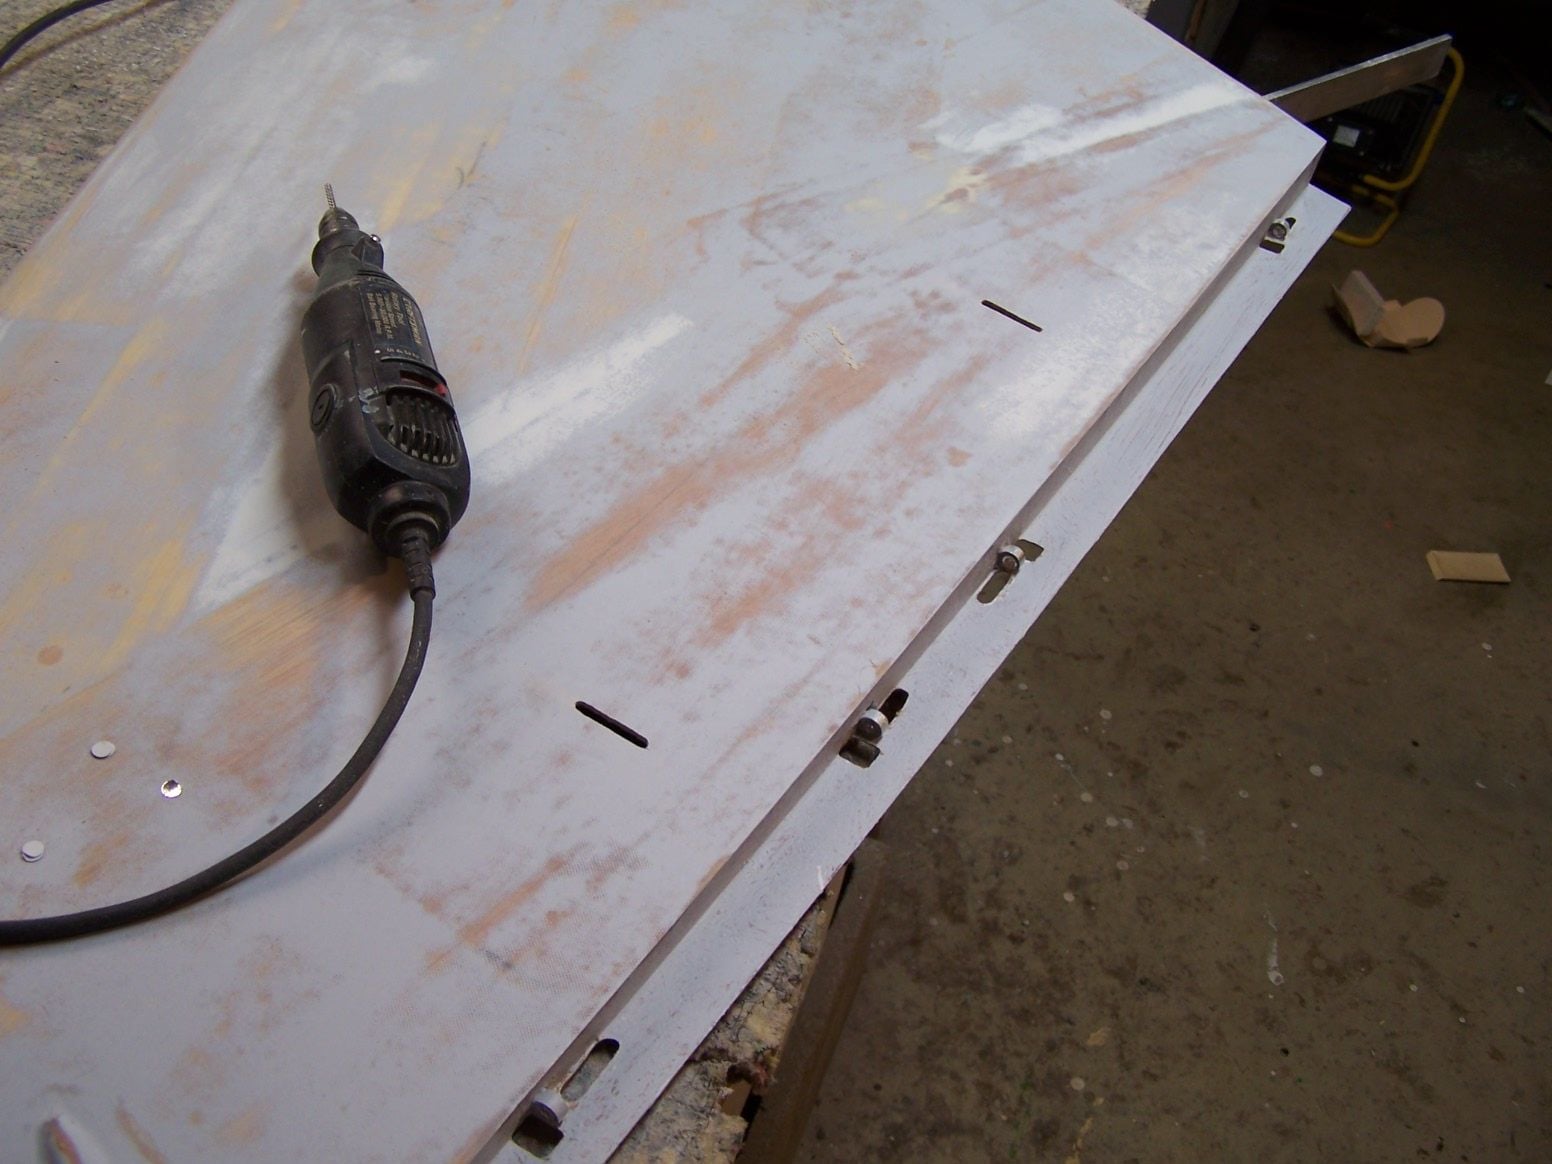
dremmeled open some slots for the linkage
A few tabs of hobby foil to keep primer out of the threads
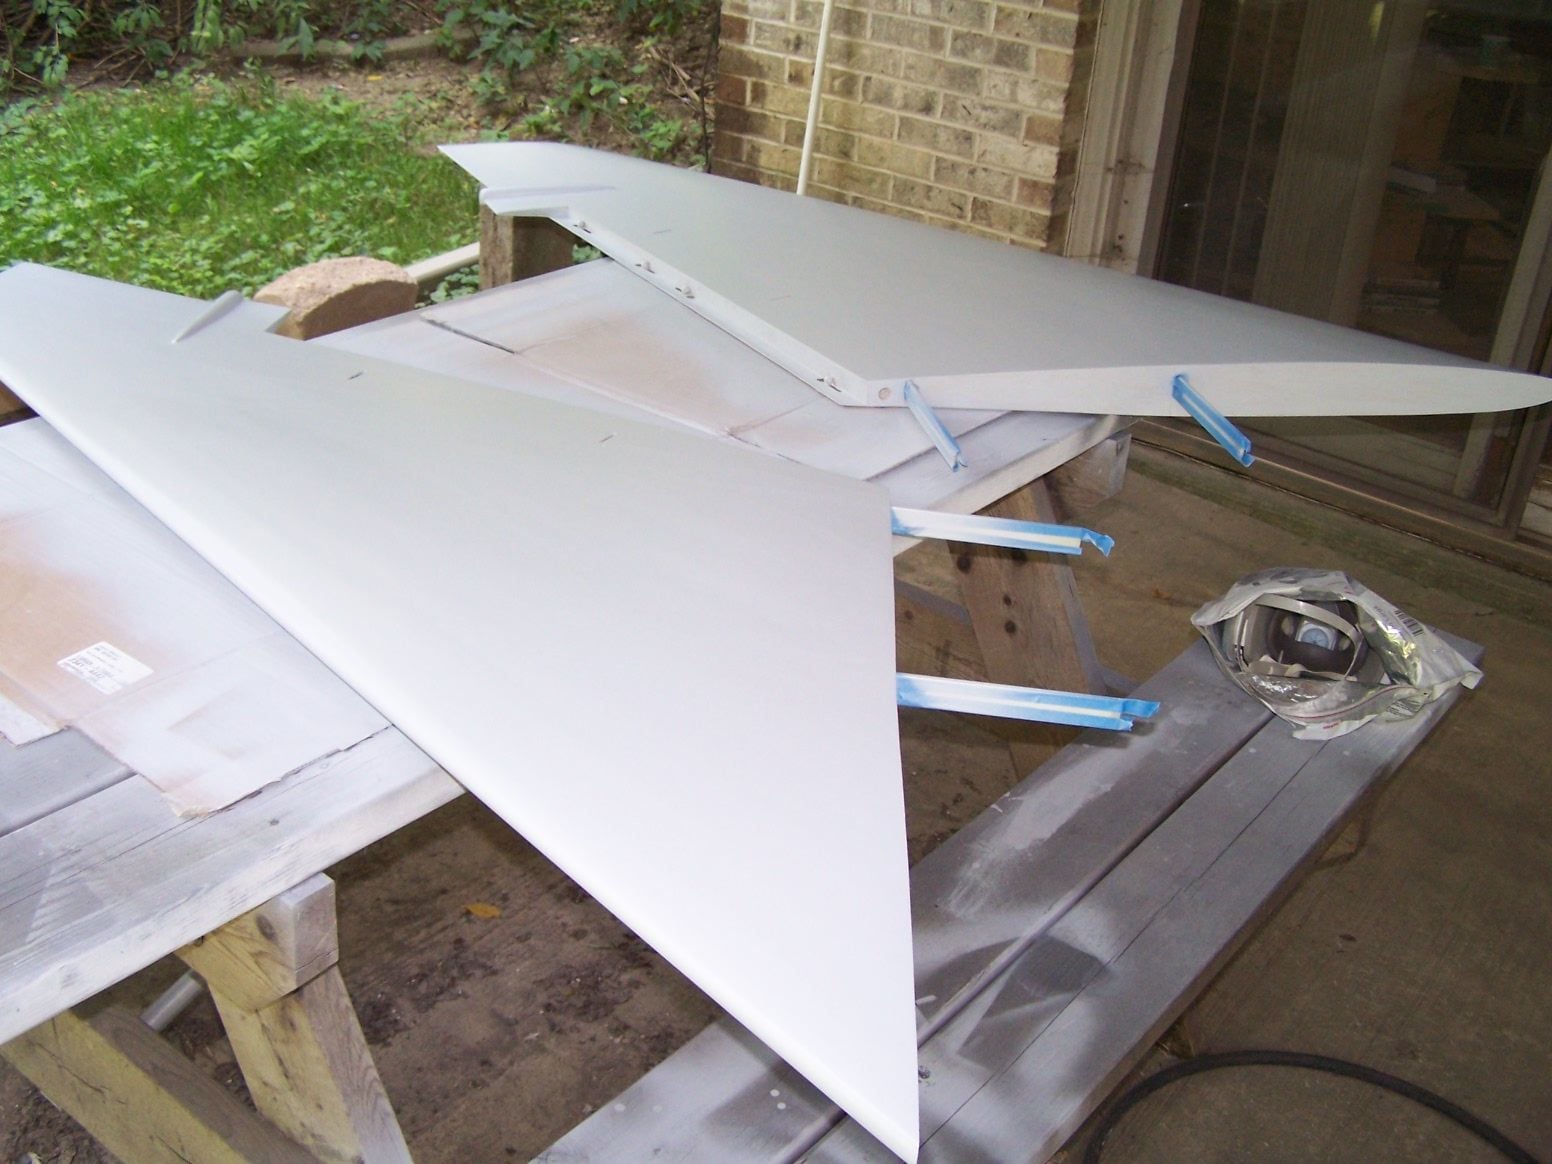
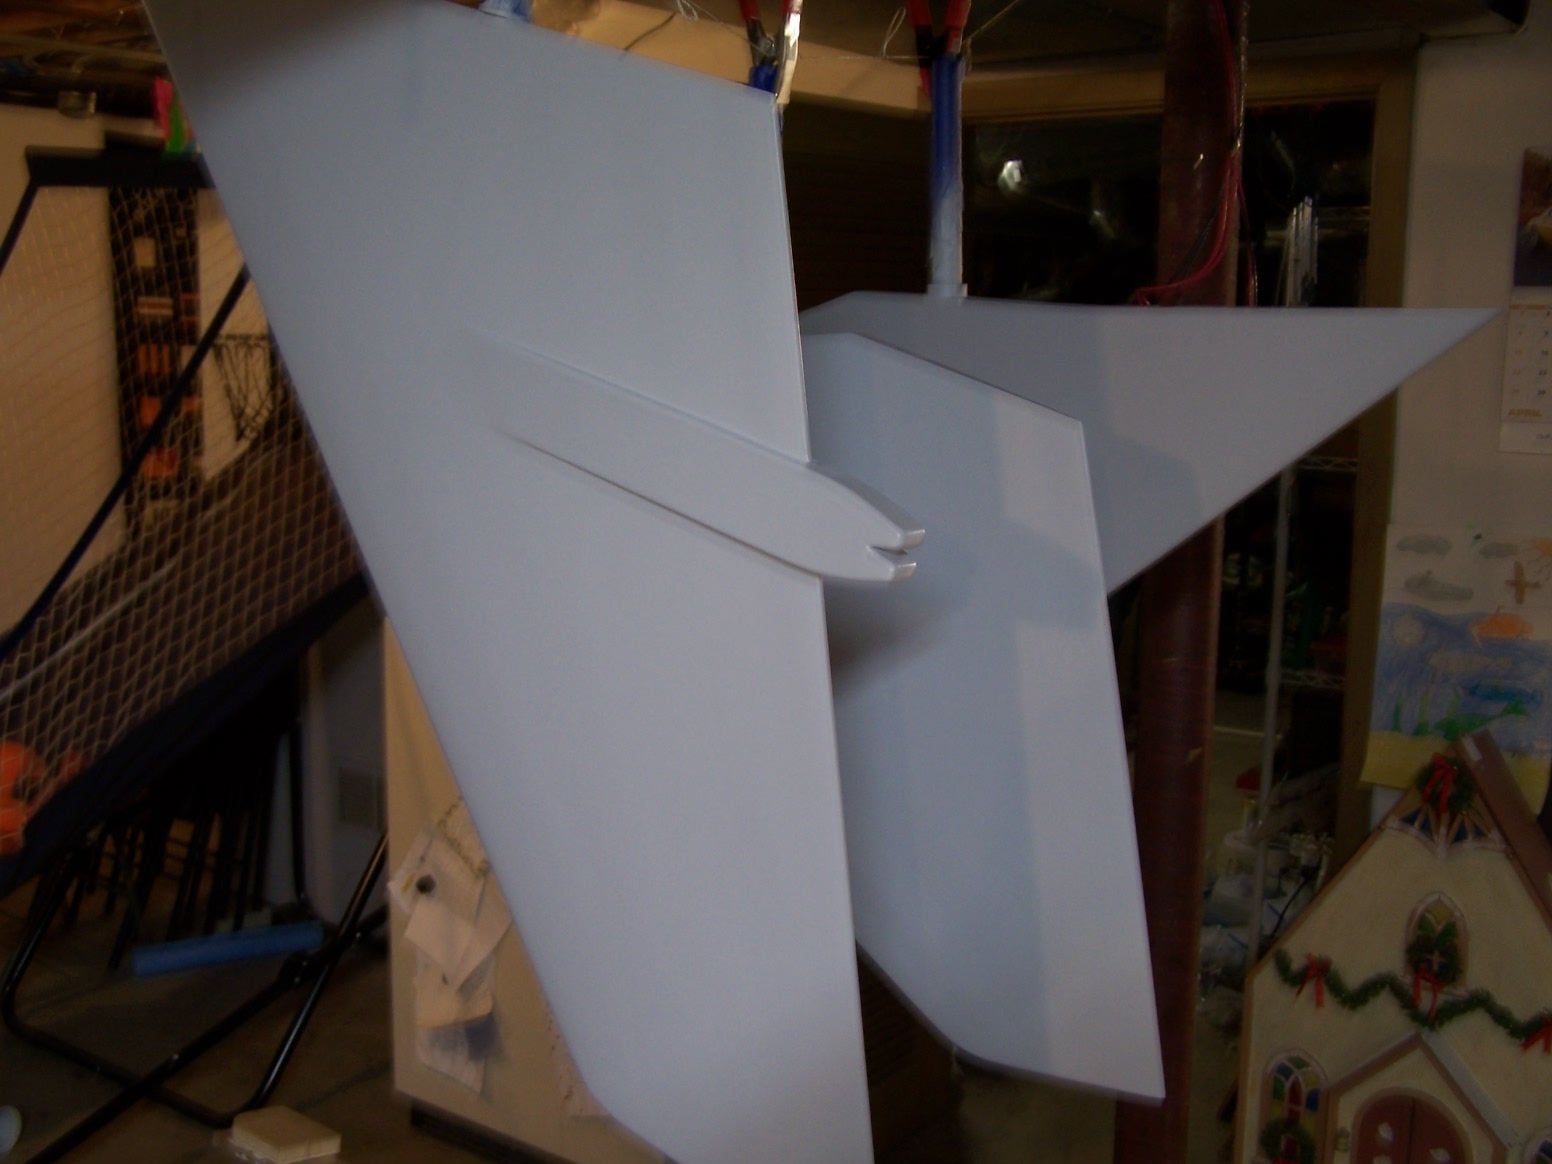
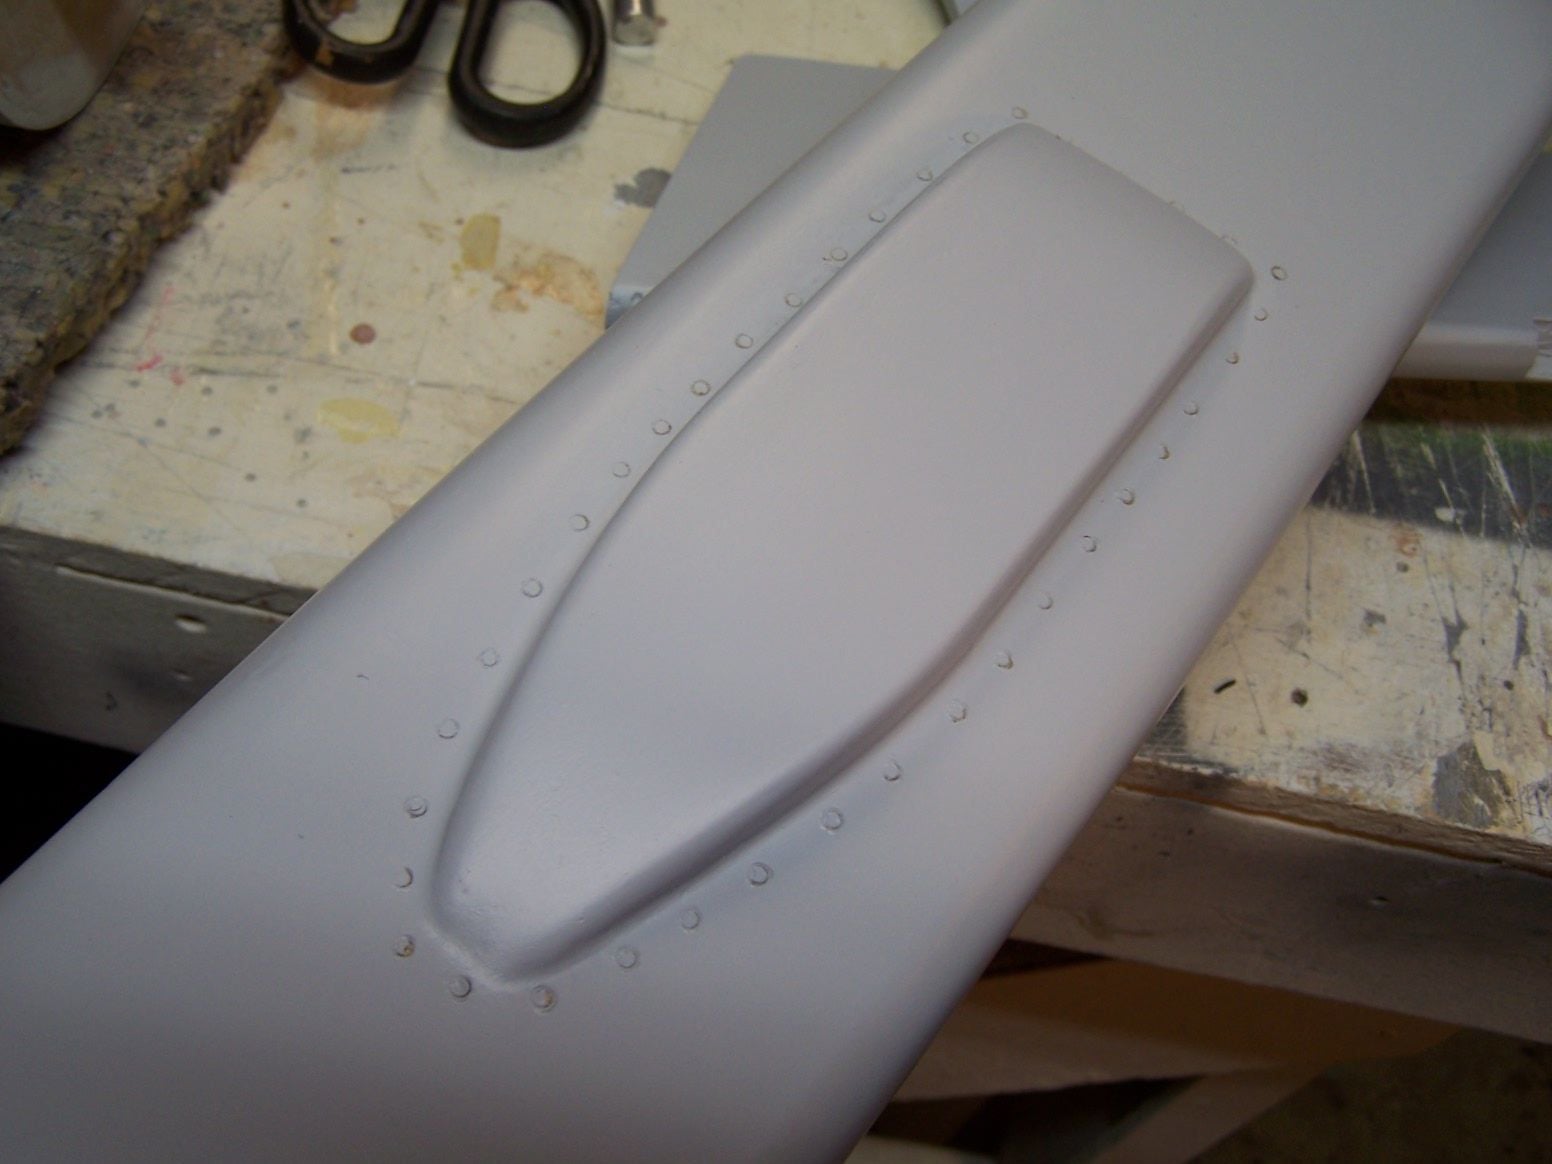
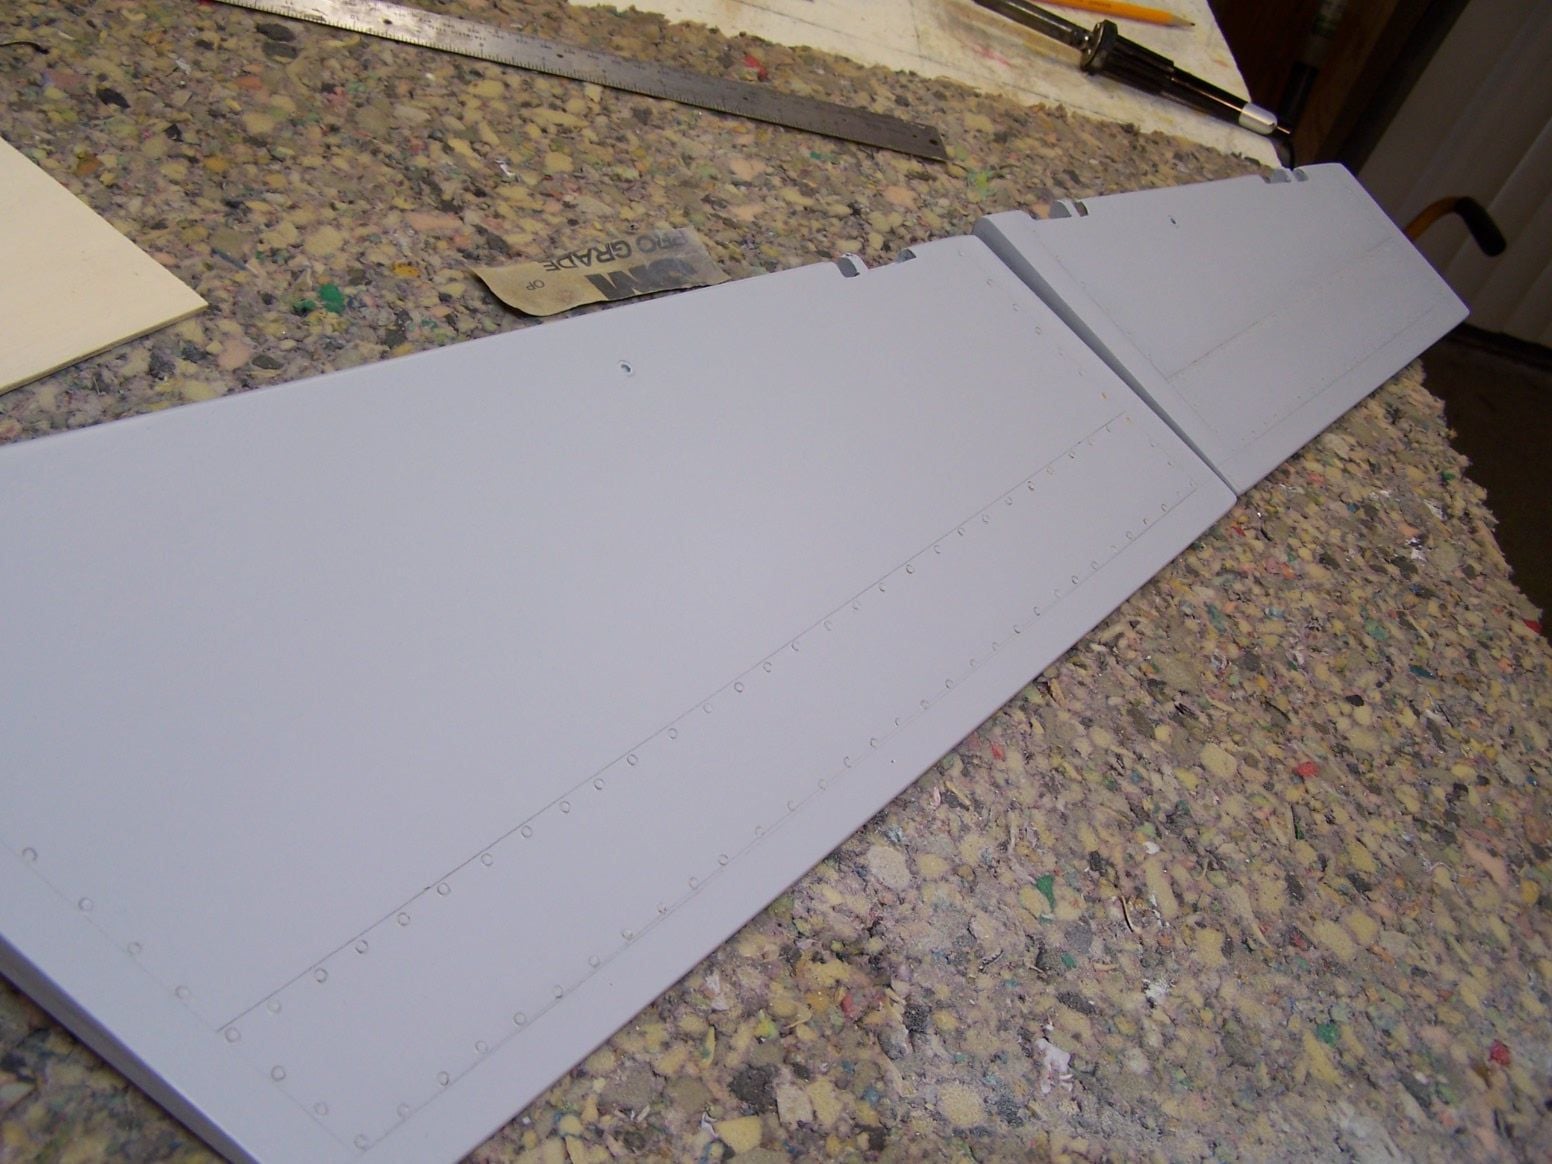
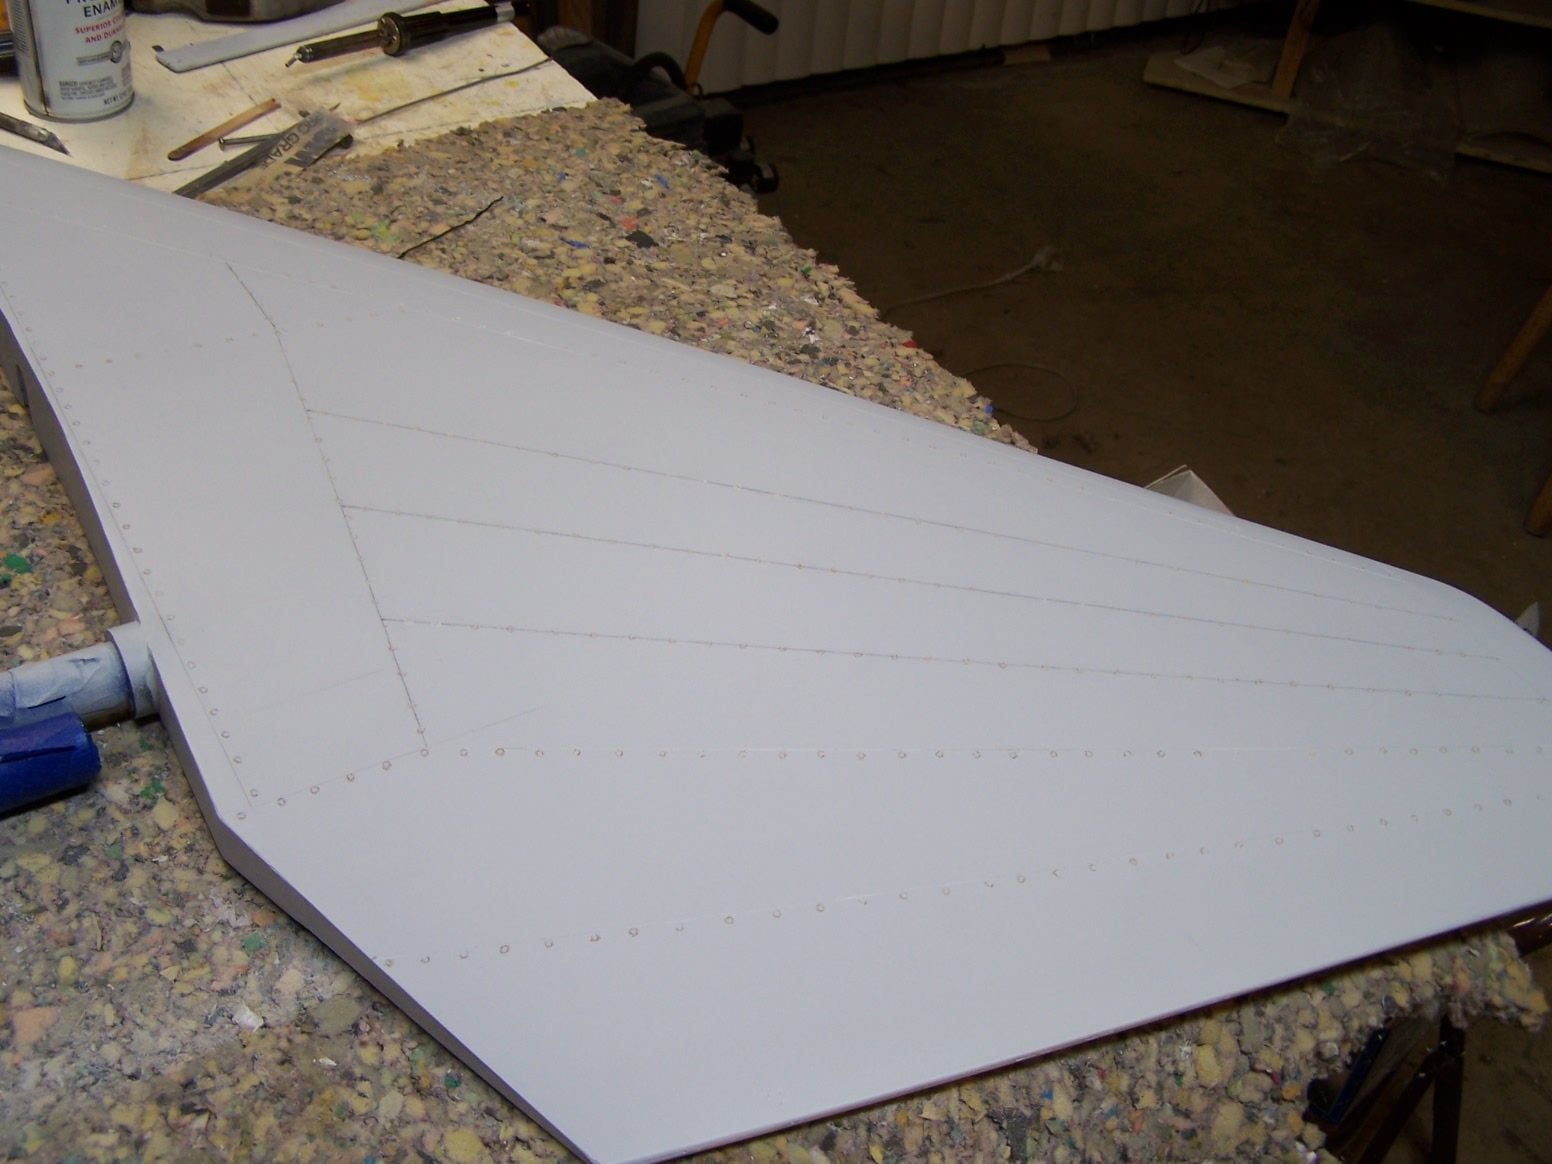
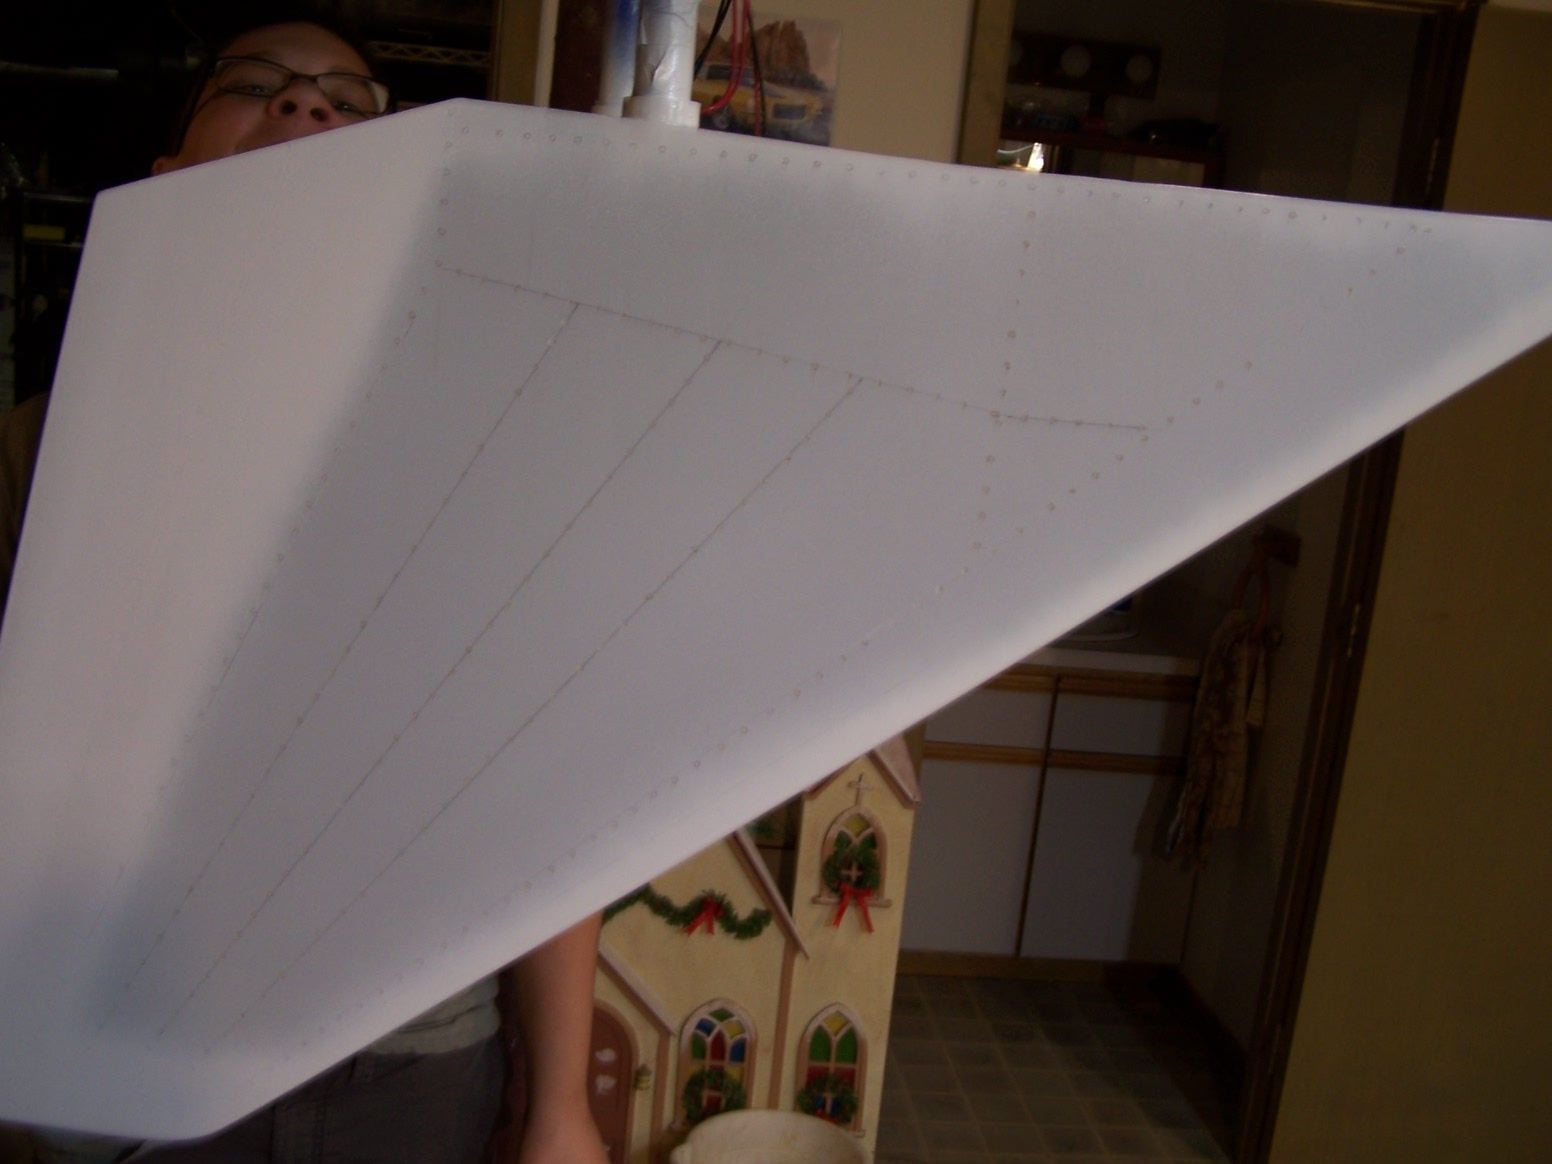
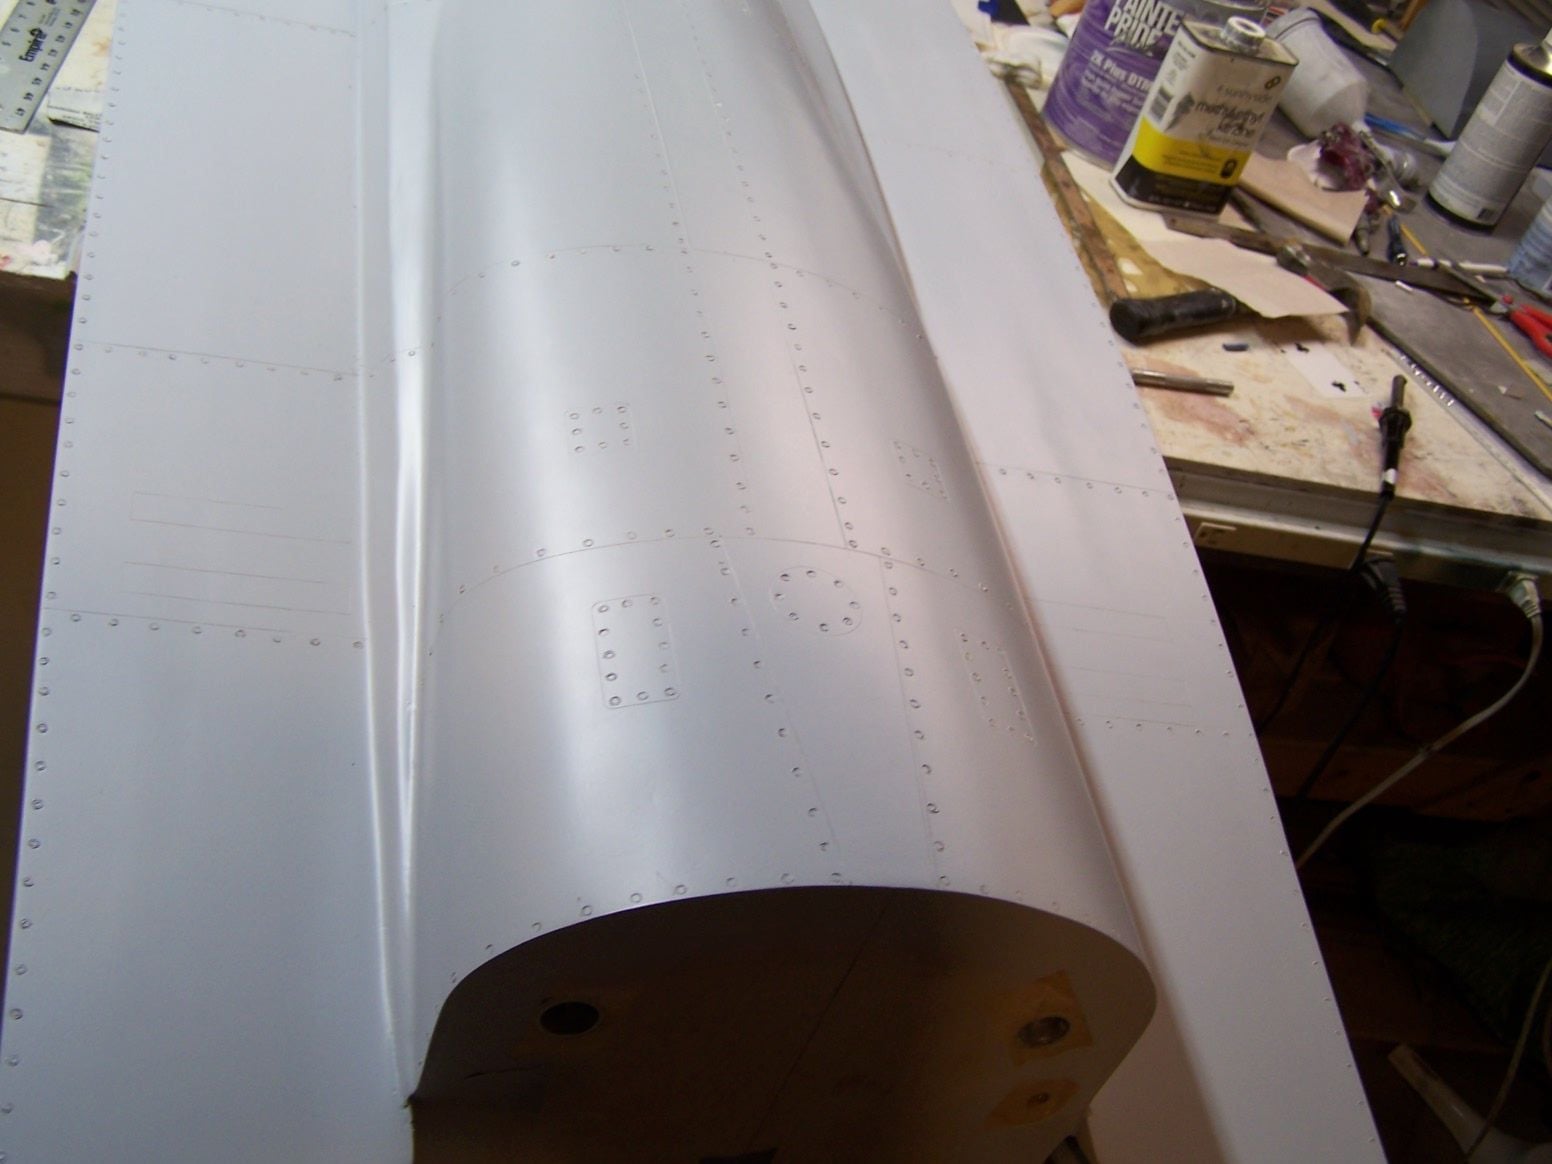
some bottom primer on the wings
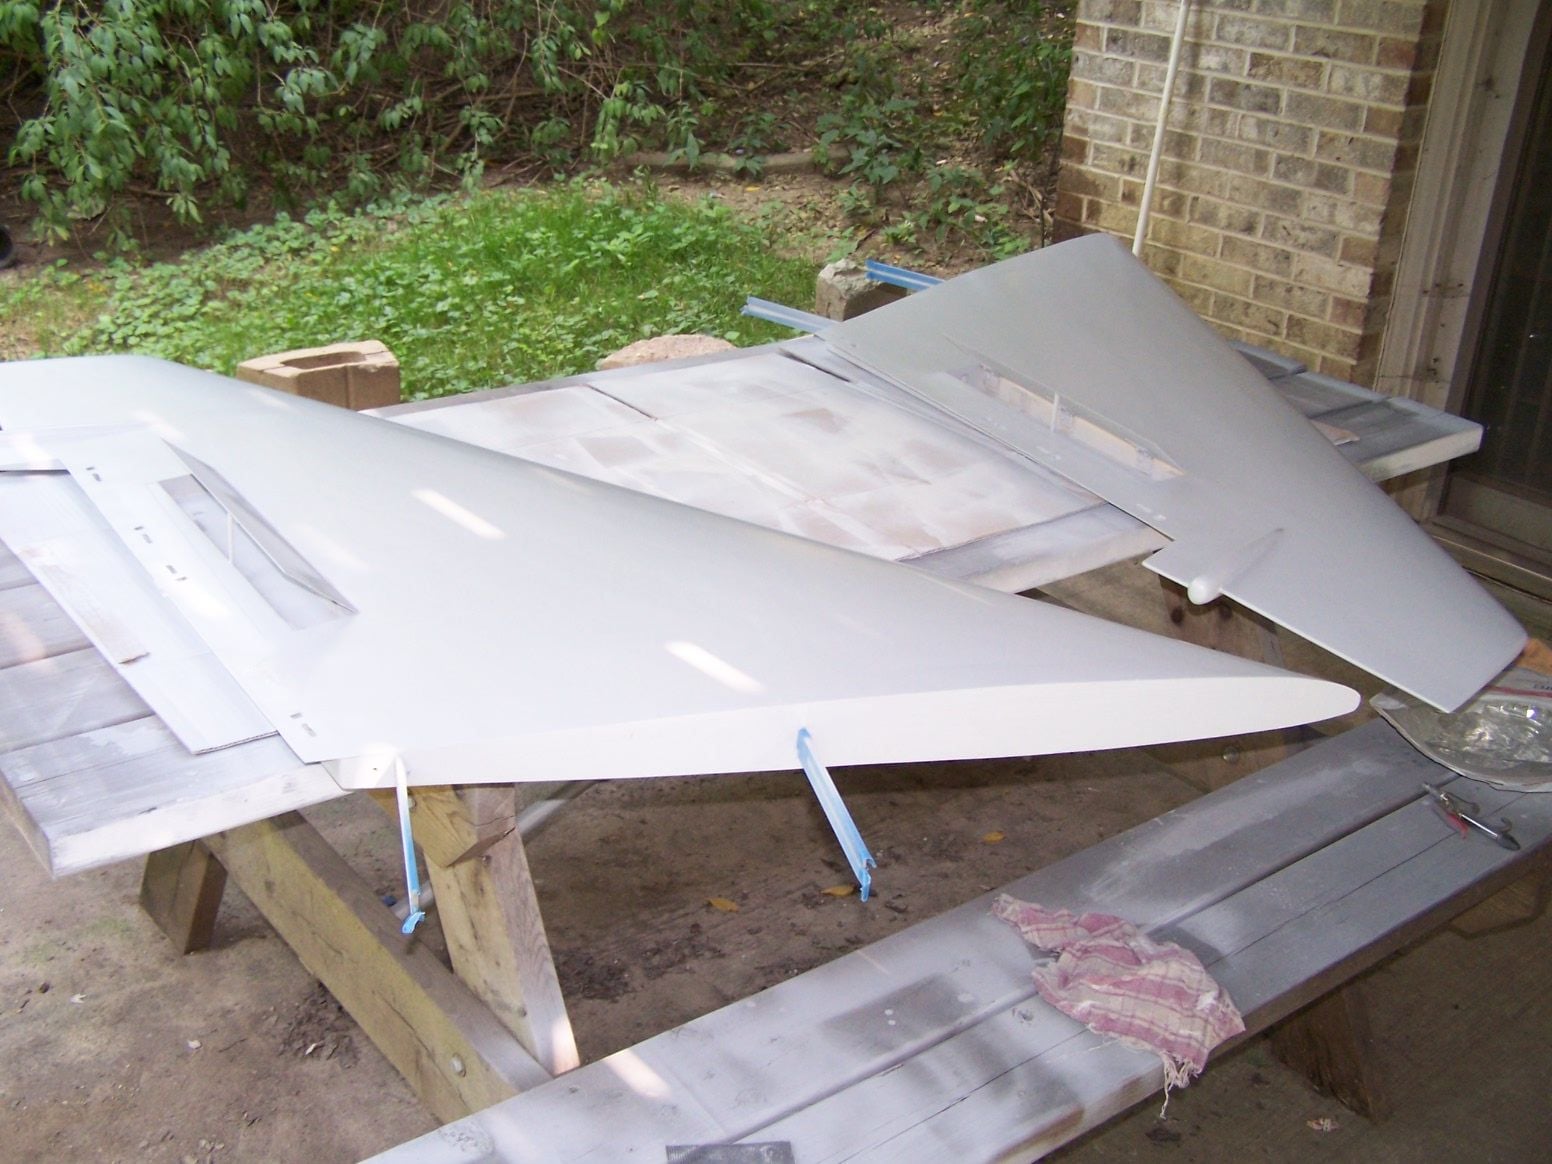
some primer on the tops of the wings. the sticks are holding things open so the primer doesn't glue anything shut
08-14-2018, 07:24 PM
#499
Thread Starter
Join Date: Mar 2009
Location: willow springs , IL
Posts: 1,219
Likes: 0
Received 25 Likes
on
14 Posts

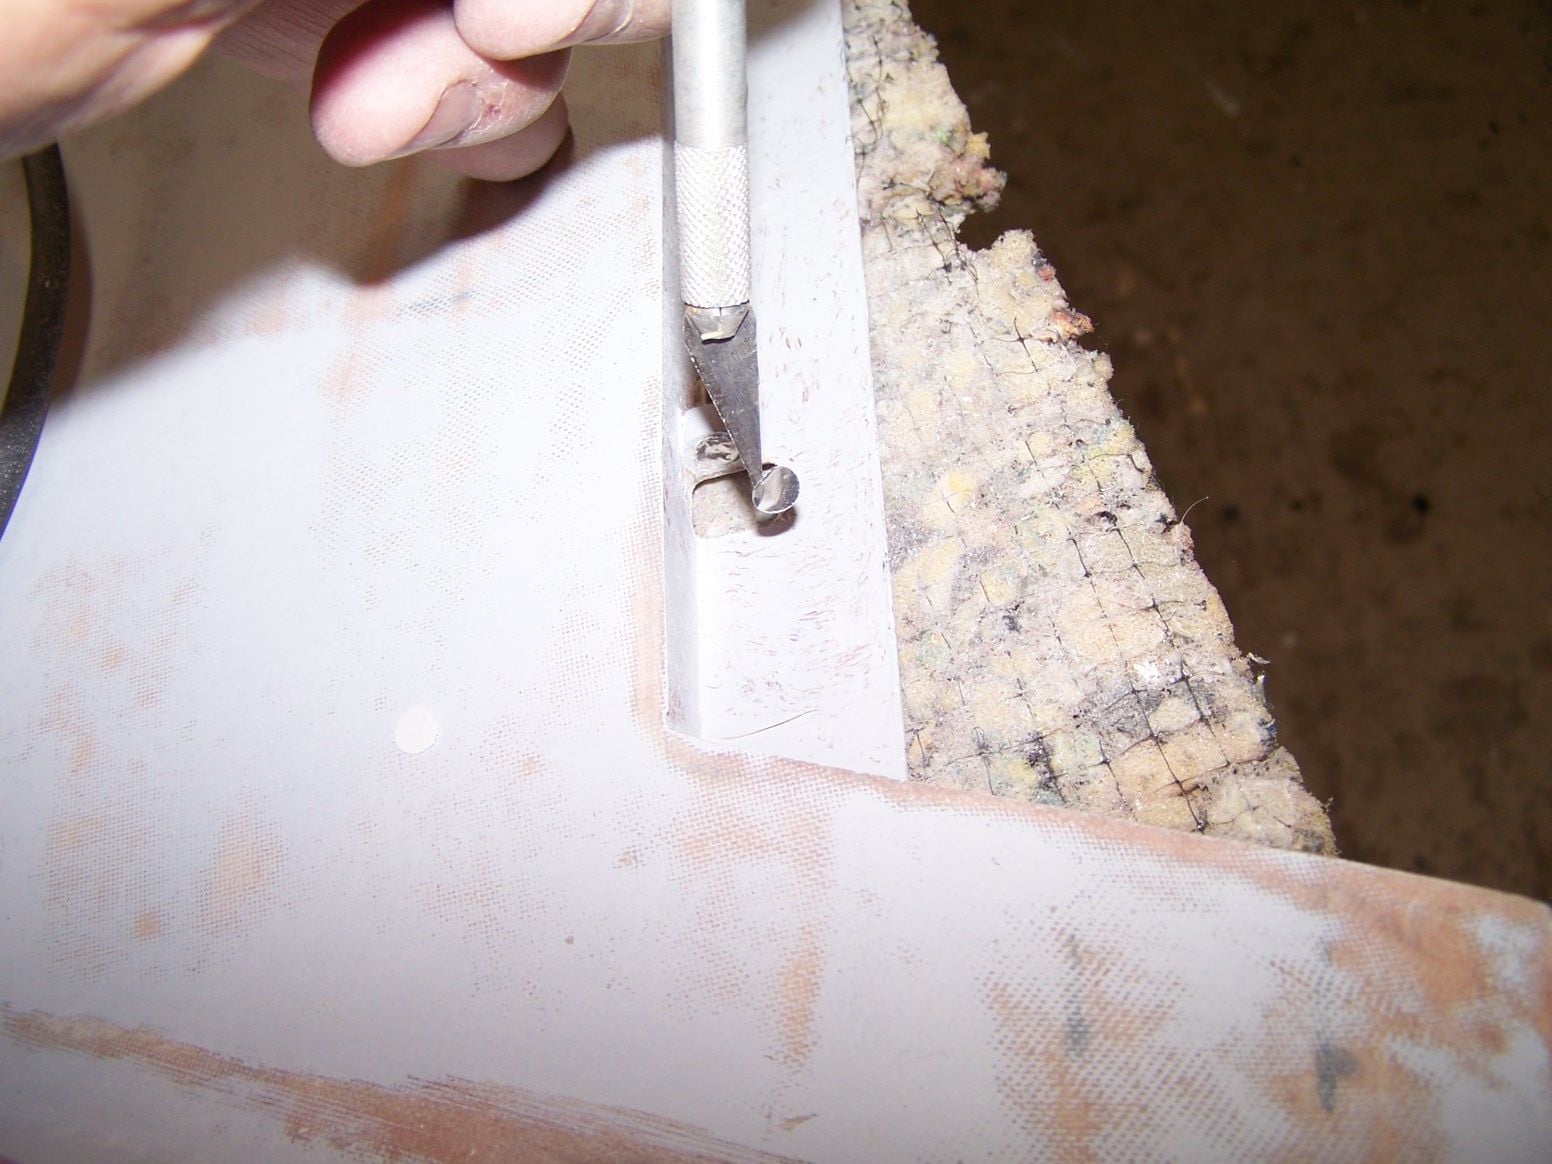
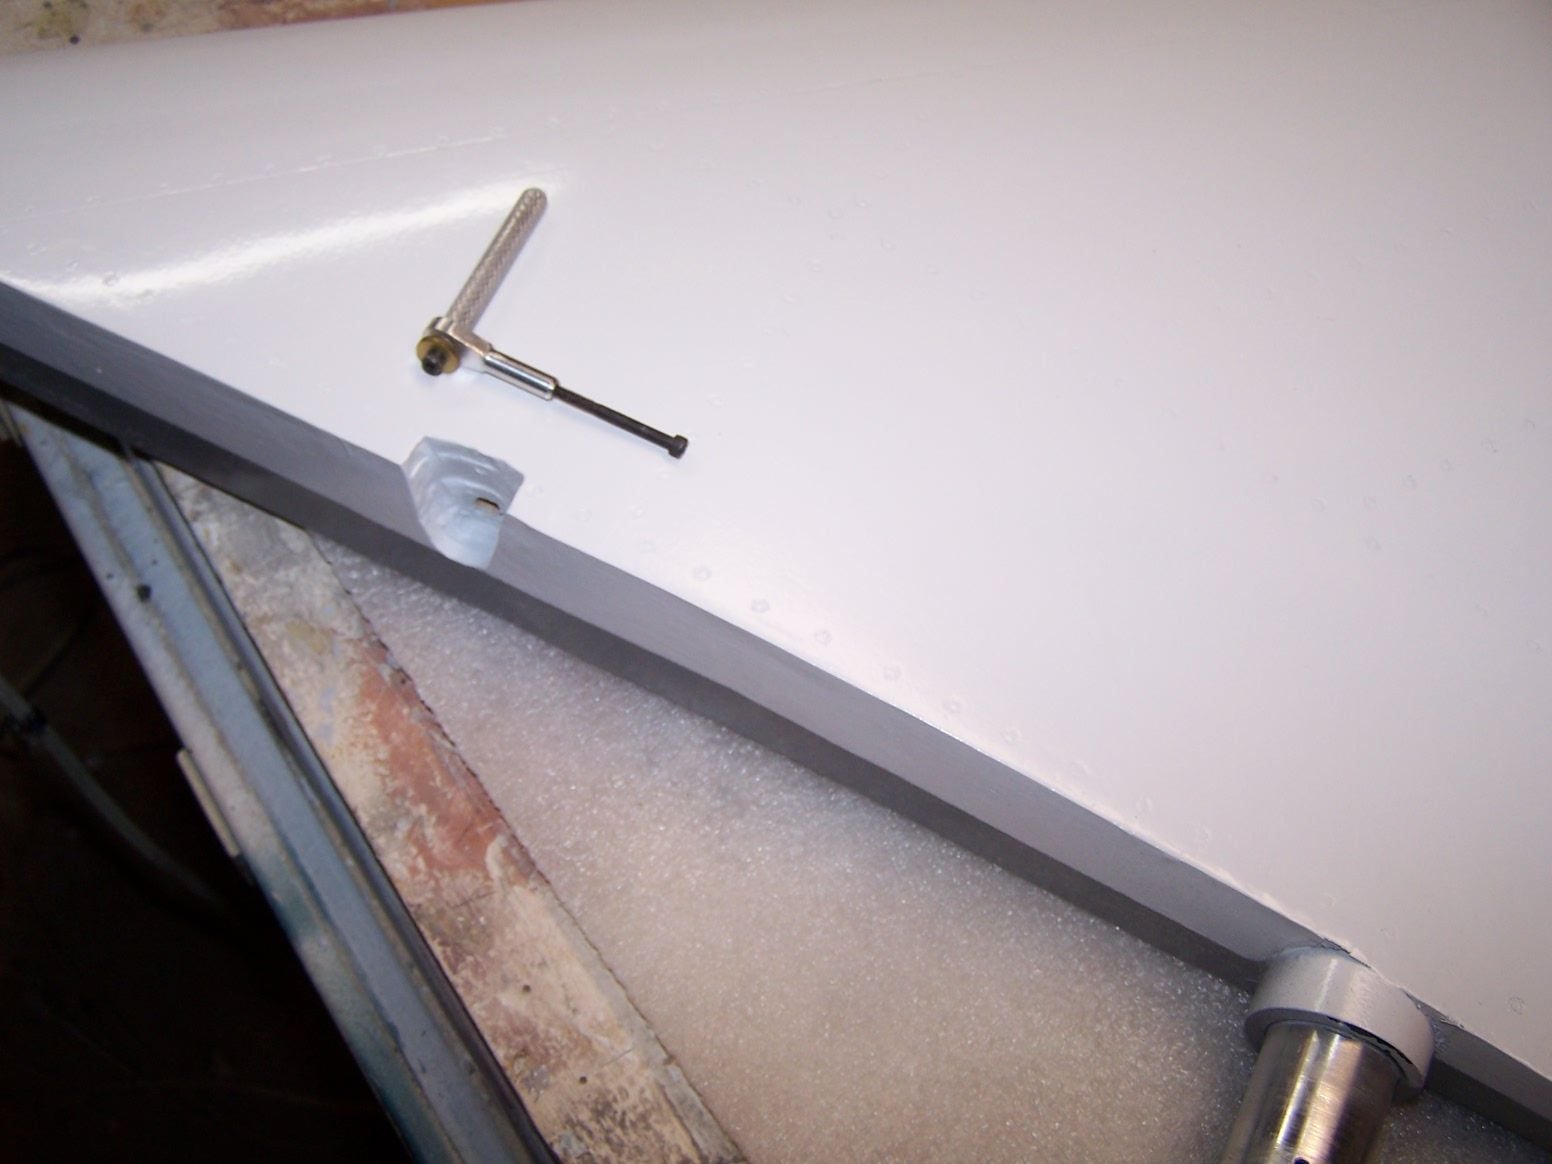
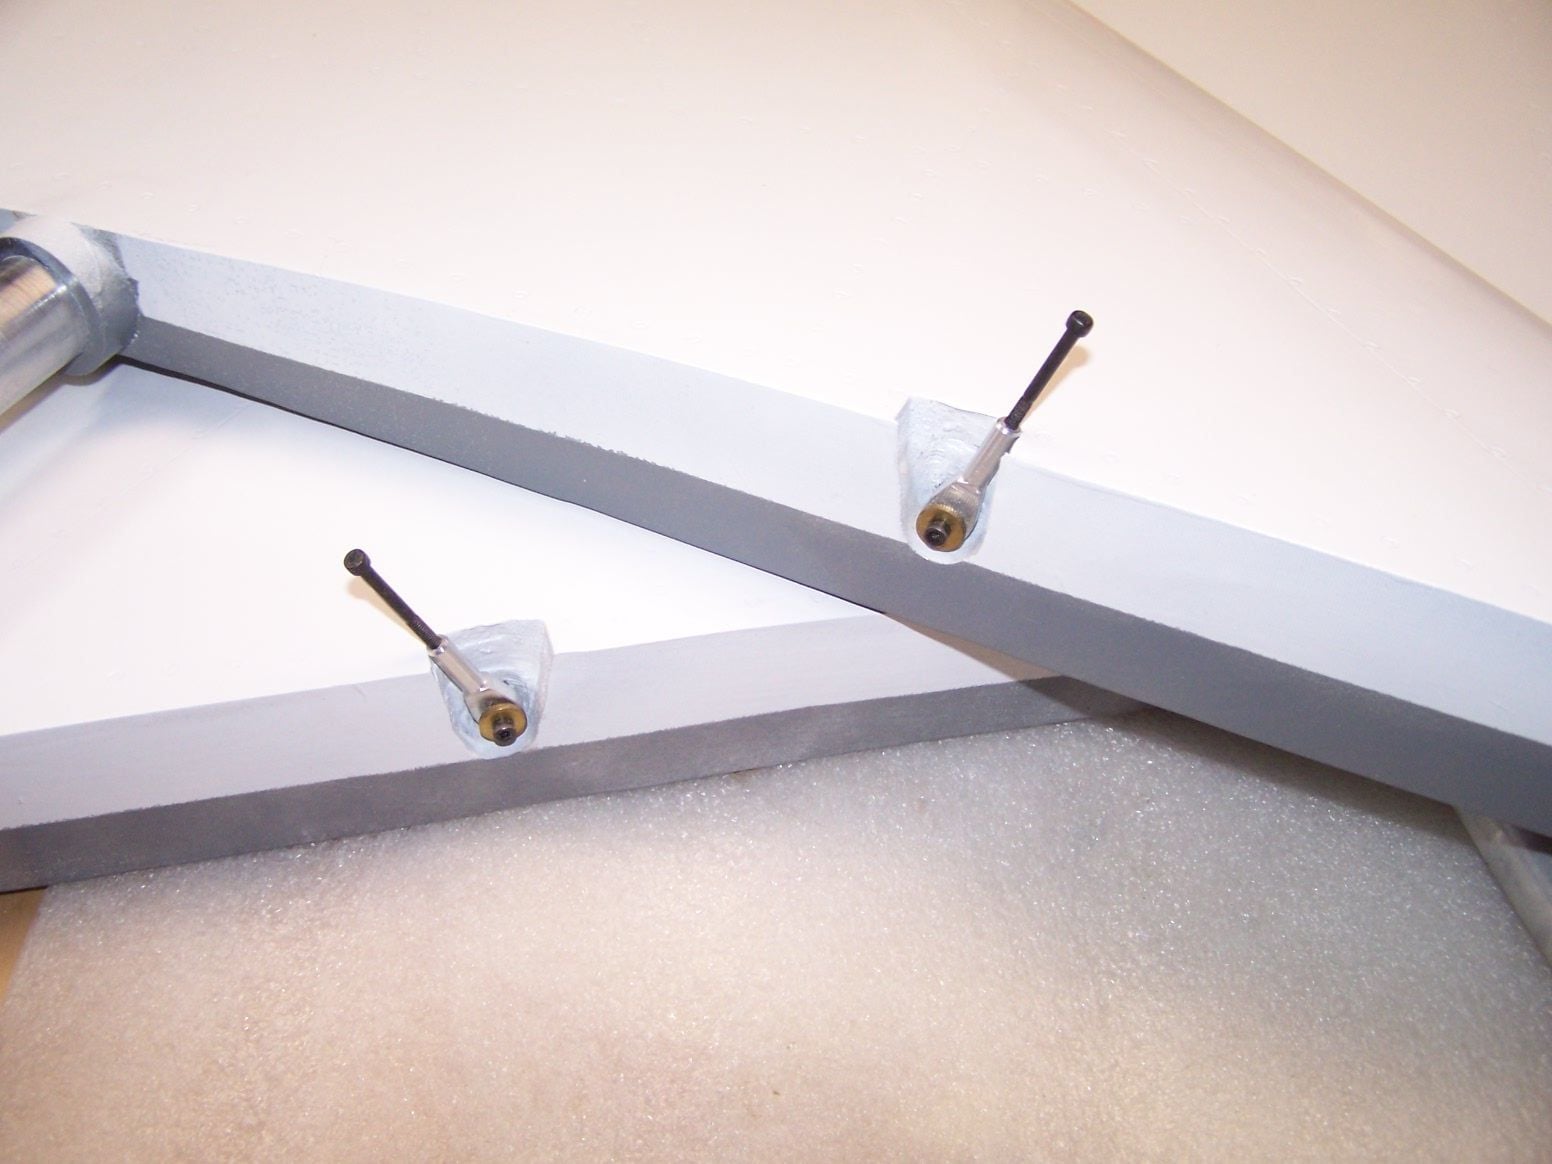
Some G 10 for the ears on the rudder servo hatch
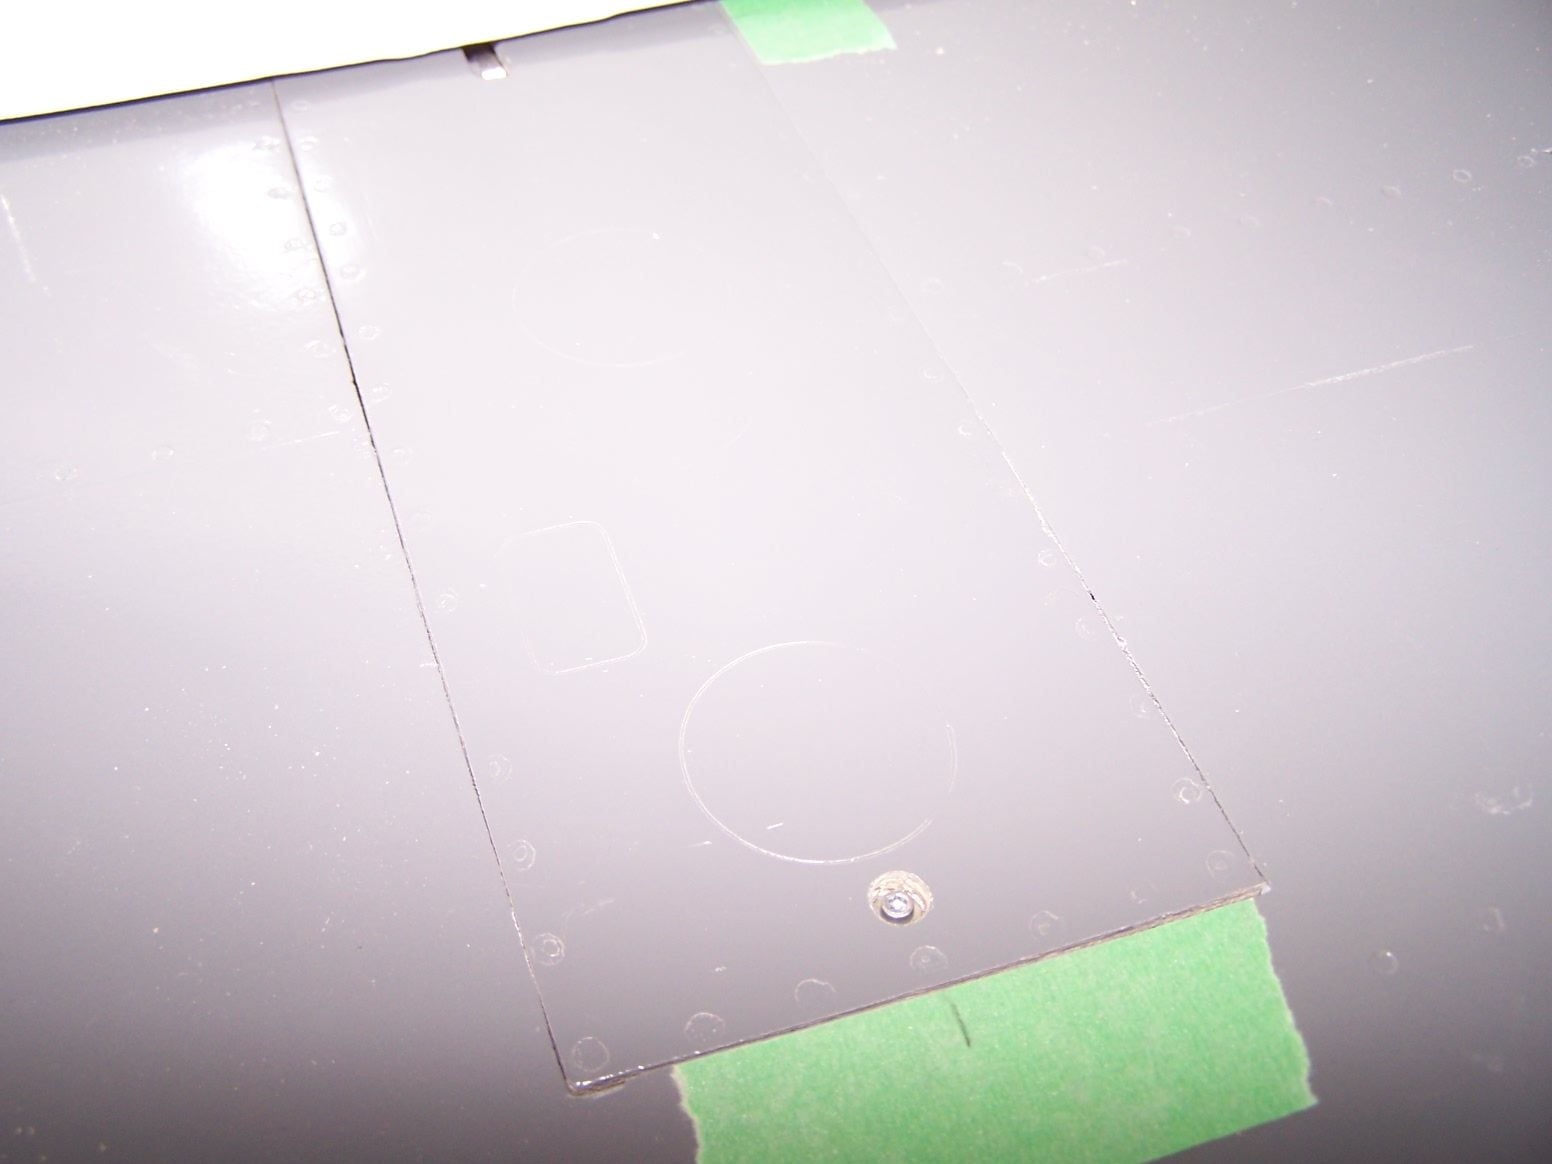
And a nice countersunk screw down to the g 10
I precisely marked where the clevice pin holes needed to be drilled

and then precisely drilled on the wrong side of the line
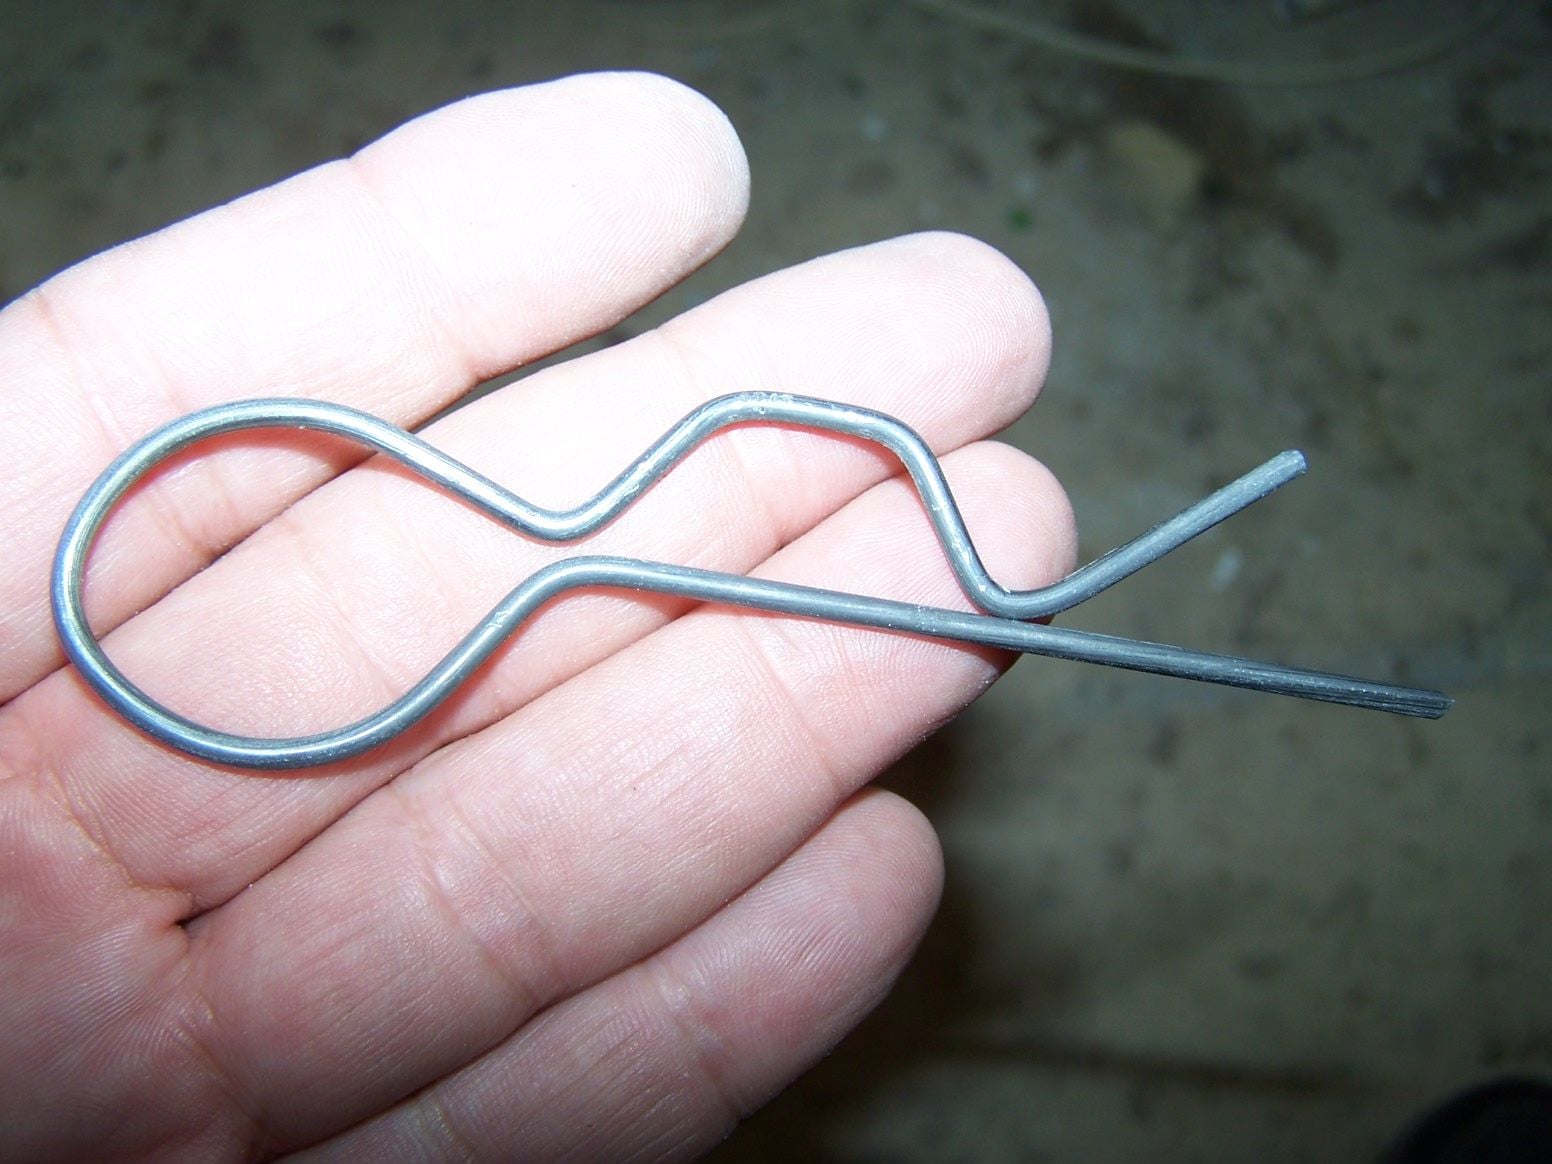
a clevice pin made out of 4-40 rod
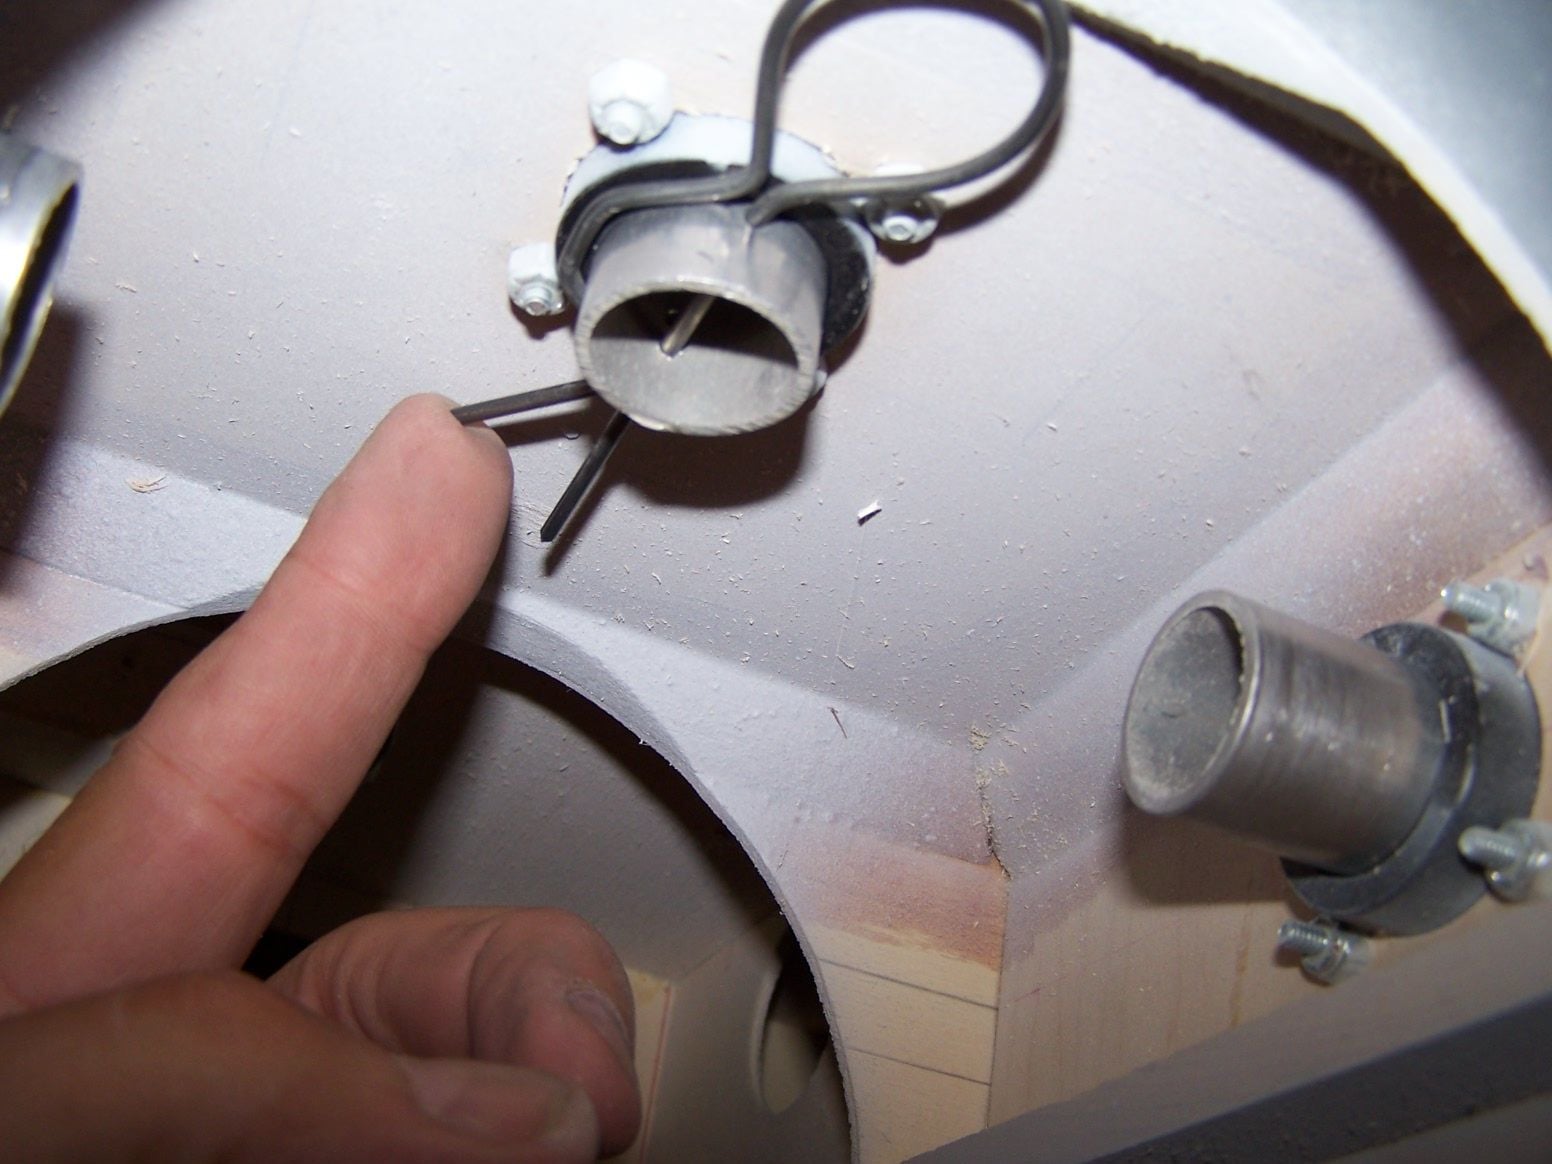
pin installed
08-14-2018, 07:33 PM
#500
Thread Starter
Join Date: Mar 2009
Location: willow springs , IL
Posts: 1,219
Likes: 0
Received 25 Likes
on
14 Posts
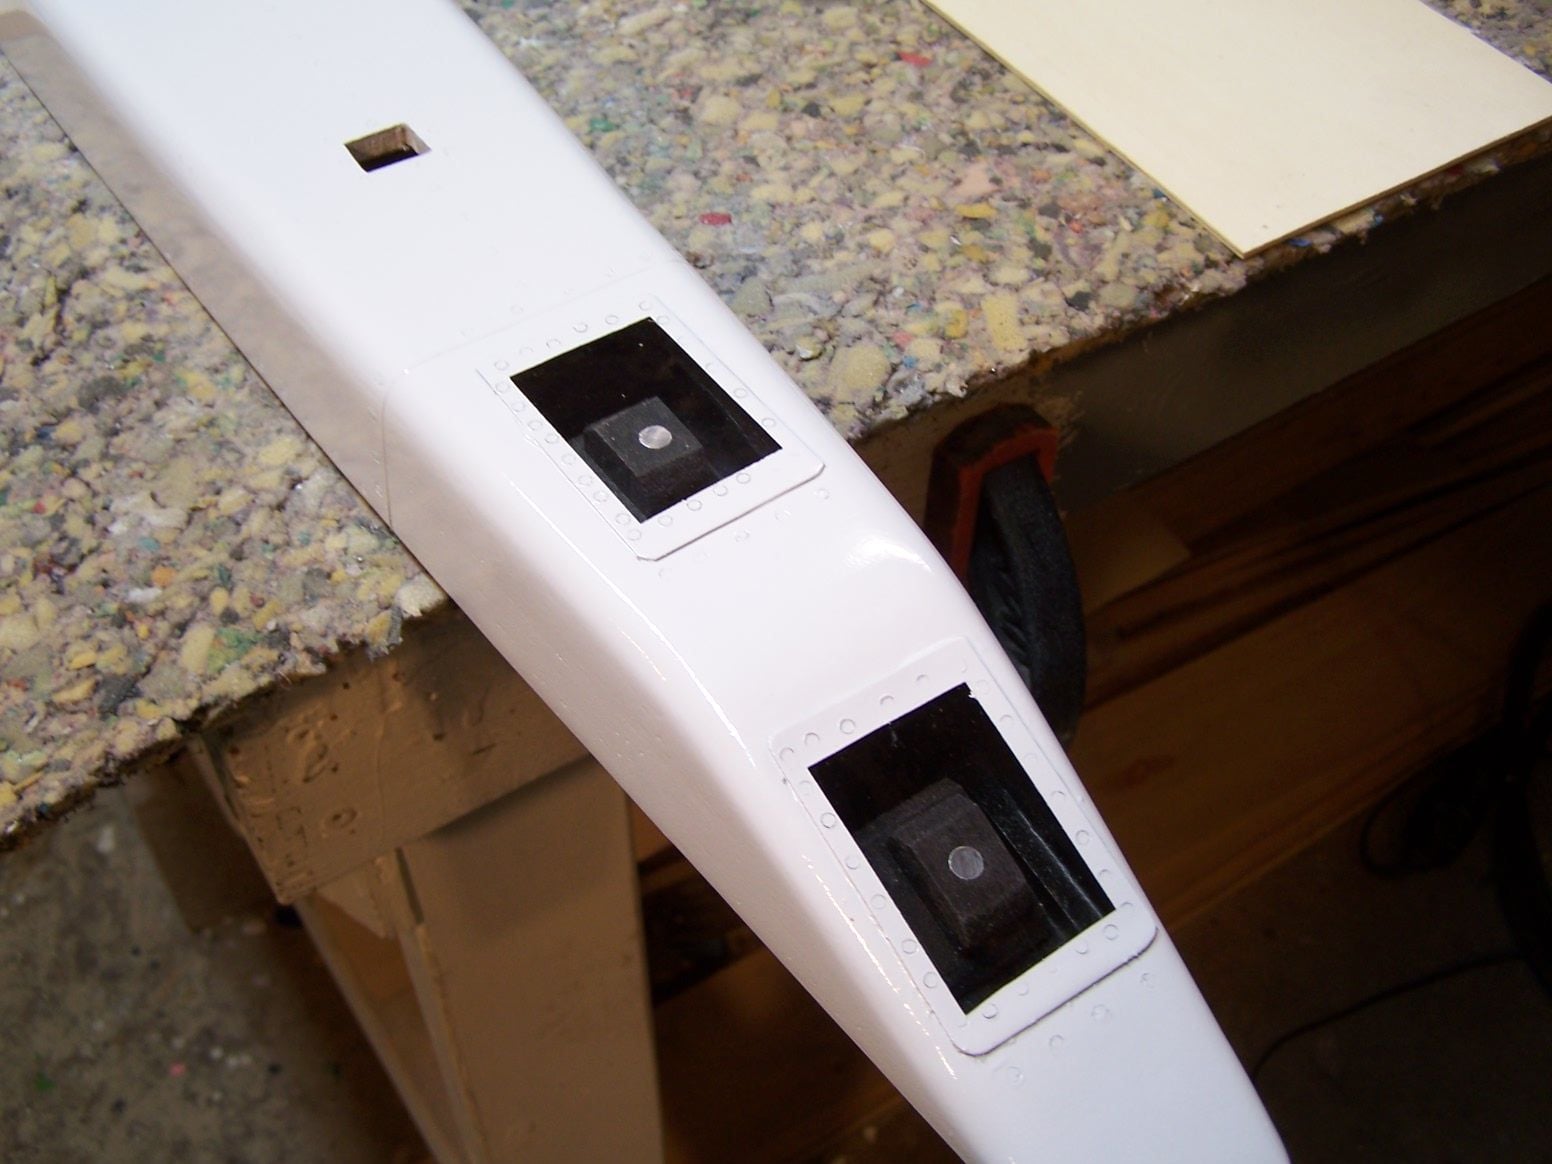
some more nice links for the for the elevons machines by vladimir
here they are glued into the hard wood blocks sunk in the surfaces
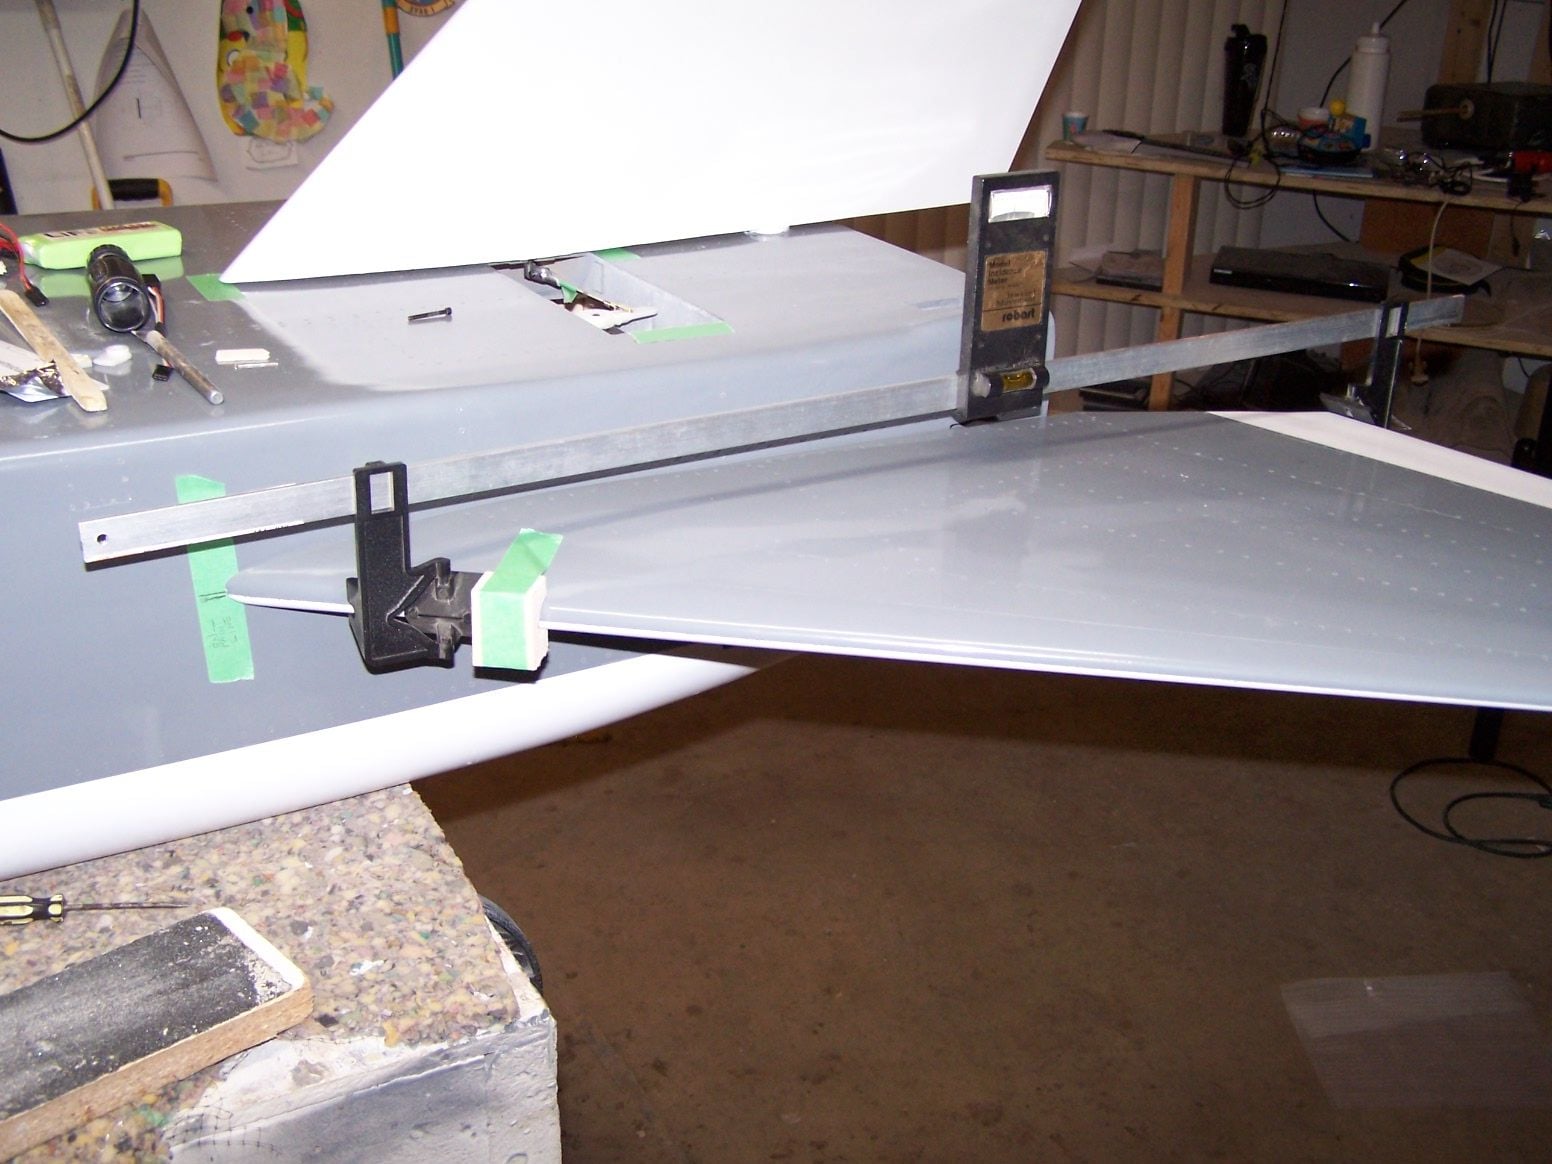
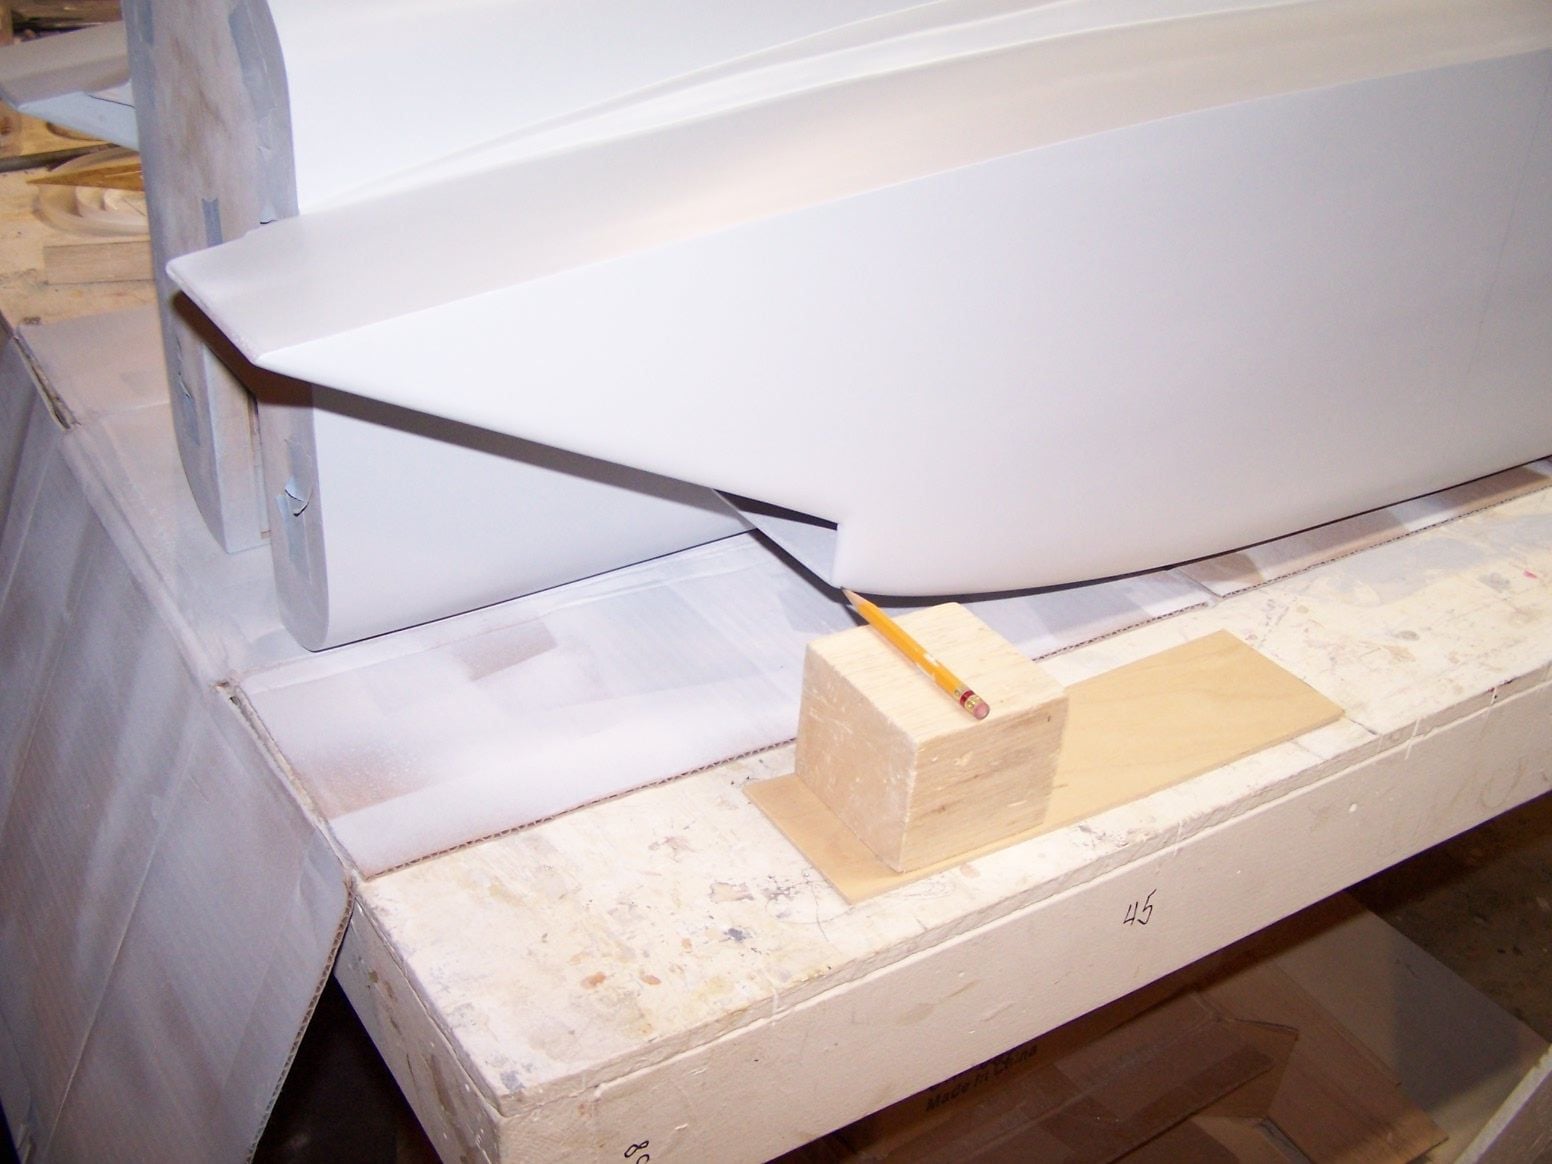
my modified Robart incidence meter for giant scale. I taped the block on there so it couldn't slip off. I marked 0 incidence on the tape.
Now to figure out to elevon linkage. and arm lengths. they sorta blend into the white